How can I waterproof my basement again?
How can I waterproof my basement again?
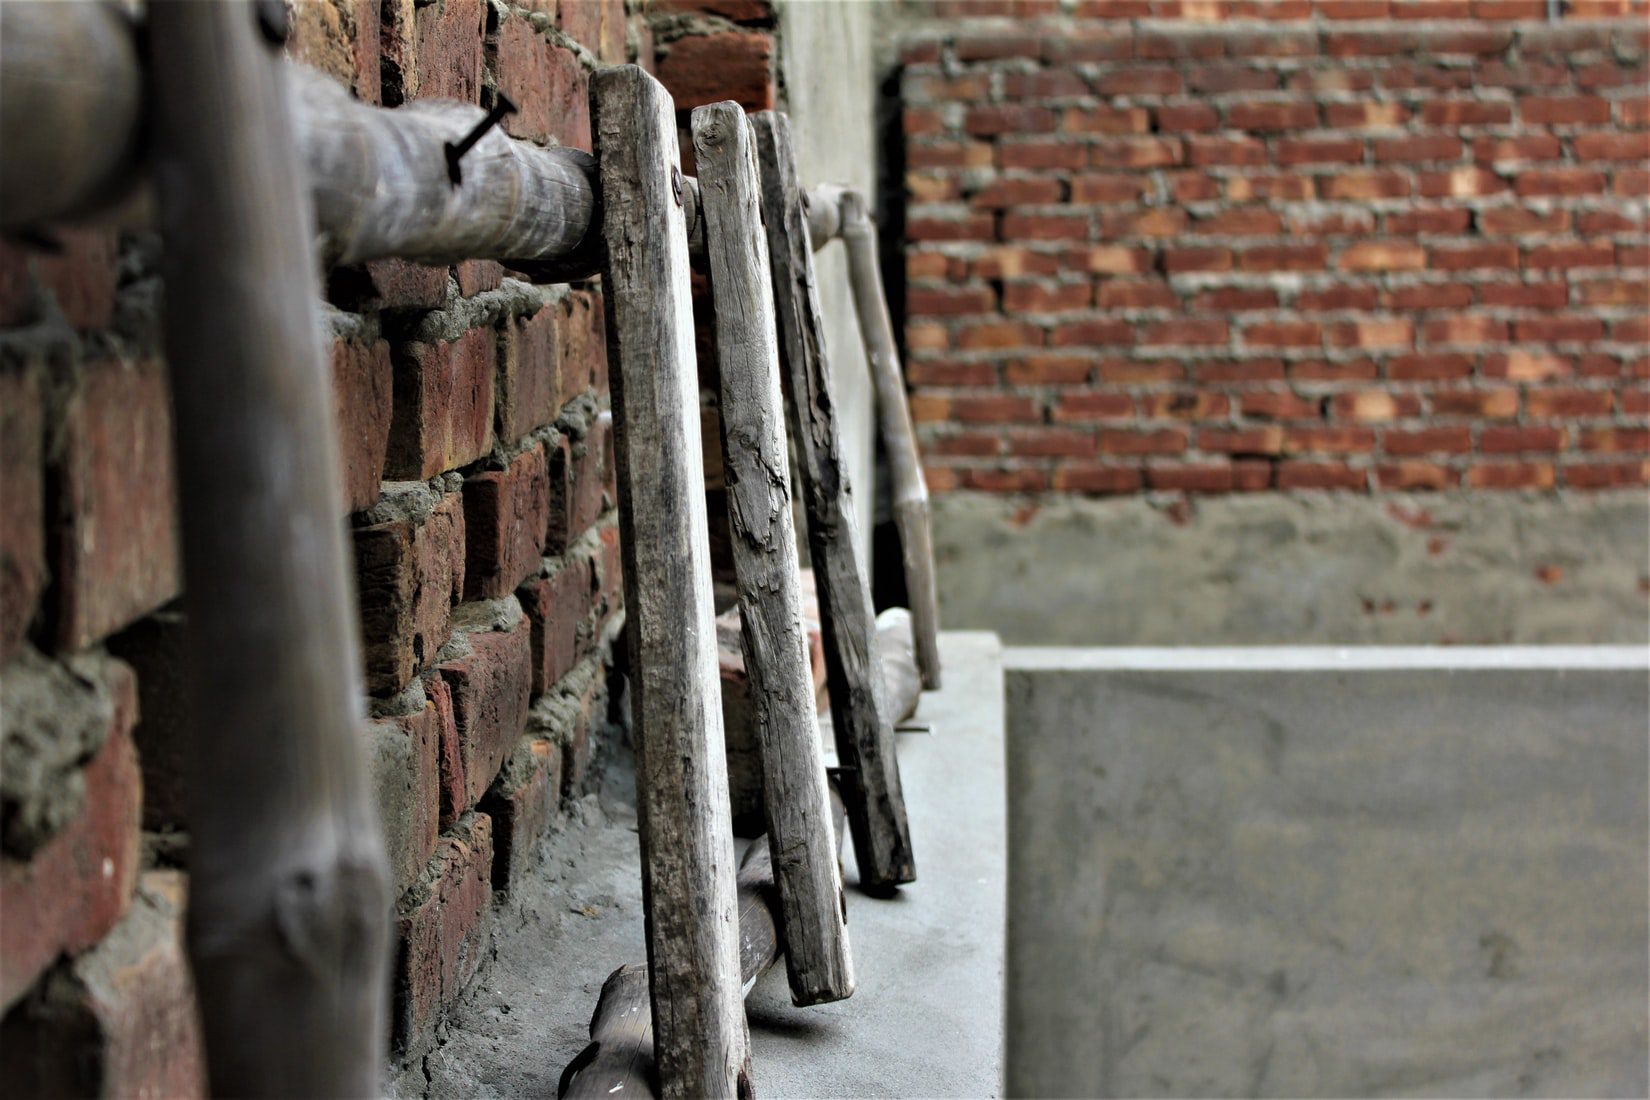
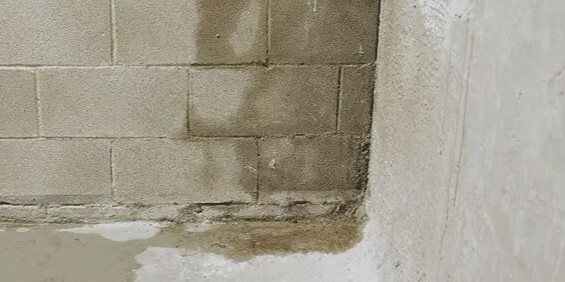
The basement is often the most humid place in the entire house. This space is usually located completely underground so this room is surrounded by soil moisture, and in addition, it is not obvious to properly ventilate a basement. As a result, all sorts of moisture problems occur. If the problem persists for a long time, it can cause permanent damage to the building elements of your home. Obviously, this is something you want to avoid.
It is therefore of great importance that you waterproof your basement. By doing so, you will not only create an additional more pleasant living space in your home, but also significantly increase the value of your home.
What are the symptoms of a damp basement?
First, it is important to determine if you are suffering from a damp basement. Several indications can point to basement moisture problems:
A damp basement is not only unpleasant, it's also anything but healthy. But there is a solution: have your basement waterproofed!
The causes of a damp basement
It is very important to have a specialist look at your basement. This is because there are two different diagnoses, each requiring a specific solution to waterproof your basement. Without expertise, it is difficult to determine which diagnosis is applicable.
1. A damp basement due to reasons other than infiltration
Is there no infiltrating moisture from outside, but you still have a moisture problem? Then condensation due to the lack of ventilation probably the major culprit. With a ventilation system and special basement paint, this is quickly resolved. A leak in the pipes can also cause you to struggle with a wet basement.
2. A damp basement due to infiltration
If the cause of your wet basement is infiltrating moisture, then you will likely receive one of the following three common diagnoses:
Only a specialist can say with certainty whether it is infiltrating moisture. Usually the solution here is to waterproof your basement. But how does such basement waterproofing work? There are two options for that.

Waterproofing your basement: the methods
Depending on the cause and situation, there are several methods to waterproof your basement.
Want to get rid of your damp basement for good? Then consult a specialist in the field of moisture control. This professional is able to identify the exact cause of the problem and can recommend and implement the most appropriate solution.
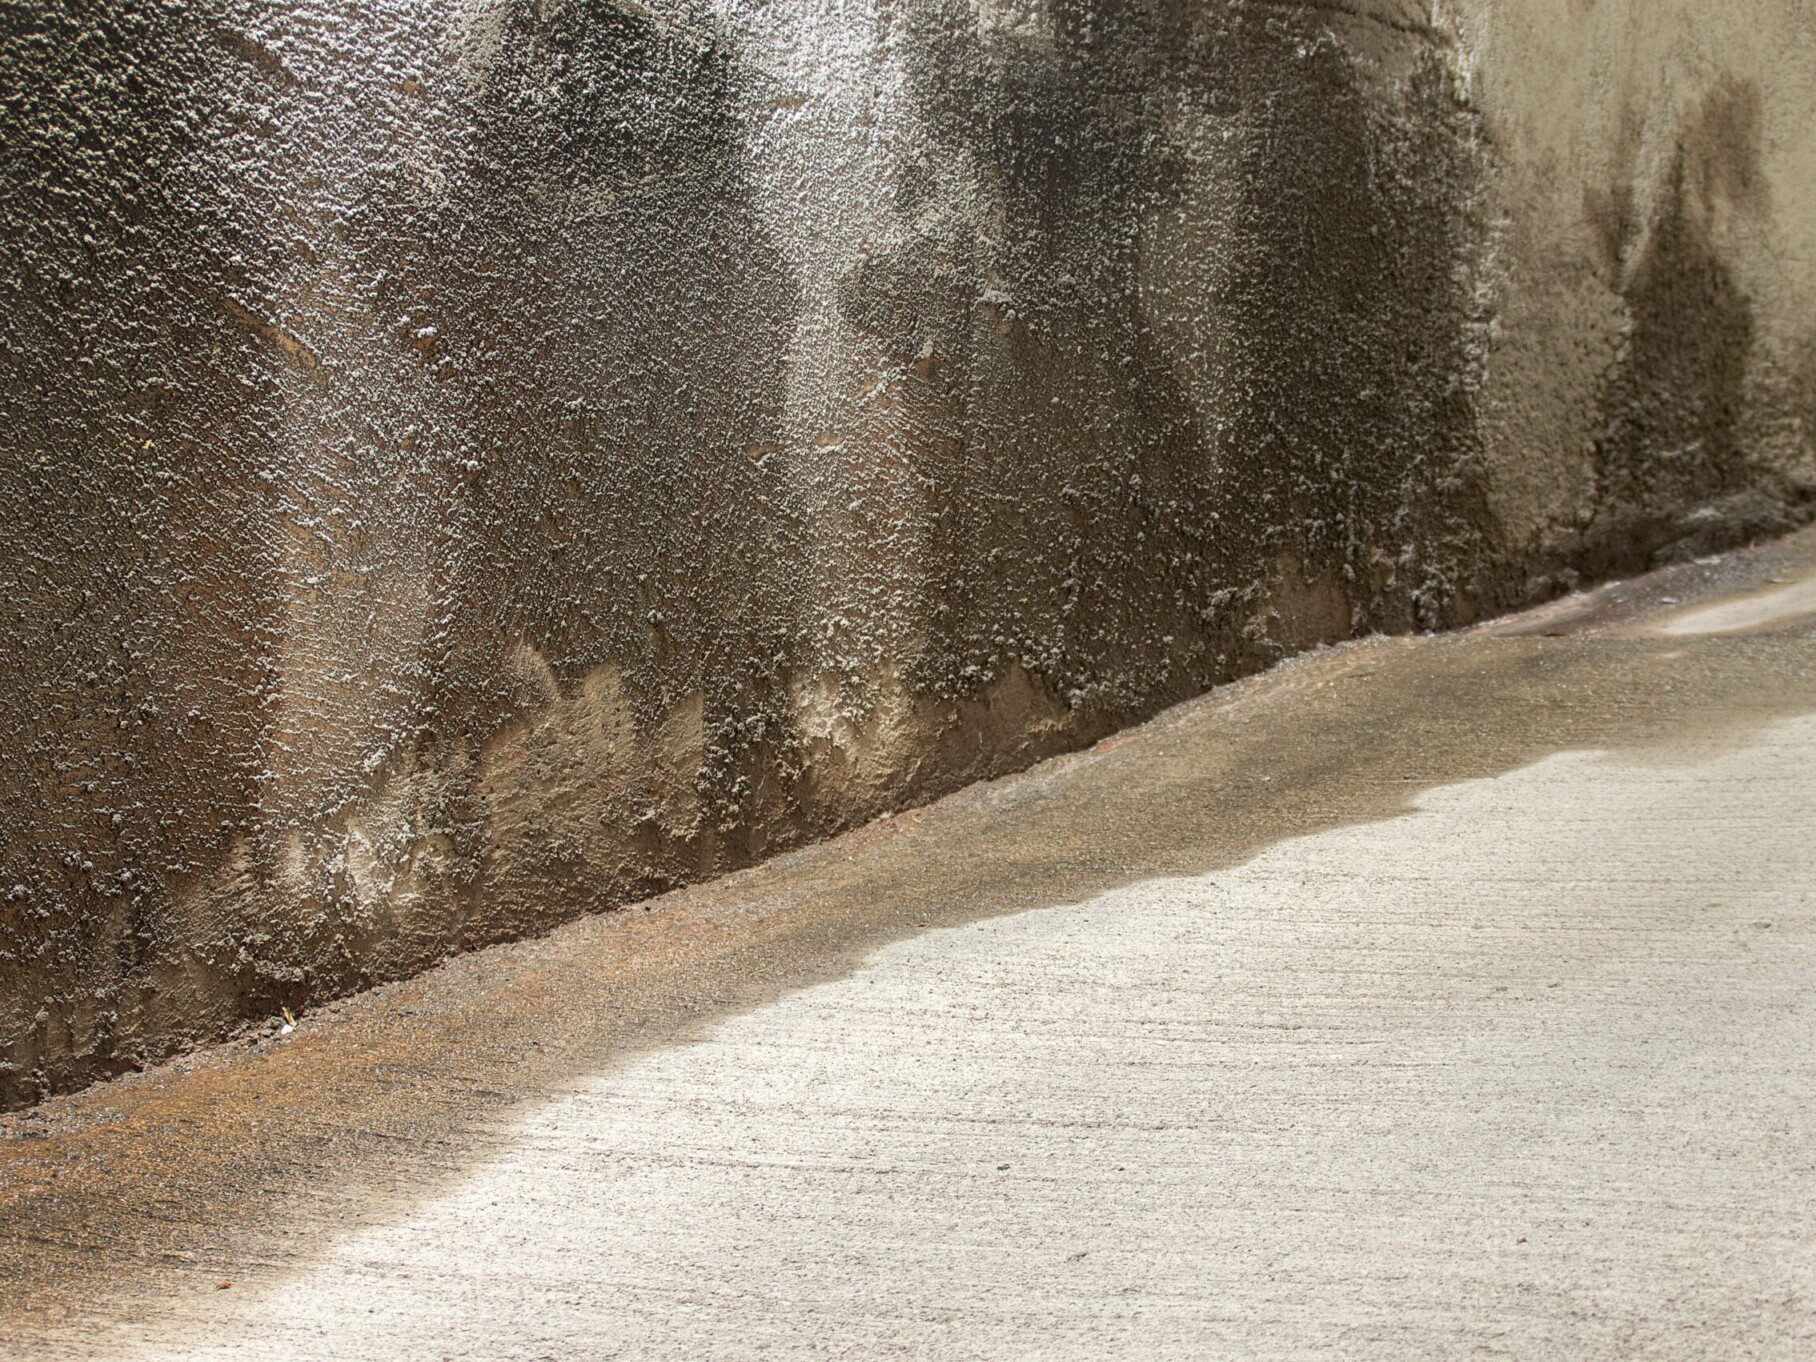
1. Waterproofing the basement with the classic lining
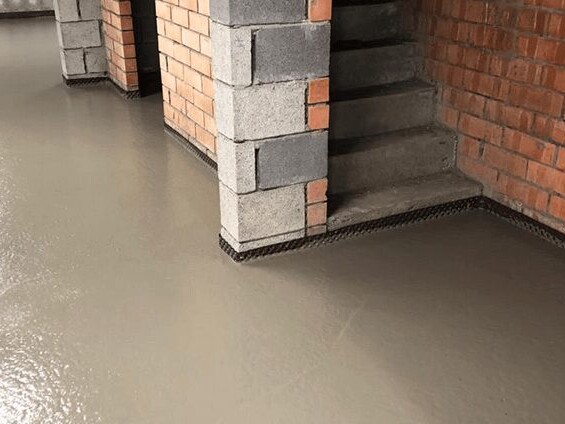
In the moisture control world, the classic method of waterproofing basement walls is known as 'basement framing'. In this approach, basement walls are waterproofed by cementing. The basement waterproofing process involves several steps, including the application of fixing layers, quick cement and hydraulic waterproofing mortars. We summarize:
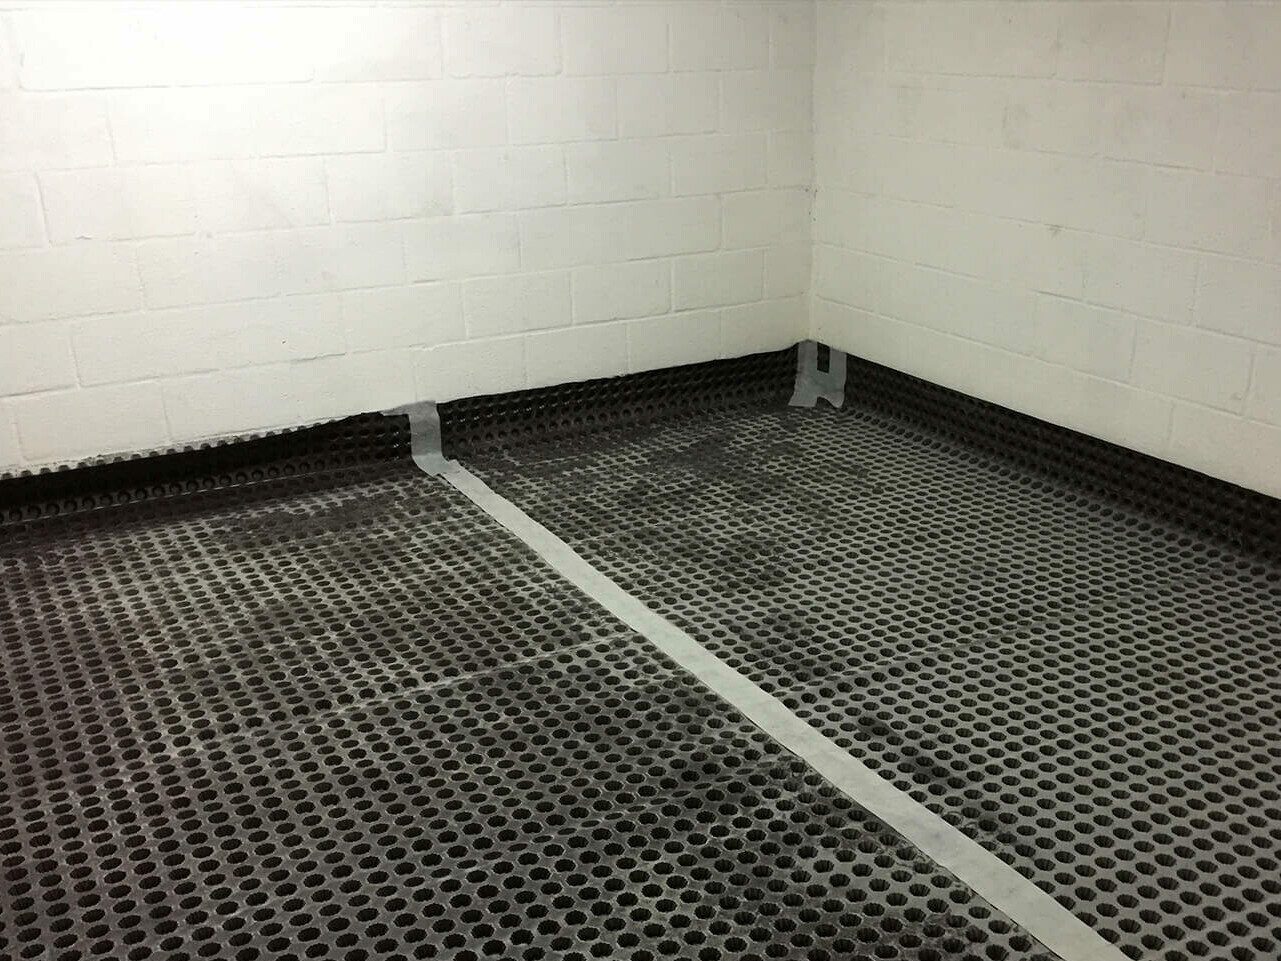
2. Waterproofing the basement with basement drainage
In the case of a conventional basement drainage procedure according to the traditional method, a pump housing is embedded in the floor to collect water, followed by the application of bubble wrap. This proceeds as follows:
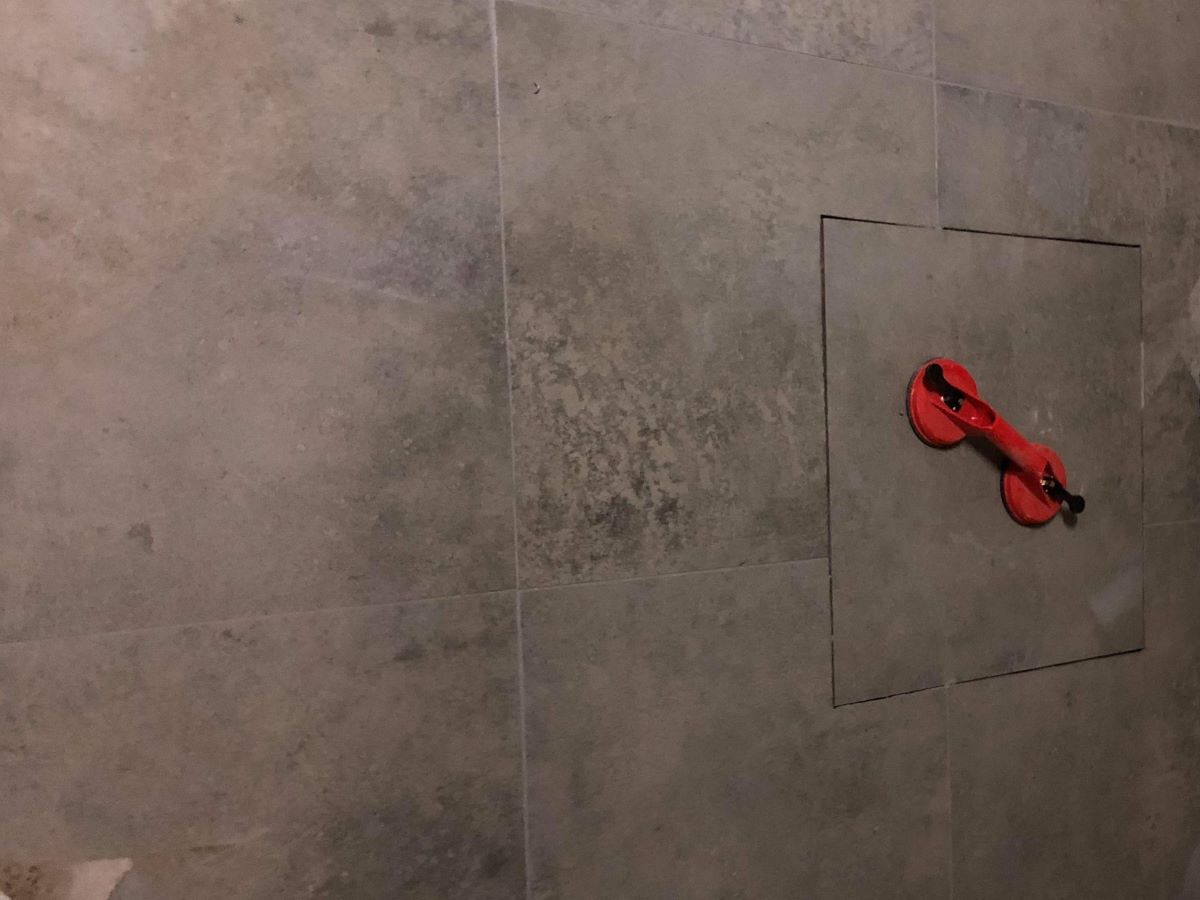
3. Waterproofing the basement with AquaConsult's unique process.
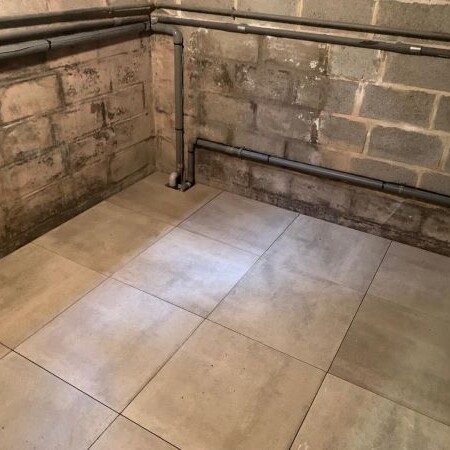
Finally, it offers AquaConsult a unique method to waterproof a basement. We again place a pump house in the floor where the water is collected, and after several measurements we fit the floor with a laser. Then we place certified ceramic tiles that are 60 x 60 x 2 inches in size. What's nice? You can choose the color of the tiles yourself.
There are three major advantages to this method of basement waterproofing:
Do you suffer from a damp basement?
Are you struggling with moisture in your basement, and want to re-waterproof it? Contact the experts at Aquaconsult now for a free moisture assessment and we will be happy to help you.


Request more information and brochure
Answer the questions below and get more information and our brochure based on them. Would you like to have the cost calculated? Then indicate this clearly in the text field below and we will do the necessary.


Thermal bridges: cause of moisture problems and condensation
Thermal bridges: cause of moisture problems and condensation
Find out everything you need to know about cold bridges.
What are thermal bridges?
A thermal bridge is a weak link in the insulation of your home. Cold bridges occur where insulation is absent or poor. It is literally a place in a home where the "cold" is conducted from outside to inside. They are also called thermal bridges, thermal bridges or building knots.
The insulation envelope is missing or interrupted, causing heat loss. This lowers the indoor temperature and increases the need for heat. In addition, thermal bridges can also indirectly cause moisture problems. Moisture and thermal bridges are always the biggest problems in all renovation projects.
And that's not all: thermal bridges can also cause problems in the summer. For example, thermal bridges allow warm air to enter, making it difficult to keep your home pleasantly cool.
The causes of thermal bridges
Thermal bridges can have a variety of causes.
Where are the thermal bridges located in a house?
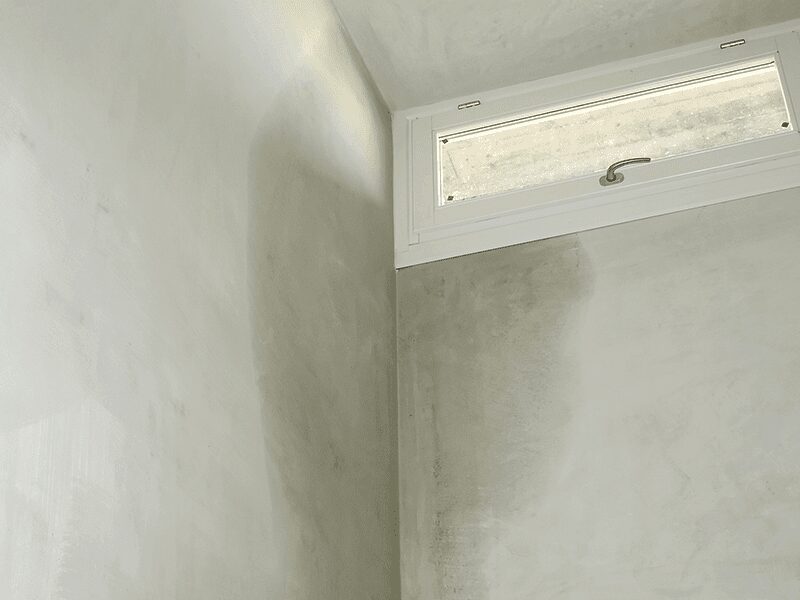
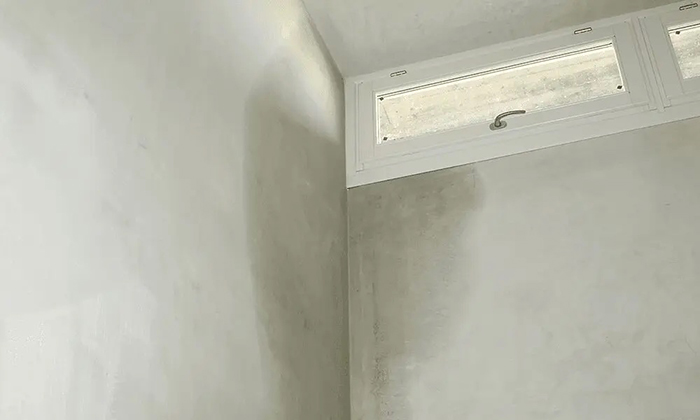
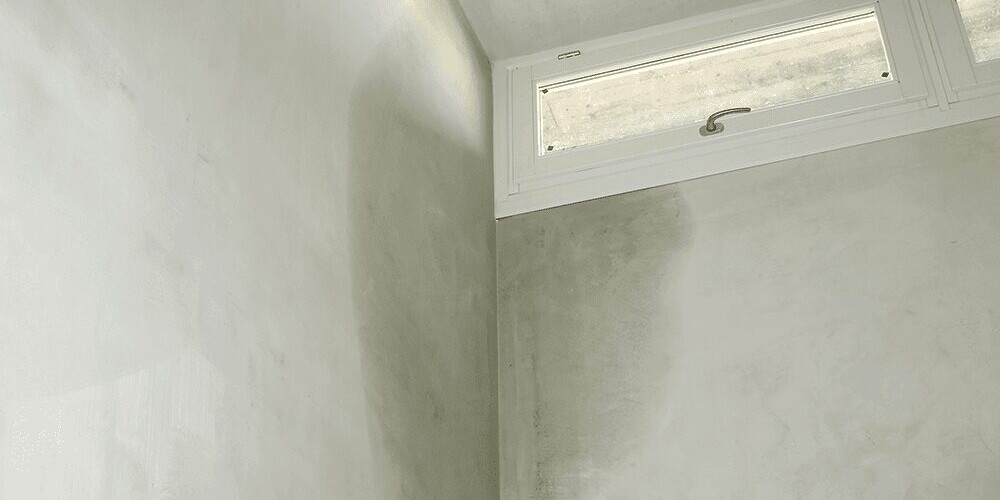
A thermal bridge often occurs in all places where insulation does not connect properly. You can therefore sometimes detect a thermal bridge very clearly around exterior doors and windows, where the insulation is not optimally connected to floors or the door and window openings themselves. A few millimeters of opening is enough to allow a cold bridge during a cold winter period. Of course, a few millimeters of insulation loss will not cause serious moisture problems, but it will slightly increase energy bills.
Some examples of places where thermal bridges can occur:
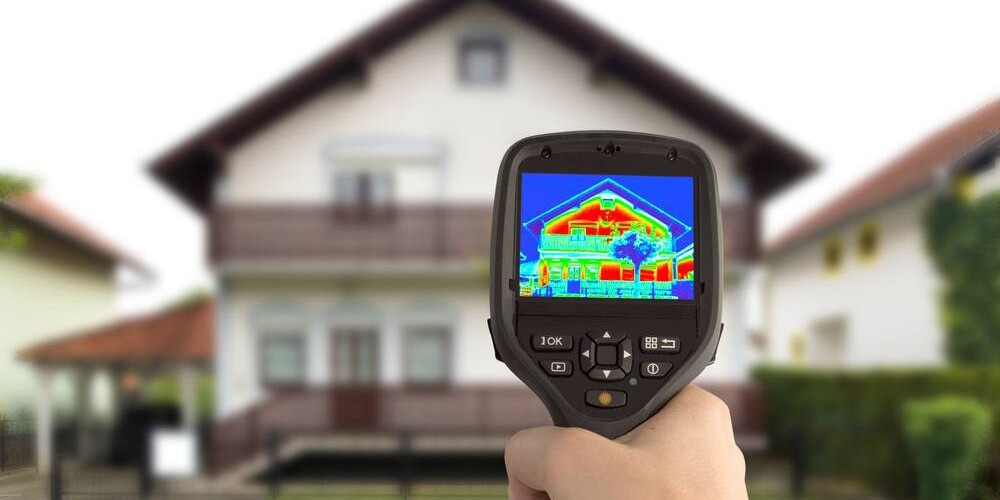
How do you recognize thermal bridges?
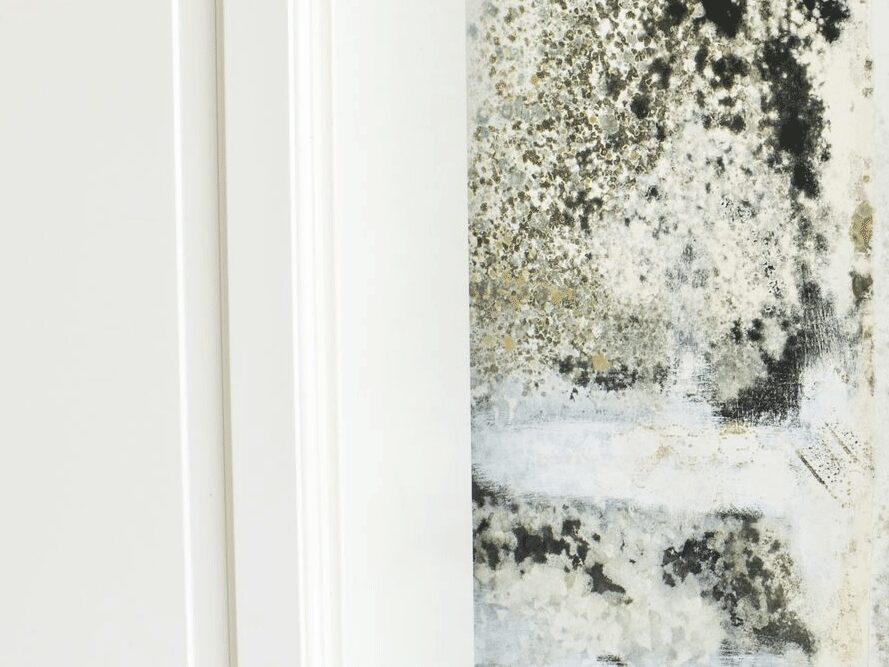
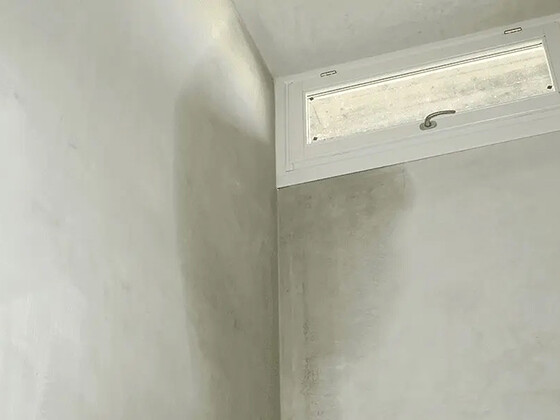
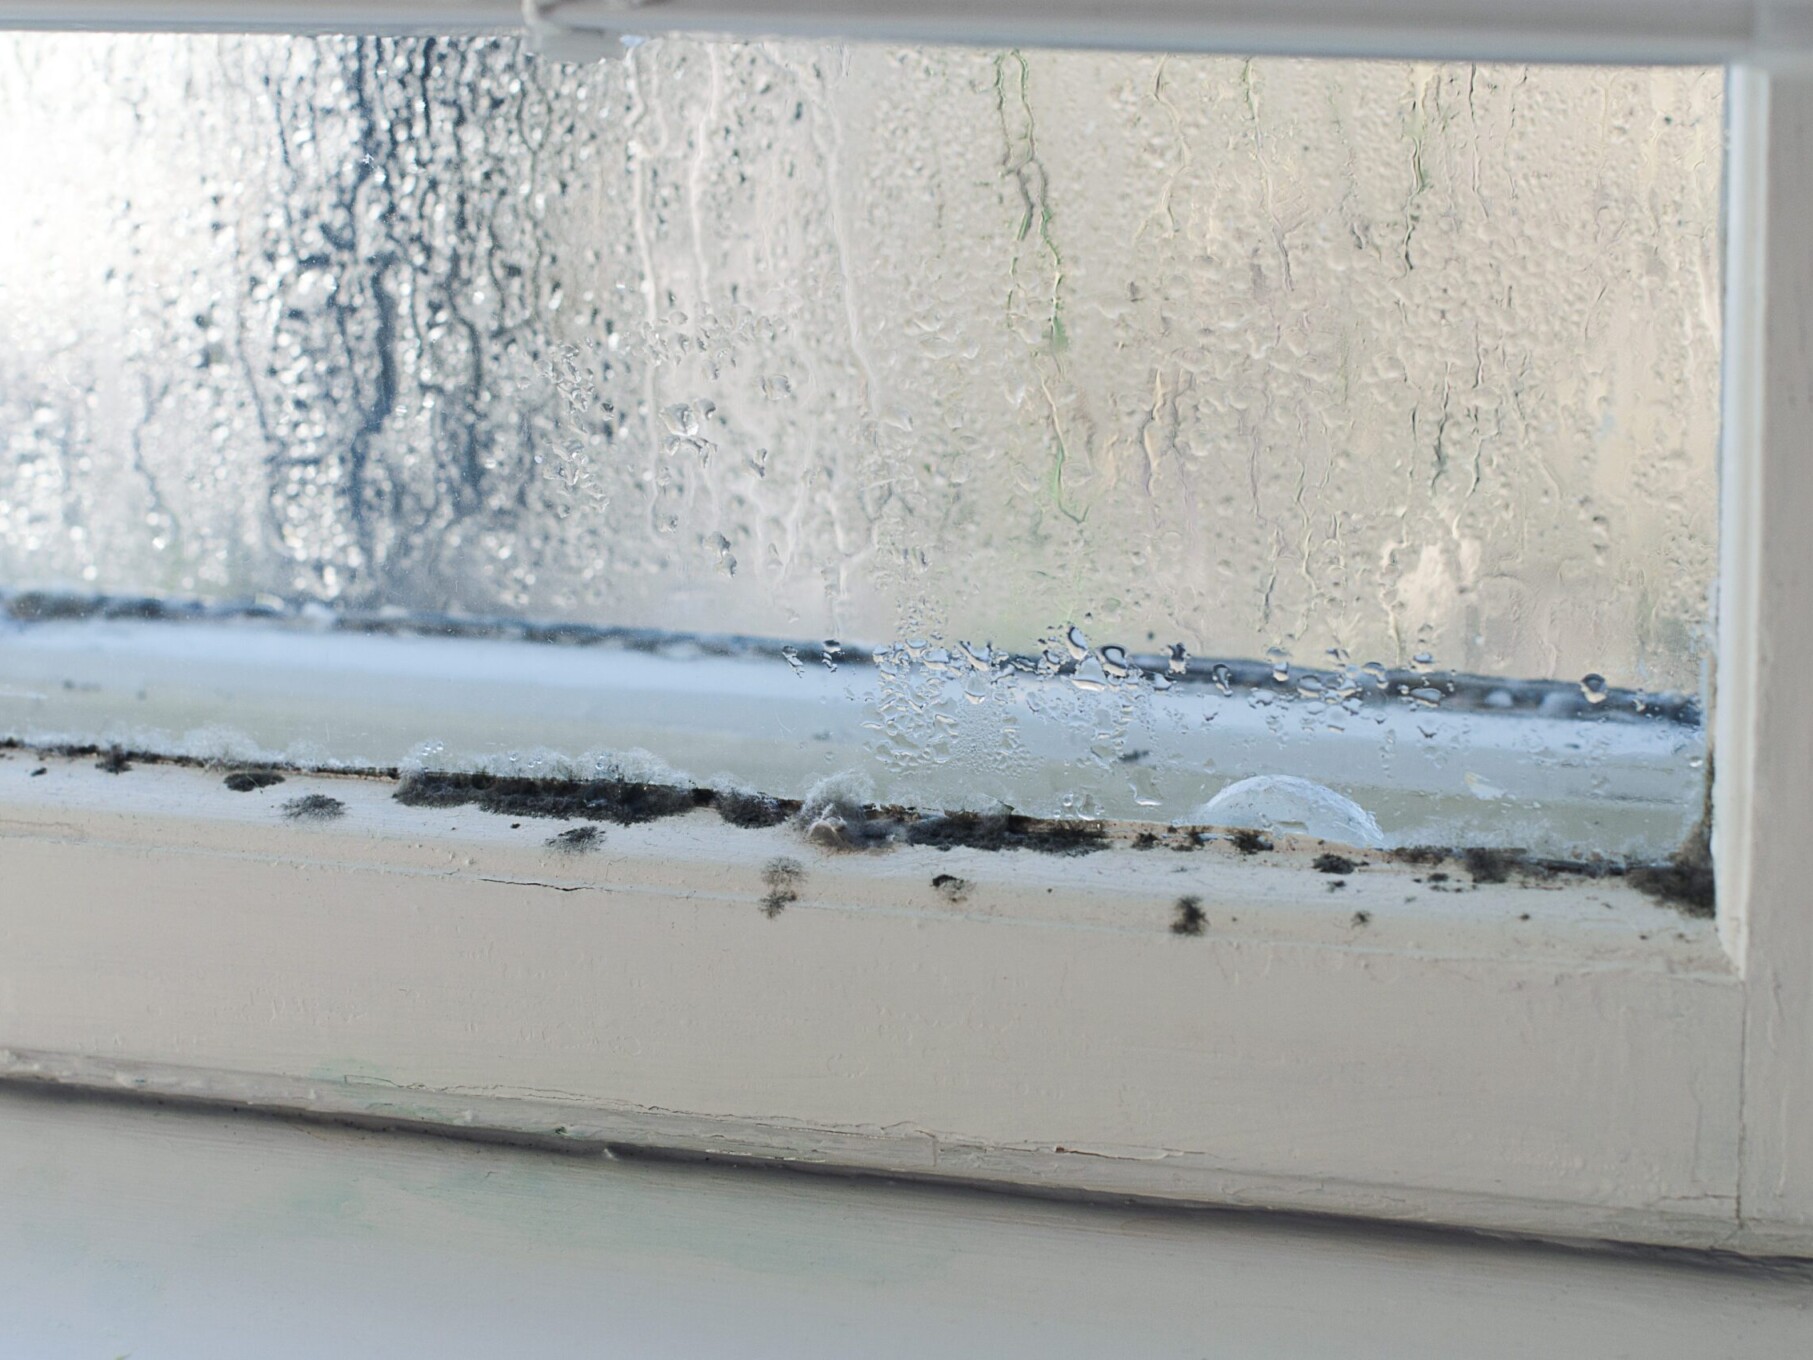
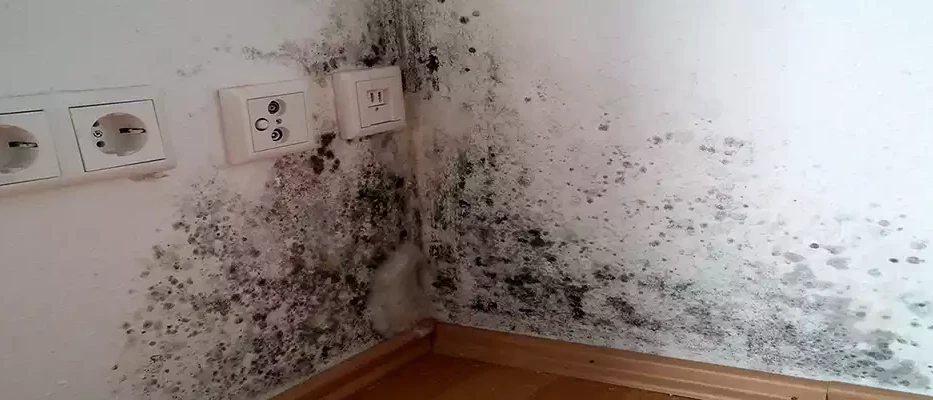
You can't always see a thermal bridge, but you can feel it. If you rub your hand over a piece of wall or floor and notice a difference in temperature, you are dealing with a thermal bridge. If you see black mold or condensation on concrete slabs or windows, that can also be an indication of a thermal bridge.
What (moisture) problems cause thermal bridges?
Cold bridges are the cause of a lot of moisture problems in the home. Especially alarming is the structural moisture damage it can cause on the cold wall. A cold bridge weak enough to cause the wall temperature to drop below 14°C works moisture problems such as condensation in hand.
Where indoor moisture (naturally present in warm indoor air) can condense against walls, get mold a chance to form and moisture spots also develop. Houses with condensation and mold are additionally just not good for the health. In addition, it is bad for plaster, wallpaper and/or painting. With wood structures, it can in turn cause the wood to rot, resulting in instability. It is a real domino effect.
Because the walls at the level of a thermal bridge cool sharply, the natural moisture in the air will condense in these places.
Not only do cold bridges create moisture problems, but they also create another major problem: energy and heat loss. As mentioned earlier, thermal bridges create a temperature difference between the wall where there is a thermal bridge and the rest of the house. So in the winter, you will need more energy to heat your home, resulting in higher energy bills. With today's high energy prices, you obviously want to get that out of the way.
Influence of thermal bridges on the K-level and E-level
The Flemish government encourages homeowners to better insulate and airtight renovate homes (think cavity wall insulation or crepi / exterior wall insulation). A renovation aimed at eliminating cold bridges has several benefits for property value:
How do you solve thermal bridges?
Good ventilate, insulation and heating are three key rules to prevent thermal bridges.
In older homes, it is not always simple to address thermal bridges; this is immediately a major renovation. Fortunately, you are entitled to grants or subsidies If you are doing an energy renovation.
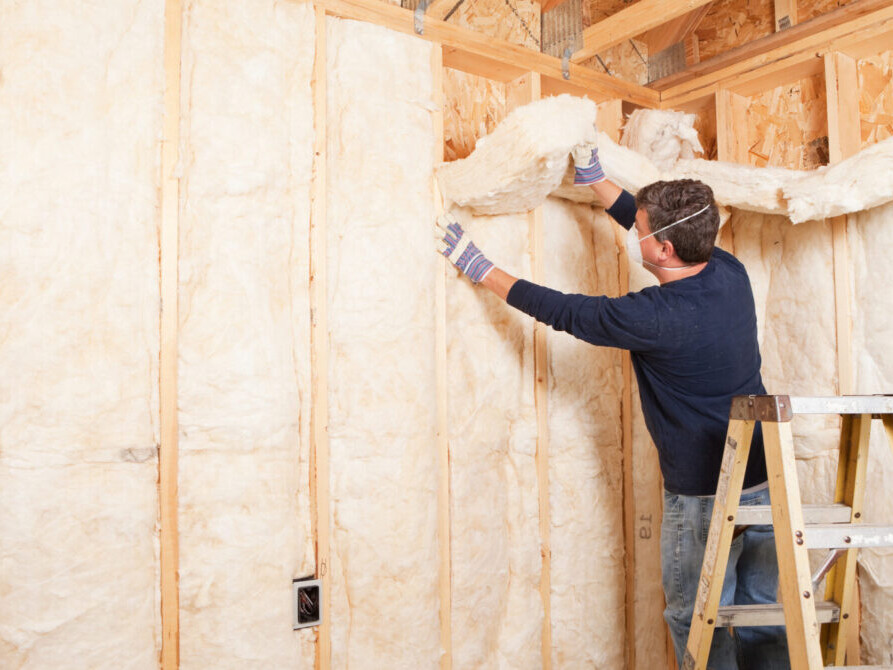
During such a renovation to solve thermal bridges, all the insulation is connected together properly so that the insulation envelopes the entire house and there are no more energy leaks. If the insulation is completely continuous and not defective anywhere, thermal bridges do not stand a chance.
So is it even worth addressing thermal bridges, since it is such a major renovation? Yes. Without thermal bridges, a lot of moisture problems solved and reduces energy bills.
First aid for moisture problems
Are you suffering from moisture problems? Contact AquaConsult now and we will be happy to help you.
Request more information and brochure
Answer the questions below and get more information and our brochure based on them. Would you like to have the cost calculated? Then indicate this clearly in the text field below and we will do the necessary.
[null]
How do you remove moisture stains from the wall?
How do you remove moisture stains from the wall?
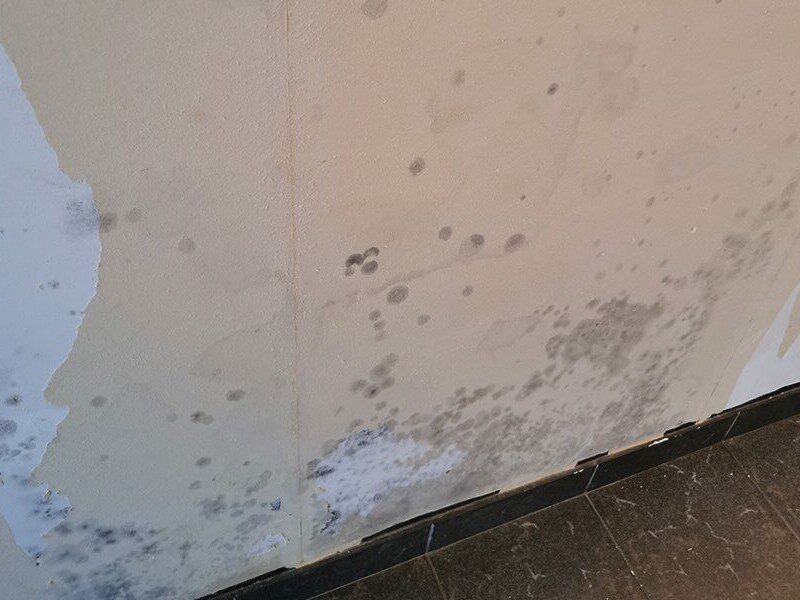
There is nothing more annoying than being faced with the facts and seeing that you have moisture spots in your wall. Above all, don't worry, because there is a solution for everything. Only it is important to find out the cause of the damp spots before you can start removing them. Find out how to get rid of damp spots in this article.
Types of moisture spots on the wall
Typically, there are two different types of moisture stains that can affect your walls.
Consequences of damp spots on the wall
Failure to address the cause of wall dampness will lead to a variety of negative consequences. Consider:
Causes and corresponding solutions of dampness in the wall
The word says it all. Damp spots are caused by moisture. Moisture, in turn, can get you from a variety of causes:
Each cause requires its own solution. Often, determining the cause and determining the necessary cause is not obvious, so it is best to leave this to an expert. In addition, moisture stains disappear by themselves after a professional has done what is necessary to solve the moisture problem. So do not hesitate to seek the help of an expert.
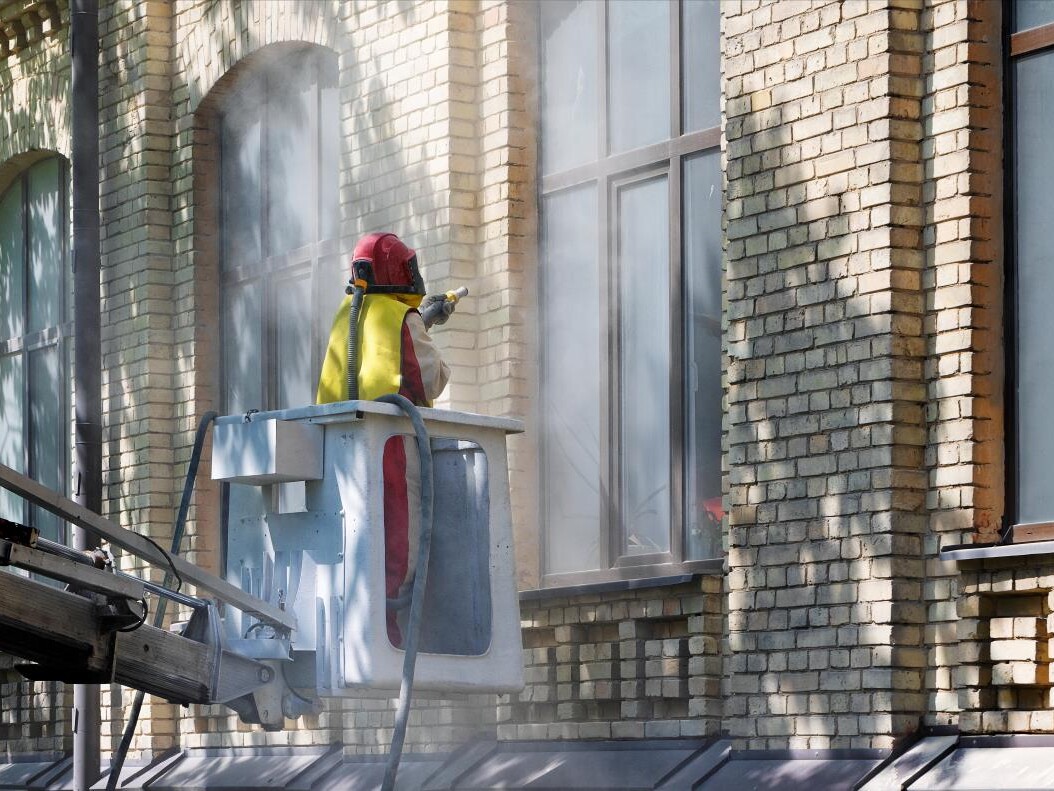
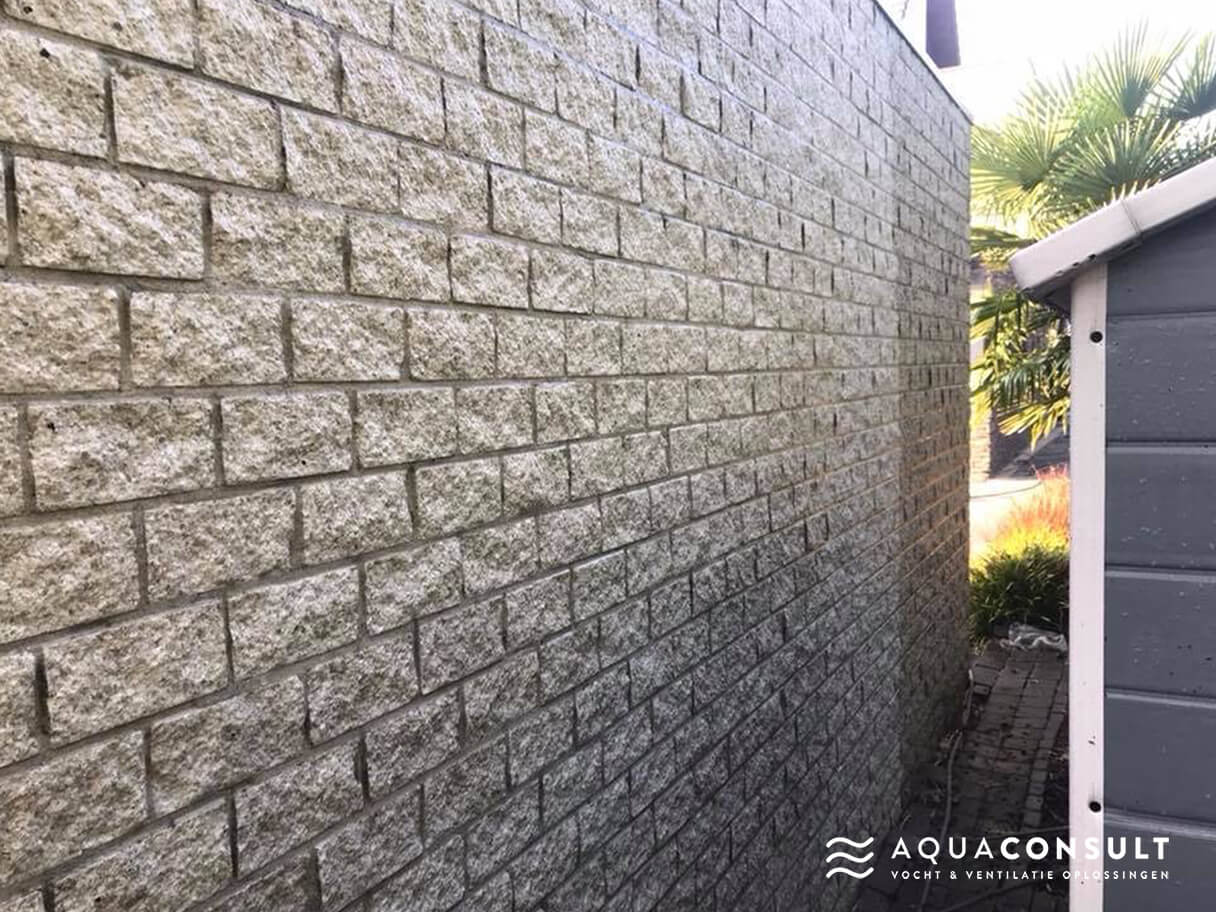
1. Facade exposed to rainwater for too long
Did you get moisture problems due to rainwater coming into contact with the facade over a long period of time? Then chances are that the moisture spots on your wall are due to penetrating damp. In this, the moisture spots occur in all sorts of random places, and not only on the ground floor.
The ideal solution to this moisture problem is to have your facade impregnate or hydrophobizing. This involves applying a transparent and waterproof layer to the facade using a transparent product. Hydrofuge is a product that makes your exterior walls water repellent. As a result, you will no longer get moisture spots on the interior wall either.
2. Gutter clogged or leaking
A gutter allows water to leave through the downspout when it rains. If you don't have a gutter, water flows down your facade and you risk exposing your facade to rainwater for too long. Moisture problems can therefore also be the result of a clogged gutter or a leak in the pipes. Unfortunately, this does not resolve itself; on the contrary, it only gets worse. By the way, a clogged gutter is worse than having no gutter at all, because with a clog, a large amount of water accumulates in one place.
Solving this problem can be done as follows:
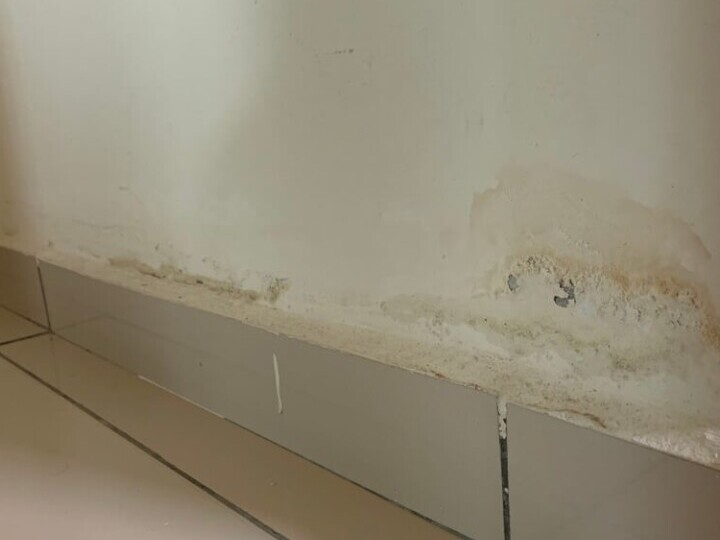
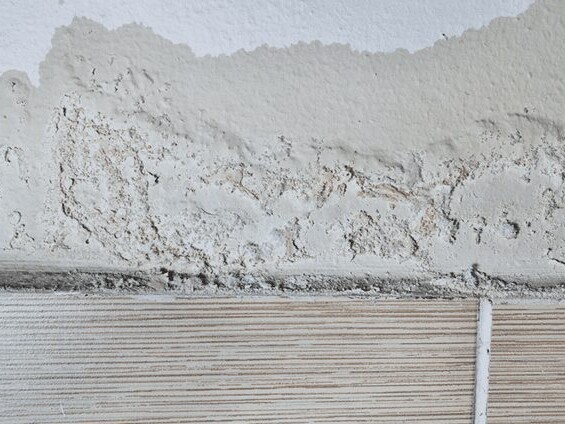
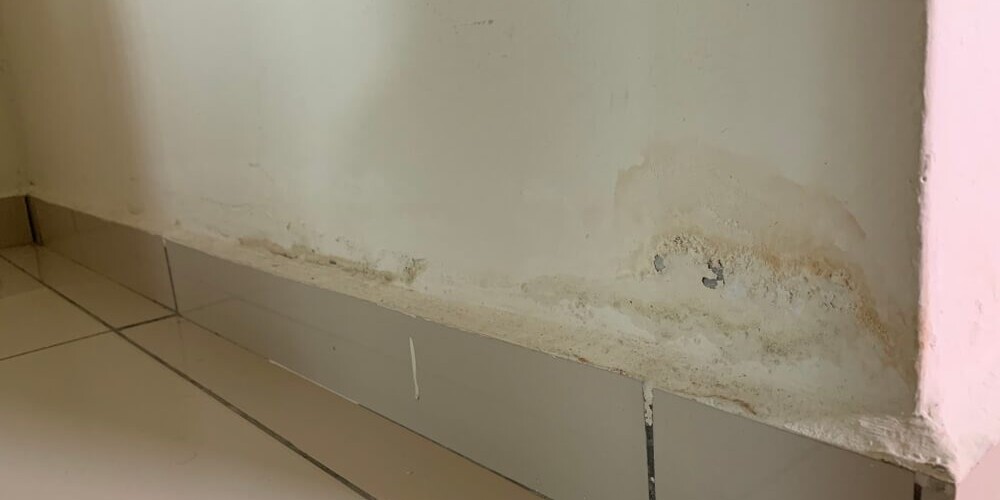
3. Rising damp
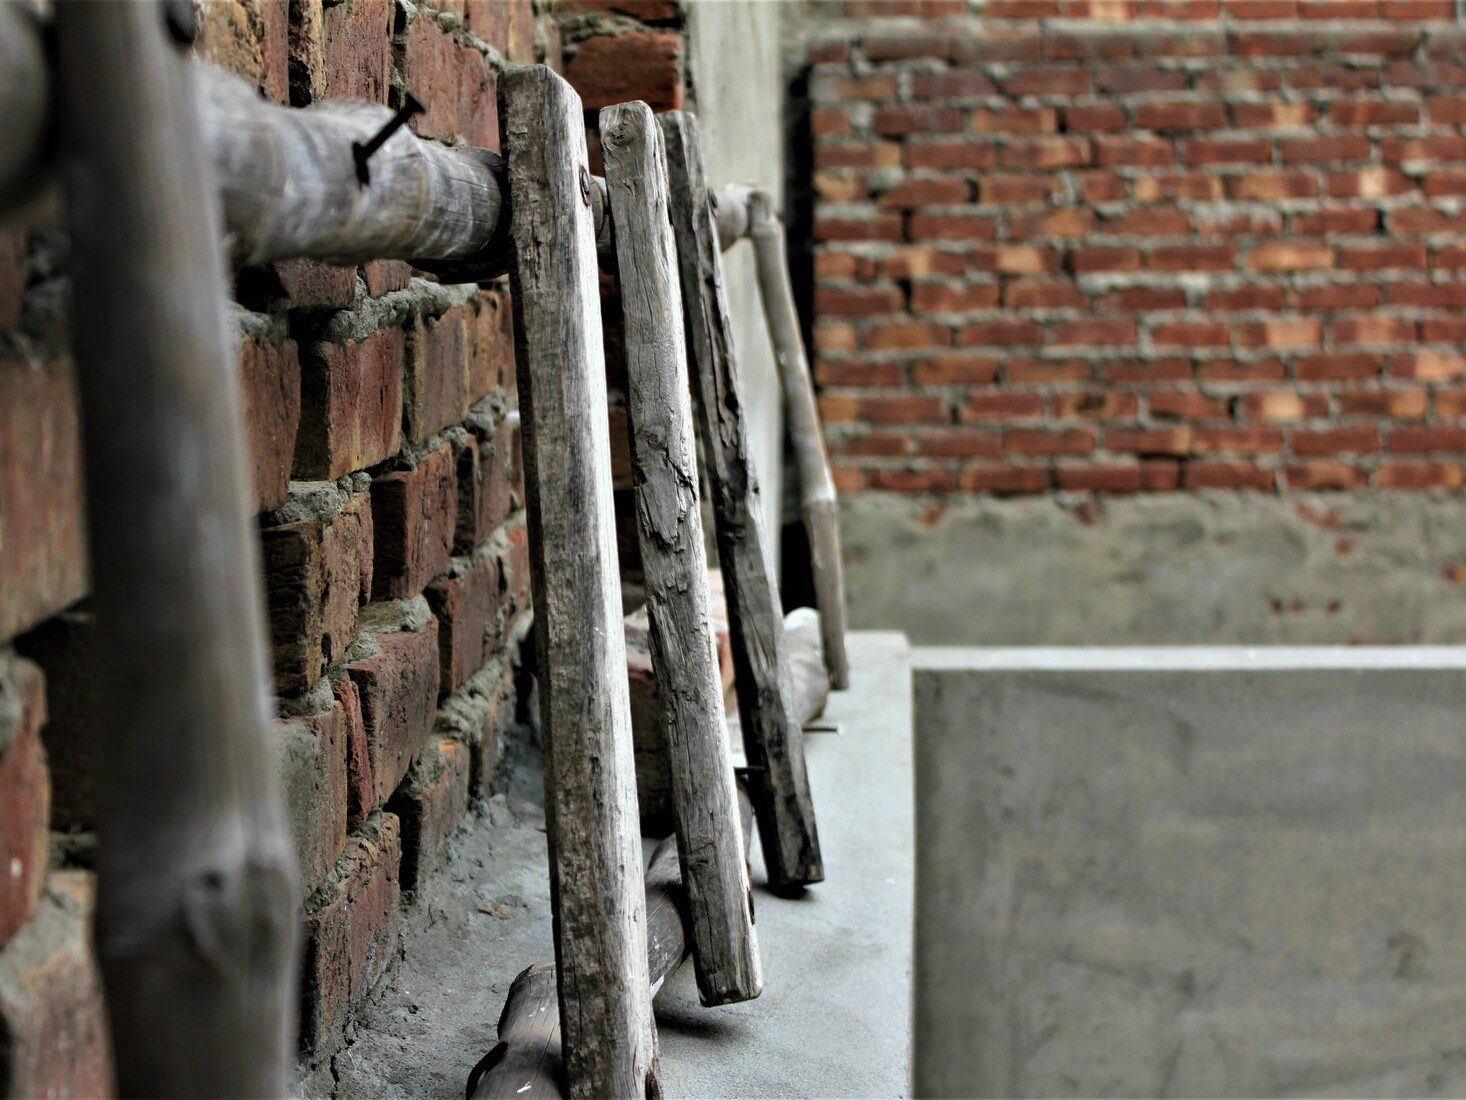
Rising damp is caused by direct contact between a brick wall and a moisture-containing wall. In problems of rising damp, groundwater is the main cause. The foundation and walls absorb this water, resulting in the most severe dampness close to the ground, but it can also spread further into the wall. This can cause significant damage to both interior and exterior walls.
The solution? Waterproofing the exterior wall by using a chemical product to inject into the wall. A professional injects a moisture-resistant coating into the wall through drilled holes. This coating acts as an artificial barrier against water. After this step, the professional seals the drilled holes with waterproof mortar.
4. Condensation moisture
Somewhere where the air is too humid (think a bathroom), it creates condensation. And this, too, can eventually cause moisture spots on walls. In such places is enough ventilation the solution. You know what to do in the bathroom!
What can you do yourself to remove moisture stains on a wall?
As we mentioned, the first thing to do is definitely contact a professional to fix your moisture problem. Only after that can you repair your wall yourself. If you do want to get started yourself, here are a few helpful tips:
Note! The above instructions help to remove moisture stains from your wall and not to magic away mold. Mold is best killed with chlorine-based bleach. After the mold disappears, rinse away the chlorine with warm water.
Do you suffer from moisture spots on your walls?
You prefer to avoid moisture problems rather, but if they are there, they just have to go. Period. Unfortunately, solving and removing moisture problems is not exactly a job that can be done in a flash. That's why AquaConsult offers you support that's second to none. Looking for more information on moisture control? Then be sure to read our blog About moisture problems and solutions.
Request more information and brochure
Answer the questions below and get more information and our brochure based on them. Would you like to have the cost calculated? Then indicate this clearly in the text field below and we will do the necessary.
How do I maintain ideal humidity in my home?
How do I maintain ideal humidity in my home?
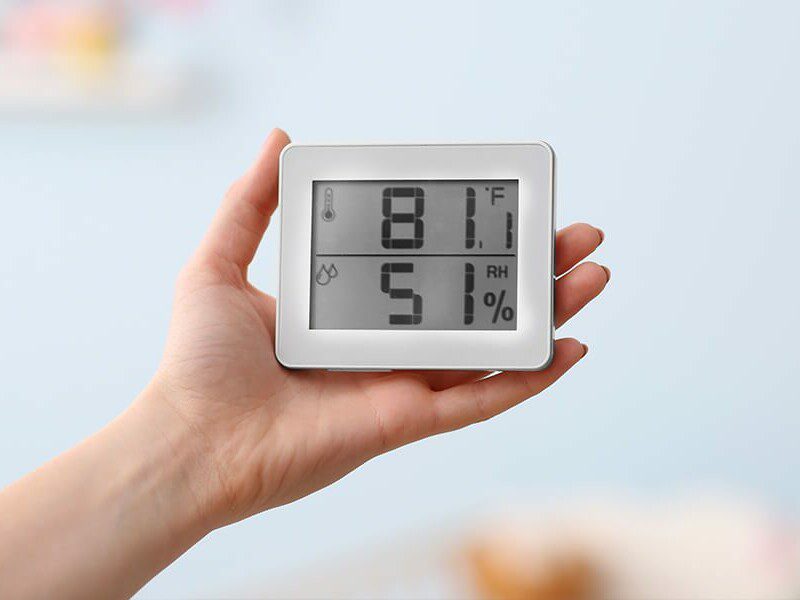
How pleasant the indoor air in your home feels is often related to humidity. Is the humidity in the house too high or too low? Then it can cause ailments and health problems as well as damage to your home. But what is the ideal humidity level? And how do you check it?
What is humidity?
Under (relative) humidity we mean the number of particles of water damp circulating in the air at any given time. A good humidity is between the 40% and 60%. At that time, the air consists between the 40% and the 60% of particles of water damp. The ideal level of humidity in the home is 50%.
What if the humidity in the house is not right?
There are two possible scenarios: the humidity in the home can be either too low or too high. Each of these situations has its own consequences.
What are the consequences of a too low humidity?
When humidity is too low, the air in the house is too dry and the relative humidity is below 40%. Low humidity is especially common in winter because the cold air contains less moisture. Typically, too low humidity can cause the following:
Nevertheless, too low humidity in the home is not a major problem. The problems really start when the humidity is too high.
What are the consequences of a too high humidity in the house?
Is your humidity too high? Then the relative humidity is higher than 60%. For this, there are many different possible causes, which are often not always easy to detect. Everyday activities from washing, cooking, ironing to simply breathing and perspiring contribute to increased humidity. In fact, scientific studies show that an average family produces up to 15 liters of excess moisture per day. That's not nothing! But an underlying moisture problem can also cause humidity levels in the home to be too high.
The consequences of too high humidity in your home are worse than those of too low humidity; both for your home and for your own health.
So it is not a luxury to do something if you suffer from excessive humidity in your home.
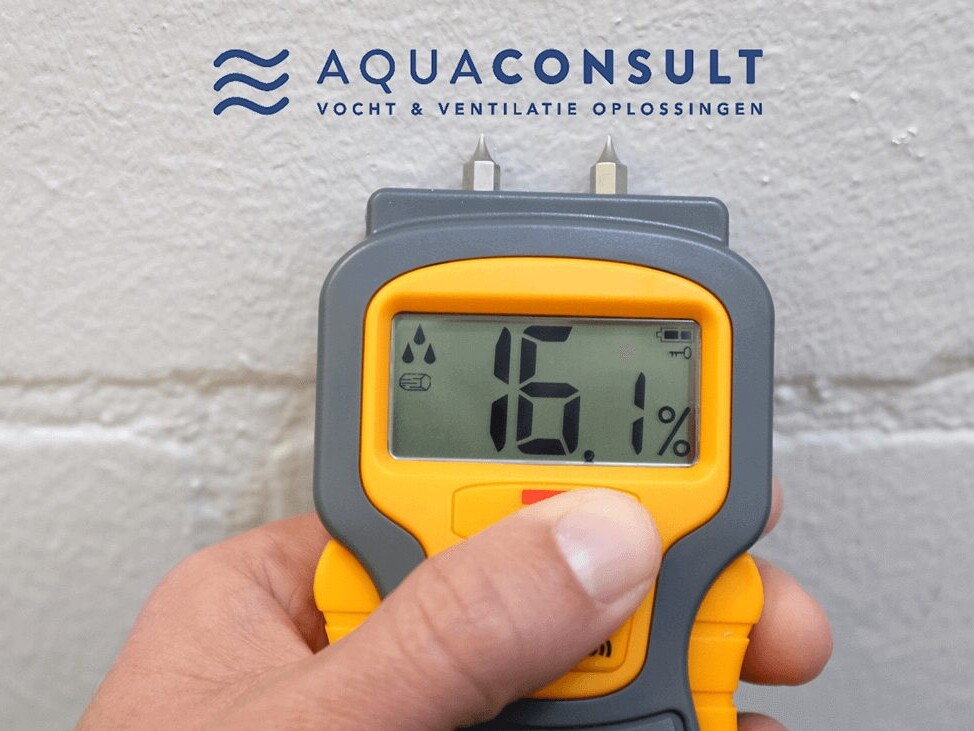
Measuring humidity
You can measure the humidity in your home yourself using a hygrometer. This is a measuring instrument specifically designed to measure humidity levels in the home. This can help understand humidity levels in the indoor environment.
To ensure an accurate reading, it is important to place the hygrometer correctly. You obviously want to get a representative reading of the humidity so that you can take appropriate action if the air turns out to be too dry or too humid. That's why we recommend not placing the hygrometer on the wall of an exterior wall or near a window. This is because the humidity near external walls and windows often differs somewhat from the rest of the house.
A hygrometer is available these days for as little as 15 euros. Usually these handy devices also have other useful functions.

How can I optimize humidity in my home?
Tips for better humidity in the home
We list our tips:
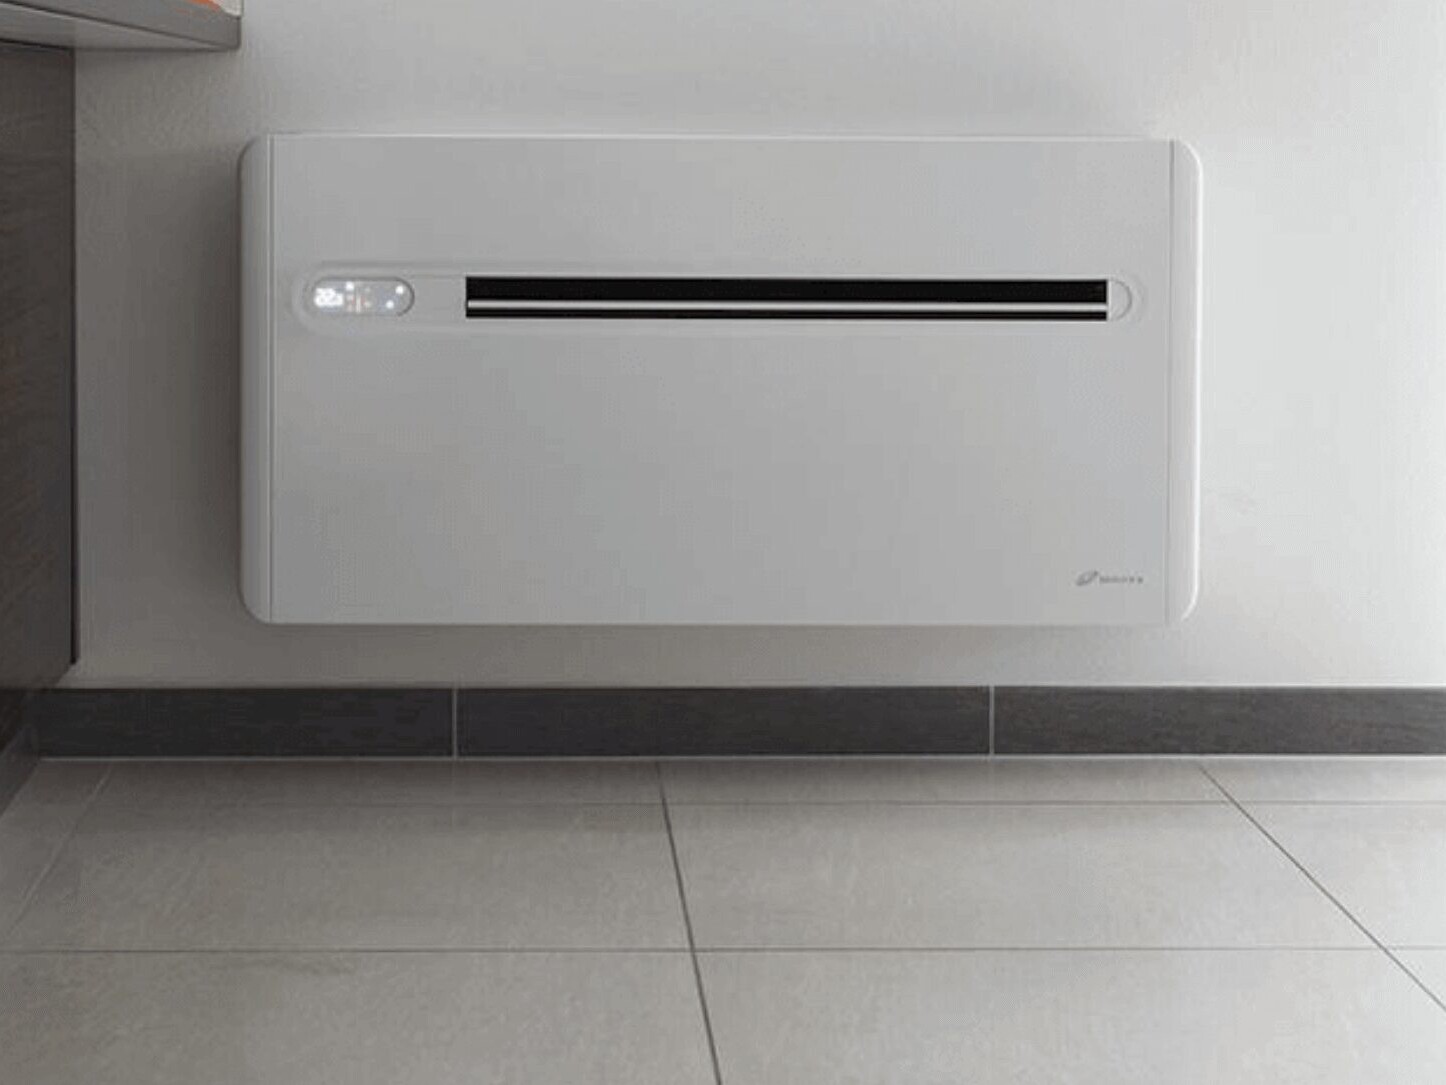
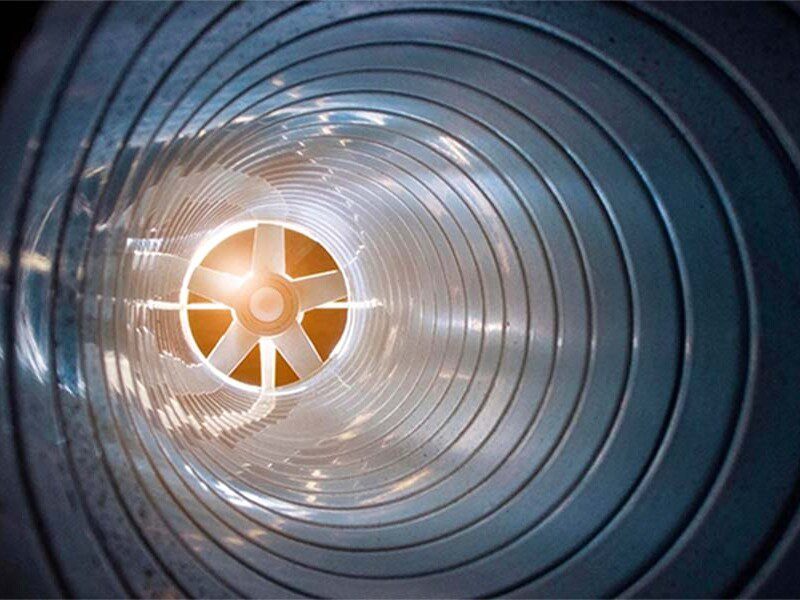
A universal and definitive solution: balanced ventilation
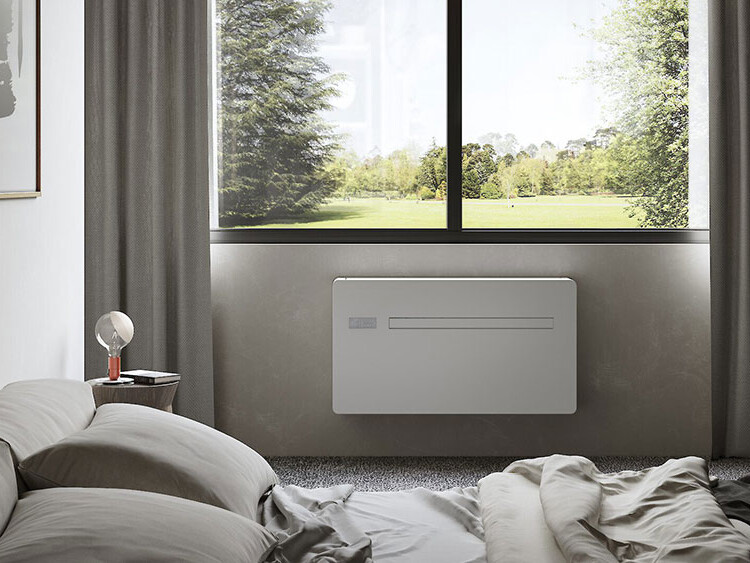
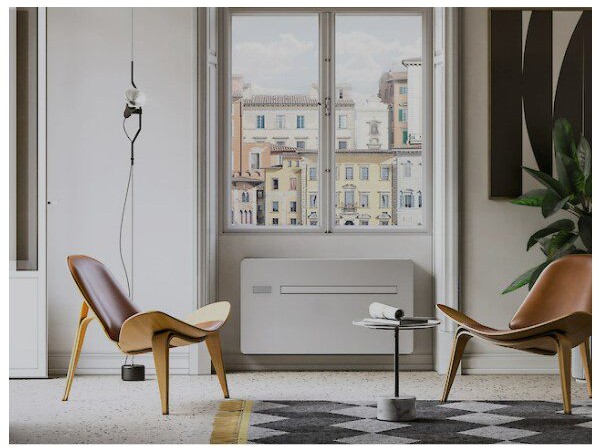
The best optimal solution, in other words the solution that guarantees the best humidity in the home, is the installation of a mechanical ventilation system, preferably a balanced ventilation. With balanced ventilation, you have total control over the air in your home. Does the indoor air have excessive humidity? Then you can easily exhaust that air outside and bring in fresh air. Not only does this help control the number of water vapor particles in the air in your home, but it also provides fresh air with plenty of oxygen. Things that allow you to breathe better and thus make your lungs and airways less likely to suffer.
Get assistance from AquaConsult
Are you suffering from excessive humidity somewhere in Flanders? Contact Aquaconsult now and our experts will be happy to help you.
Request more information and brochure
Answer the questions below and get more information and our brochure based on them. Would you like to have the cost calculated? Then indicate this clearly in the text field below and we will do the necessary.

Air cleaning: the most underrated barrier against corona
Air cleaning: the most underrated barrier against corona
We all want to protect ourselves and our families from corona as best we can. Balanced ventilation and ionization are good tools for that, but what is the difference between balanced ventilation and ionization? And how do they help clean the air keep your home corona free?
The coronavirus and ventilation
Ventilation is not only a solution to moisture problems such as condensation. It is also employable in the fight against coronavirus.
We all know that corona is spread through close contact, but it is also spread through the air. Through aerosols. Those aerosols are even a more important dispersant than close contact. Therefore, ventilation should not be underestimated.
But good natural ventilation is sometimes difficult or even impossible. In some buildings, you simply cannot create a good natural draft. Then comes mechanical ventilation useful.
With mechanical ventilation, there are several more options. For example, you can install a ventilation that only carries air from inside to outside. Such a ventilation is good for small places, but if you want to ventilate your house really well, you can choose balance ventilation. Balanced ventilation does both: it brings out the dirty air from inside, but also brings in fresh, clean air. Still, even then you are not completely protected against COVID-19. That's when you need ionization technology.
What is ionization?
Ionization is a technology that you can have built into a balanced ventilation system. It purifies the air of all the dirty particles you don't want to breathe: pollen, particulate matter, tobacco smoke and so much more. The biggest advantage to ionization? It also cleans the air of germs; of both bacteria and viruses. So it also cleans the air from coronavirus.
What is the difference between balanced ventilation and ionization?
Balanced ventilation purifies the air: it brings dirty air out and brings clean, fresh air in. But this doesn't purify the air of microparticles we don't want to breathe. That's where ionization comes in. Ionization technology cleans the air of pollen, particulate matter and germs by filling the air with ions.
How does ionization technology work?
Ions are positively or negatively charged molecules. The technology produces billions of electrons per second that attack microparticles in the air. Among those microparticles, therefore, are viruses such as coronavirus.
The ions cause the microparticles to cling to each other, making them heavier and sink to the ground. This prevents people in the room from inhaling those microparticles.
Scientifically proven: ionization works.
That ionization works in the fight against coronavirus is scientifically proven. The designer of the technology (Global Plasma Solutions) had an independent scientists test the ionization for various viruses and bacteria.
Specifically, the scientists examined how quickly the spread of viruses is reduced when exposed to ionization. The coronavirus was reduced by as much as 90% after a one-hour exposure to the ionization technology. So it is definitely worth investing in.
Where is that ionization technology available?
For balance ventilation and ionisate technology, Aquaconsult works together with Aeroconsult. The first company in Belgium to offer ionization technology to individuals. Technology that approved by the Belgian government in the fight against coronavirus. That same technology is used in Boeing's aircraft to keep the air fresh and healthy on long flights.
Ionization at your home?
Want to know more about AeroConsult and ionization? Then be sure to visit their website.
Request more information and brochure
Answer the questions below and get more information and our brochure based on them. Would you like to have the cost calculated? Then indicate this clearly in the text field below and we will do the necessary.