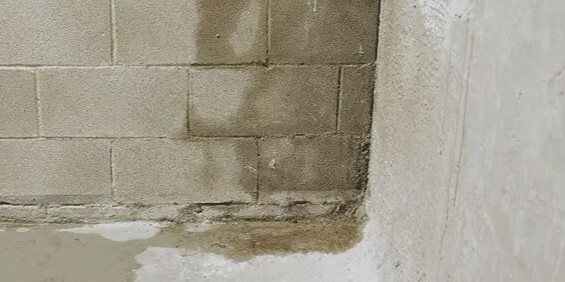
What is floor drainage in the basement?
What is floor drainage in the basement?
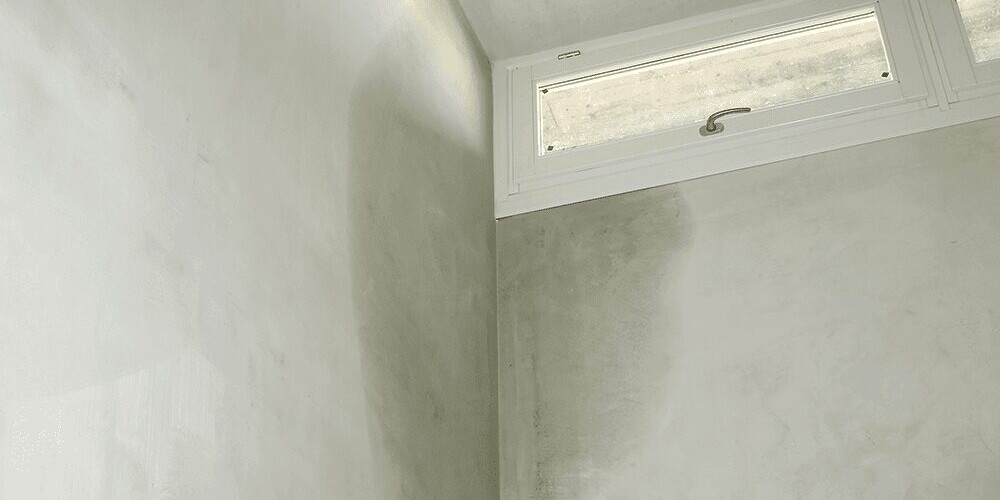
Moisture problems can occur in many places in the home. Often the basement however, the most humid place in a home. Do you often notice puddles of water in this room? Possibly it is soil moisture that largely finds its way in through the basement floor. In that case, floor drainage of your basement may well be the appropriate solution. Read on to find out how such a moisture solution works.
What is floor drainage in the basement?
Waterproofing a basement in general two ways:
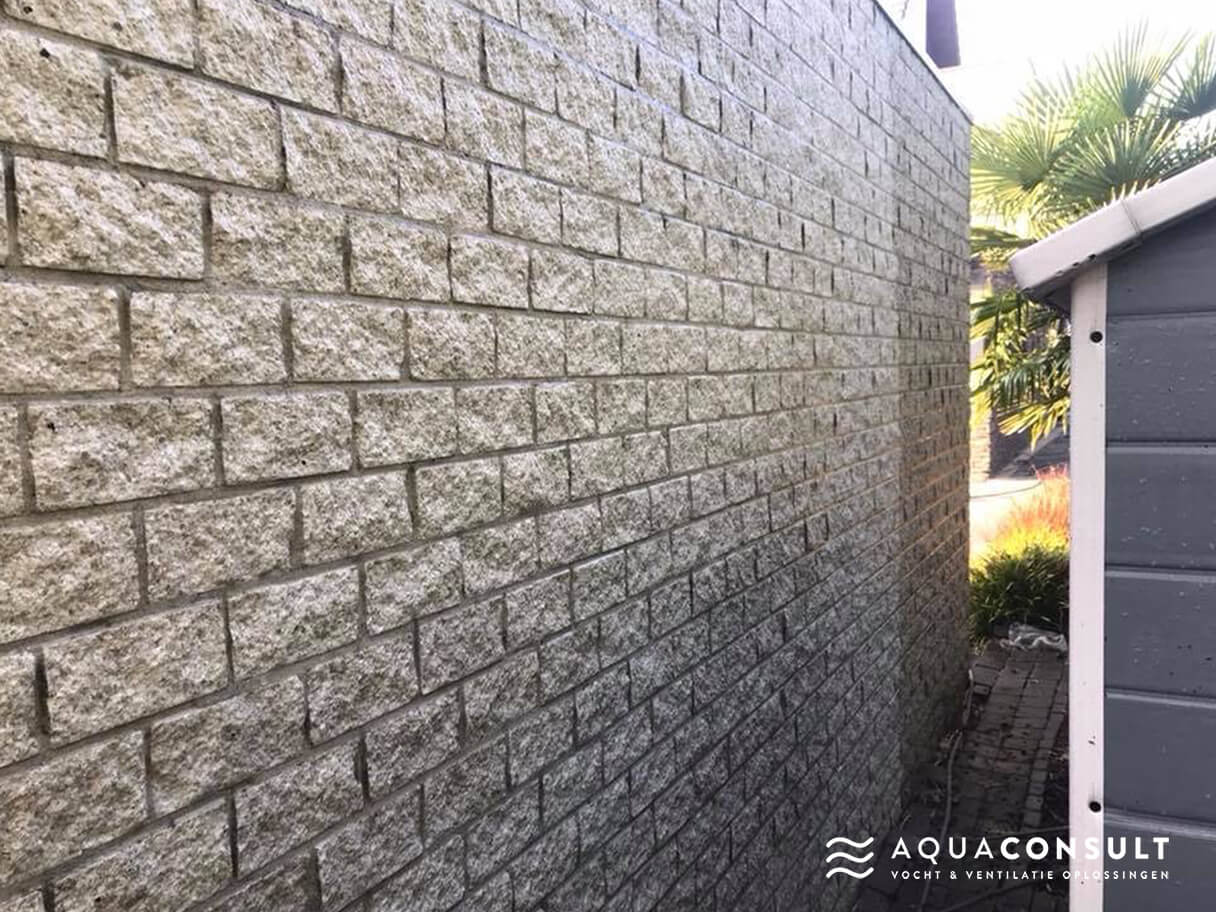
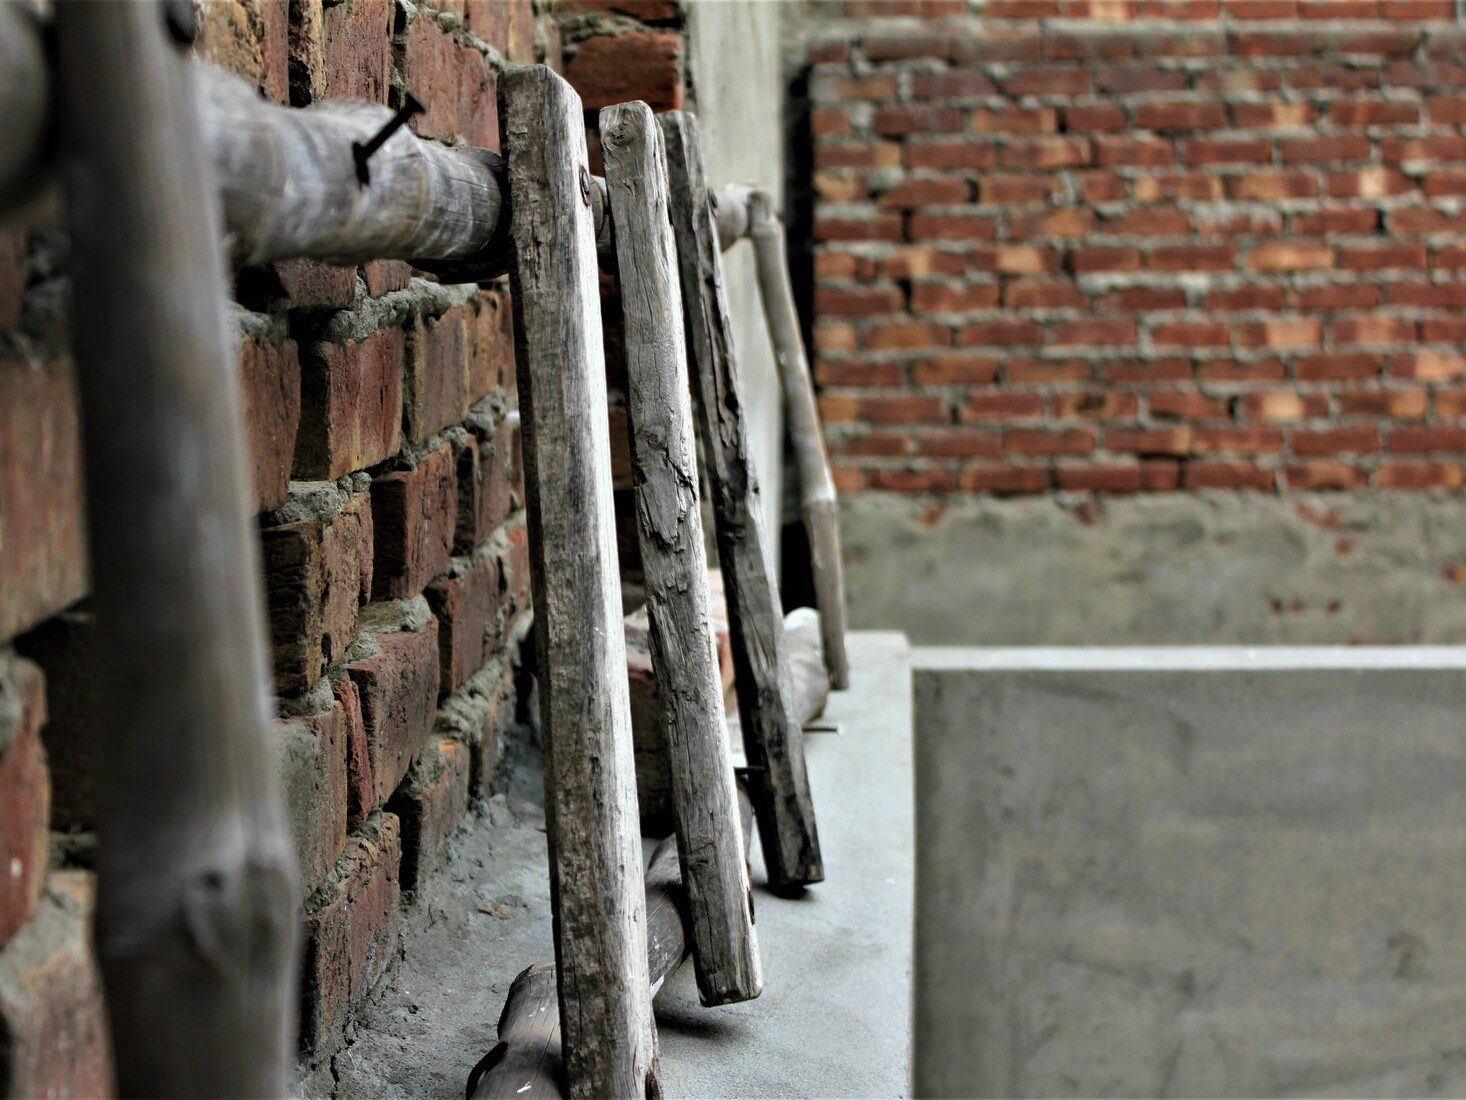
Floor drainage falls under the category of basement drainage, and is closely related to edge drainage and wall drainage. This form of basement drainage is used when moisture enters through the basement floor because it is under high pressure from groundwater. This can occur, for example, with porous floors, such as a basement floor composed of bricks.
How does floor drainage work?
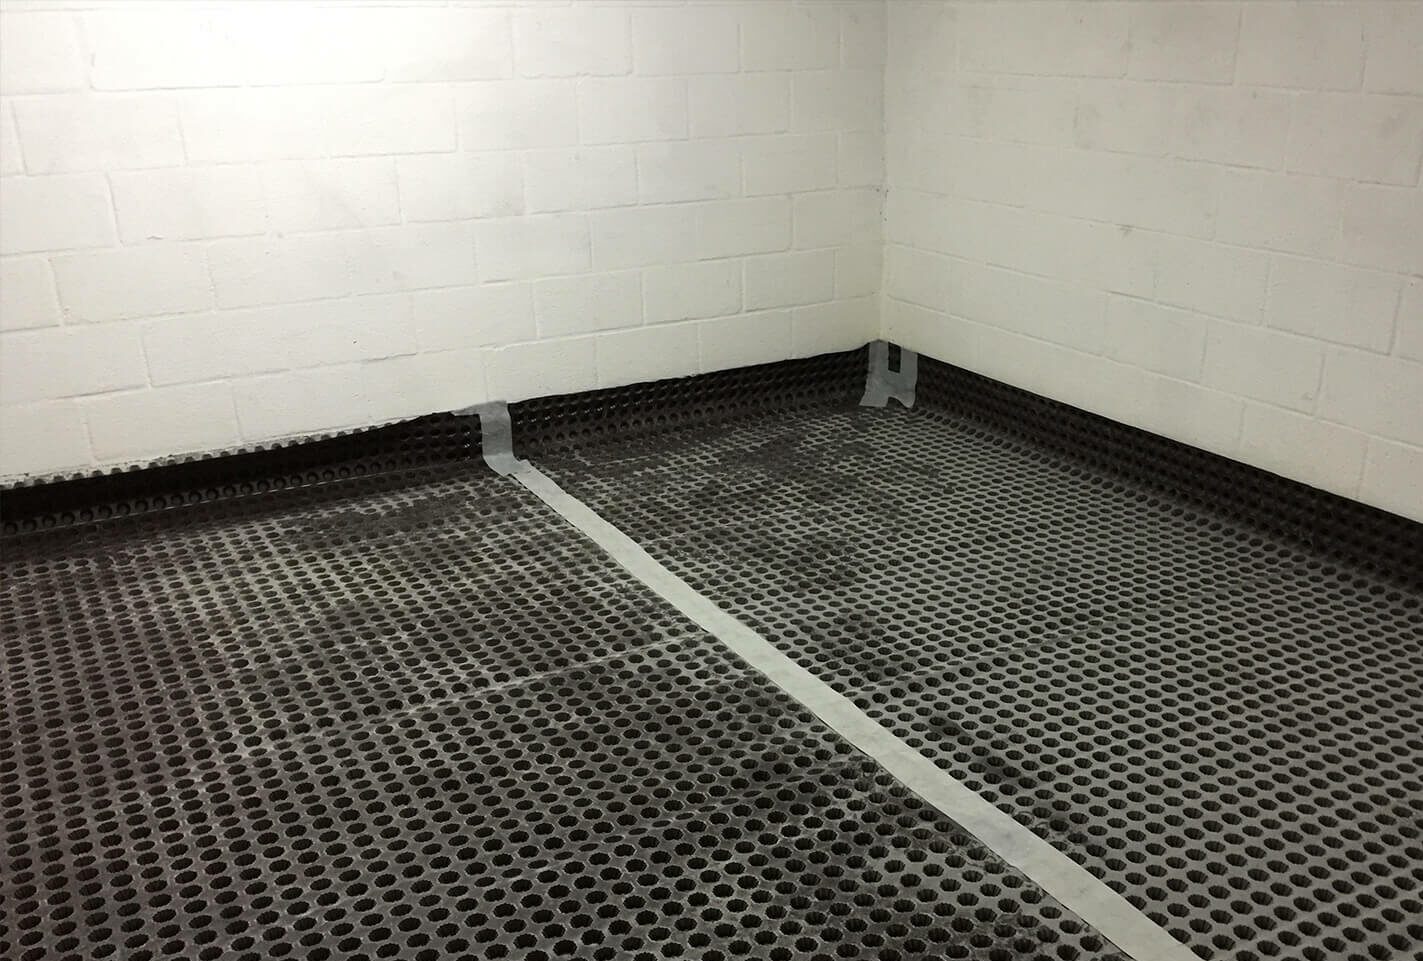
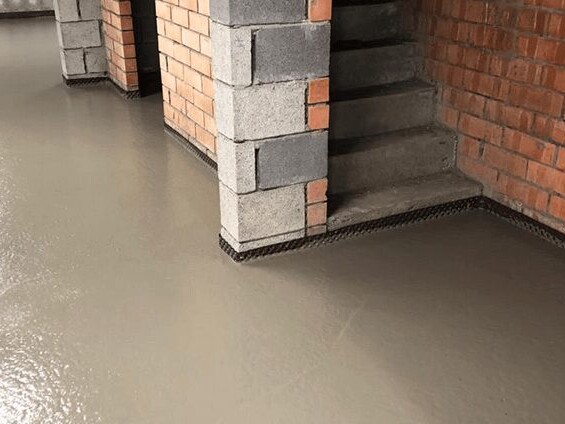
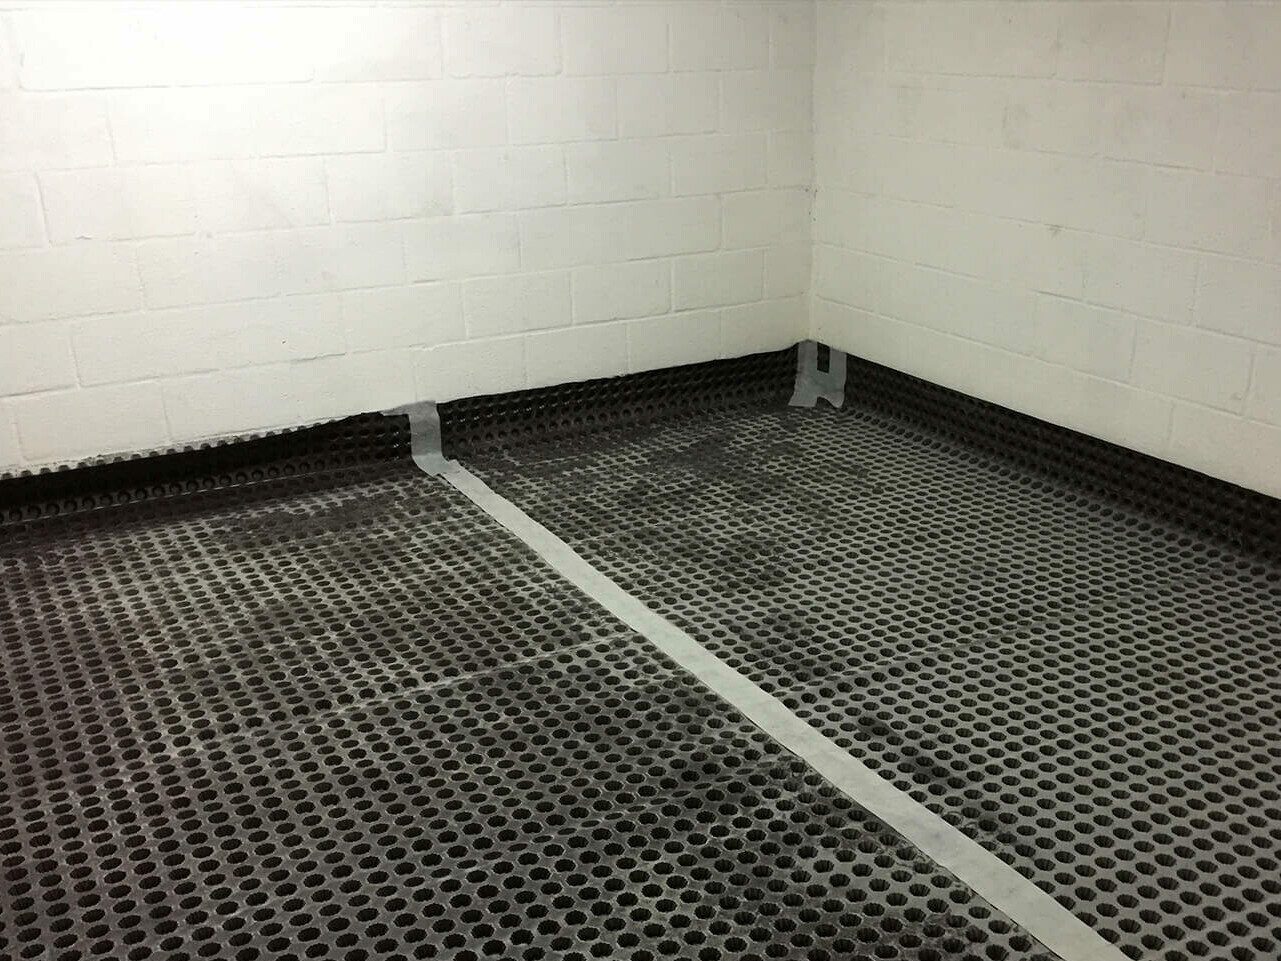
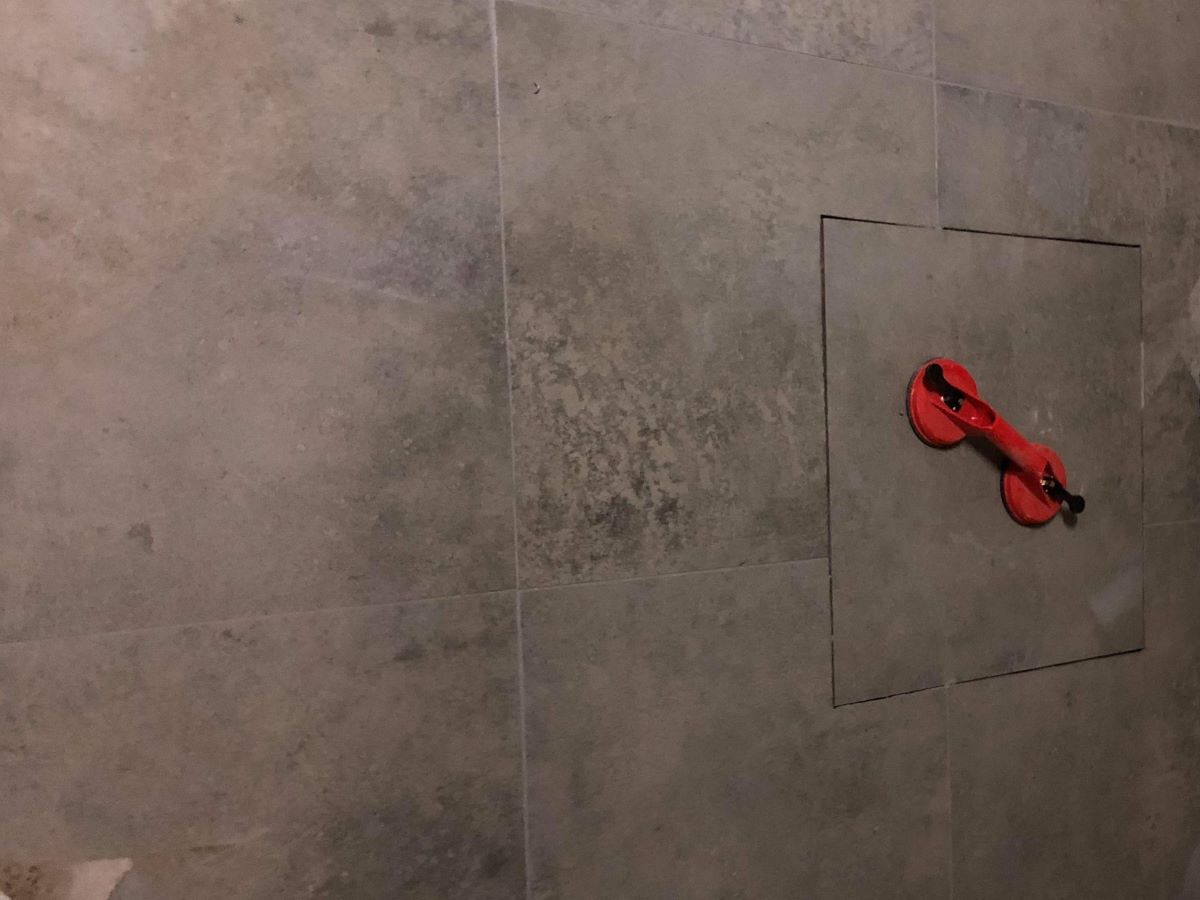
Traditionally, a moisture expert is going to install a bubble liner or membrane when doing floor drainage. This works as follows:
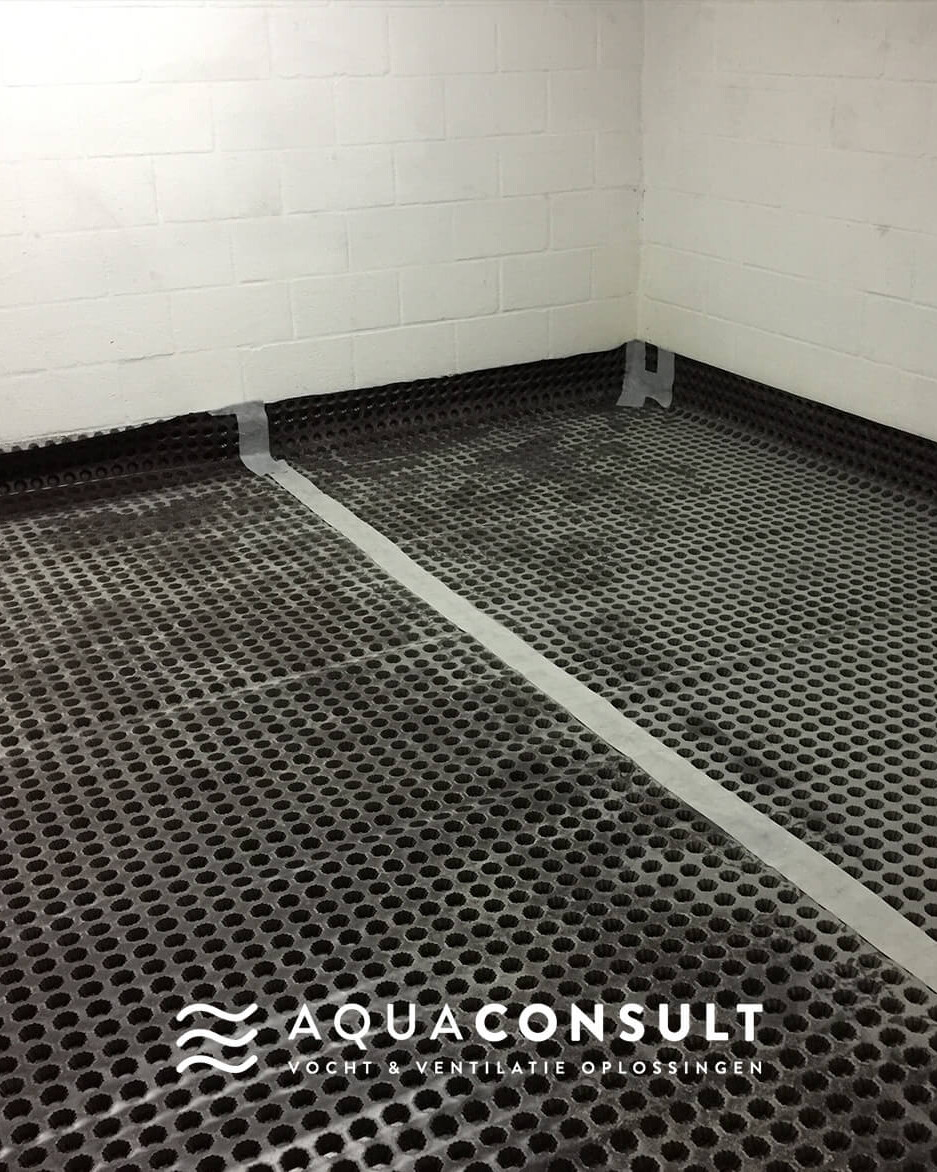
When the new floor has hardened and dried sufficiently, the moisture problem is permanently eliminated. You will lose about 8 cm of height in the process. It is advisable to get the help of a expert to be called in when you want your basement floor drained. This is because it guarantees an accurate evaluation and expert execution of the necessary work.
Unique approach: basement floor drainage with AquaConsult
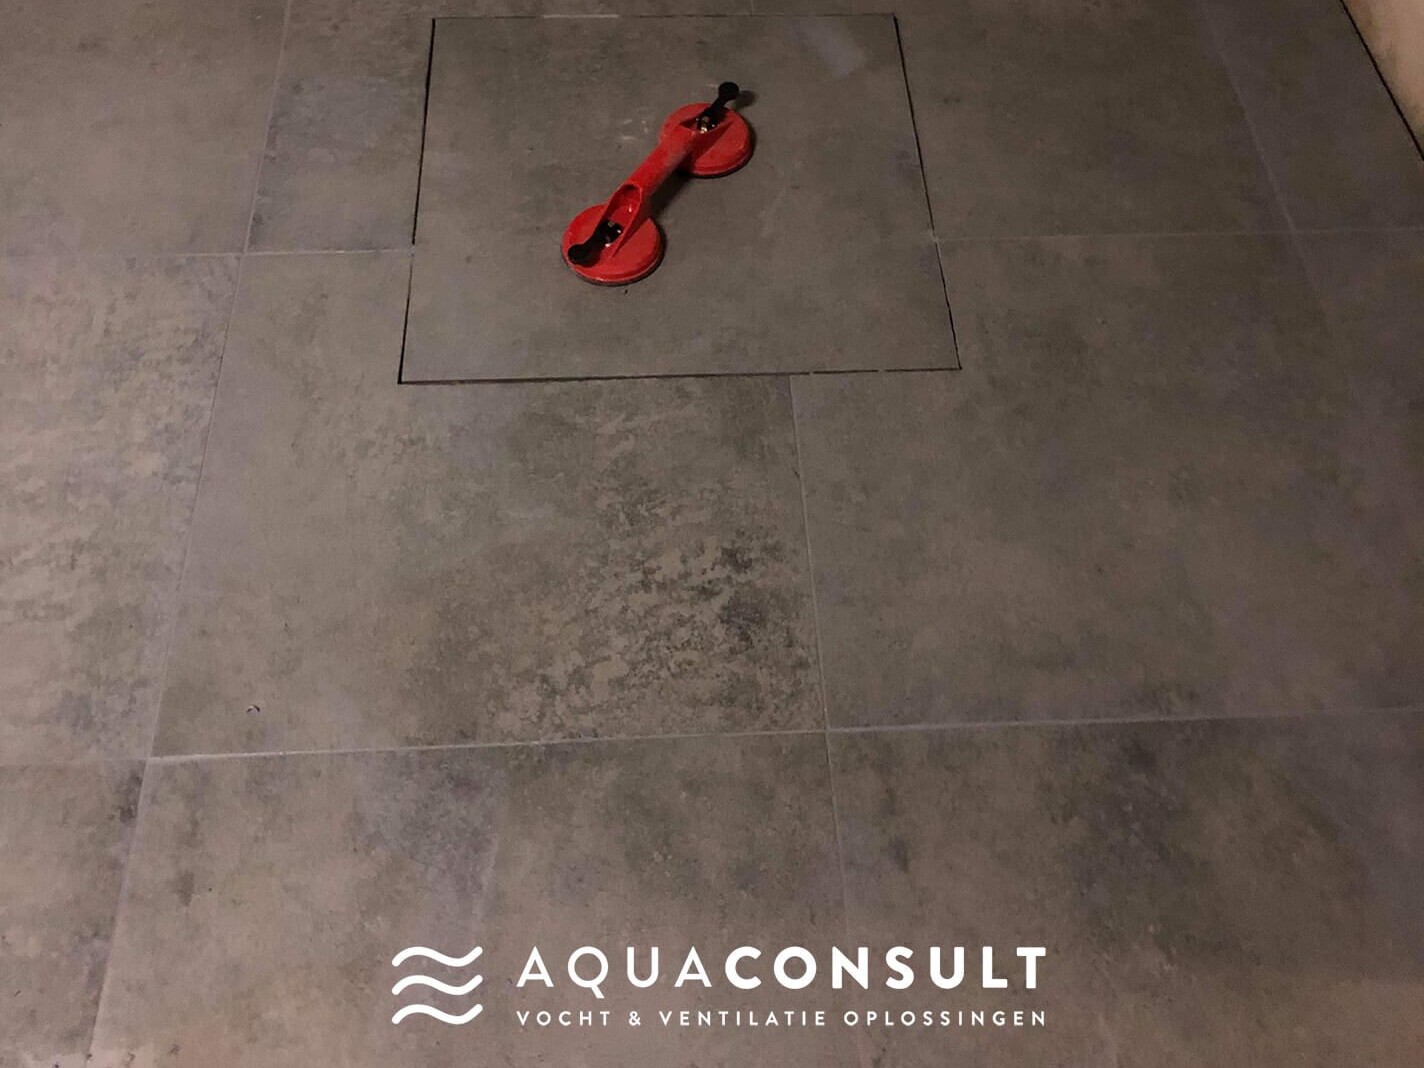
At AquaConsult, we have a certified alternative method of doing floor drainage. Instead of adding a new layer of concrete above the bubble wrap, as described above, we place certified ceramic tiles. The tiles are elastically grouted using a unique process so they never come loose.
Our approach has several advantages:
Would you like more information about this solution? Feel free to contact with us.
How is floor drainage different from basement drainage?
In case of basement framing, also known as basement waterproofing, a waterproof plaster is applied in several stages or layers to both the walls and floor of the basement. These layers then dry out and collectively form a protective barrier against moisture.
When determining the best-fit solution, we always consider the groundwater pressure. If the groundwater pressure is too high, basement waterproofing may not be the most appropriate method of moisture control. It is not obvious to determine exactly how high the groundwater pressure really is. For this, get assistance from a moisture expert.
The benefits of floor drainage in the basement
The biggest advantage of having floor drainage performed (professionally) in your basement is, of course, that the moisture problem is solved efficiently. The groundwater that seeps into the basement through the floor is effectively drained thanks to the floor drainage. Do you combine the floor drainage with wall drainage? Then your entire basement is protected from water entering.
Floor drainage in your basement also has other benefits:
Is floor drainage the solution to your moisture problem?
Whether basement floor drainage is the ideal solution to moisture in your basement depends on several factors. In some cases basement framing or -ventilation a more appropriate method. Therefore, we recommend having a thorough moisture analysis done to determine the cause and extent of the moisture problem. Only then can it be determined whether or not basement floor drainage is the most appropriate solution for your situation, and a good estimate of the cost of the procedure can be made.
Getting rid of your damp basement?
Do you have a damp basement and are looking for a suitable solution? Then AquaConsult is the right place for you. Contact us now, or request a free moisture expertise.


Request more information and brochure
Answer the questions below and get more information and our brochure based on them. Would you like to have the cost calculated? Then indicate this clearly in the text field below and we will do the necessary.

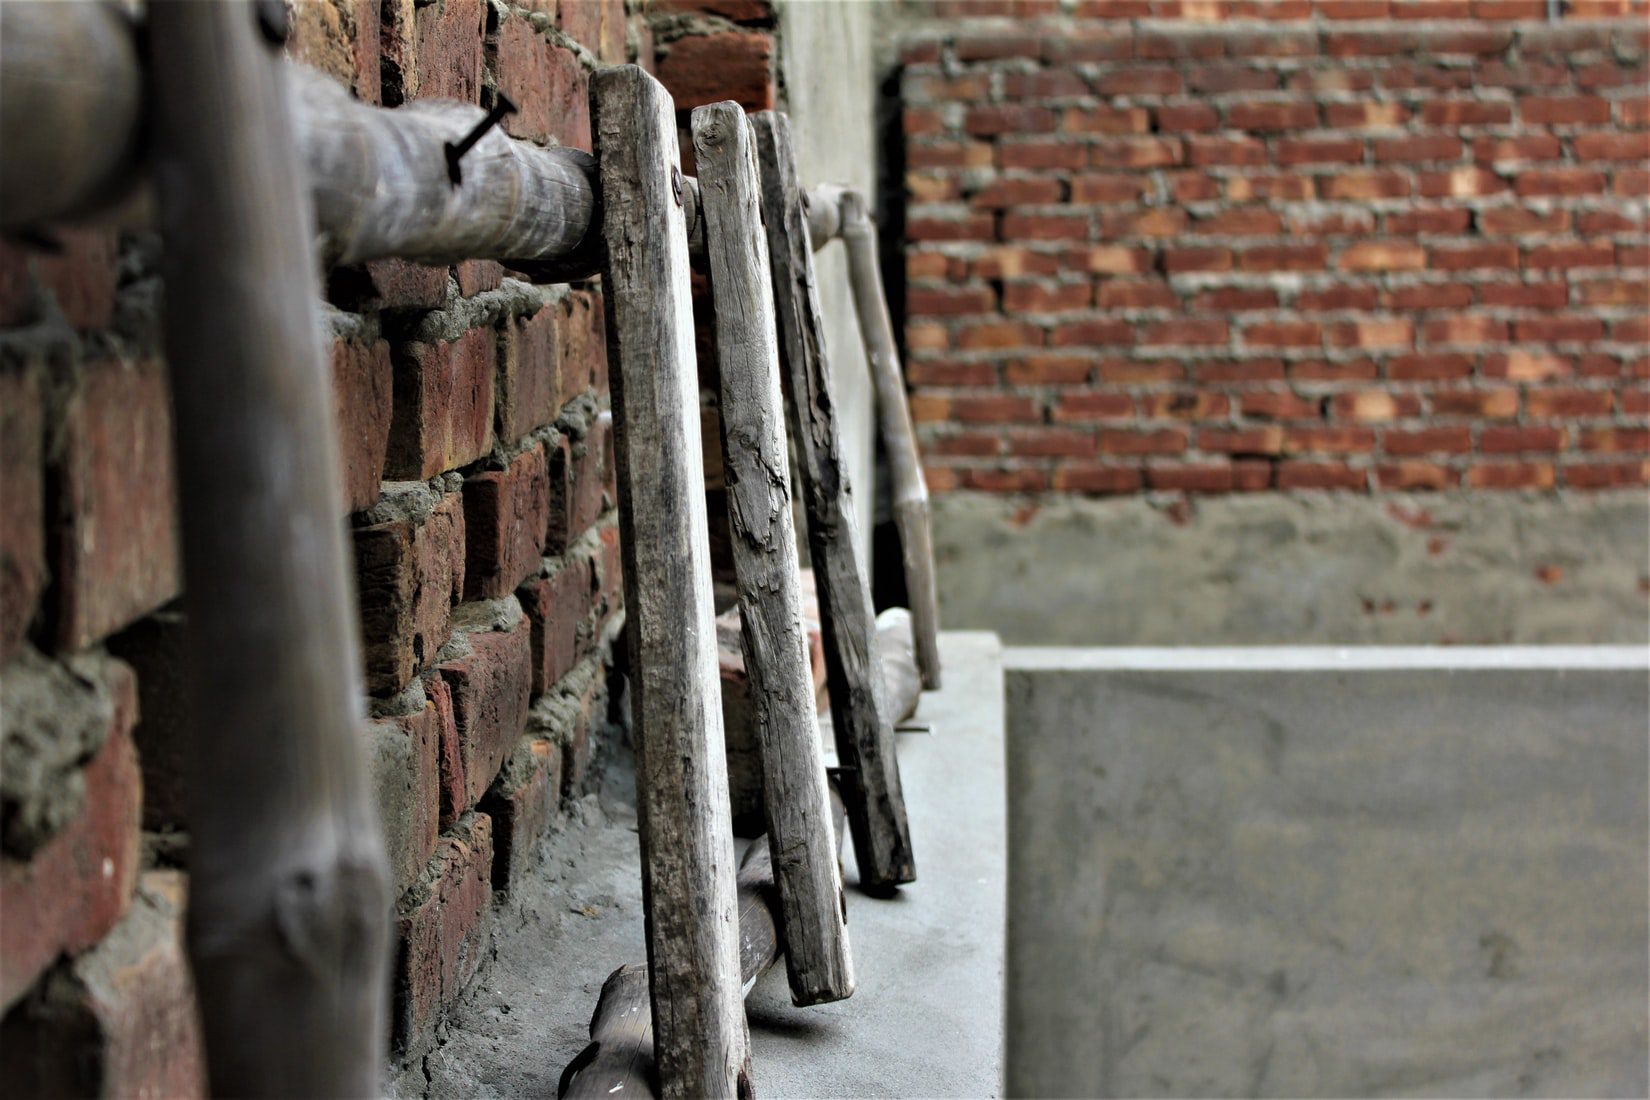
The importance of a damp-proof course in the wall in case of rising damp
The importance of a damp-proof course in the wall in case of rising damp
Do you also suffer from rising damp in the walls? Then there's a good chance you have problems with the water barrier. Find out how best to deal with this.
What is a damp-proof course in your wall?
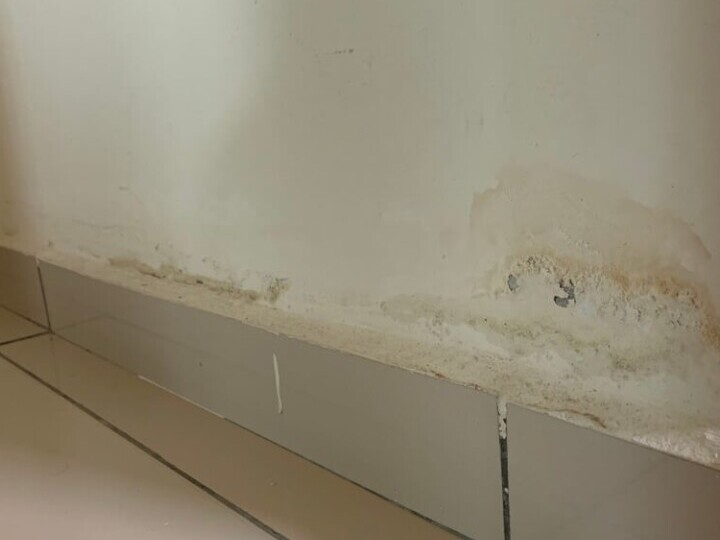
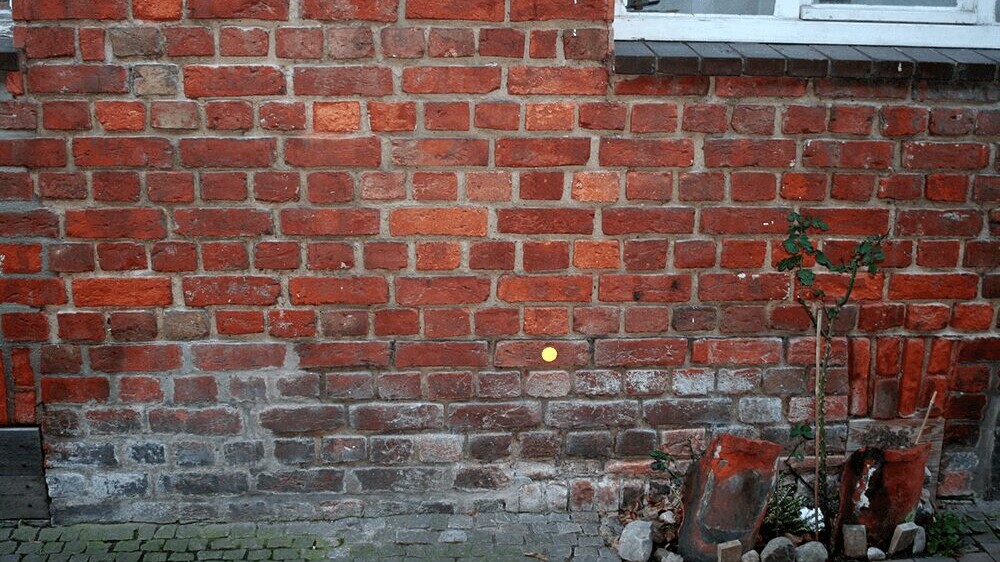
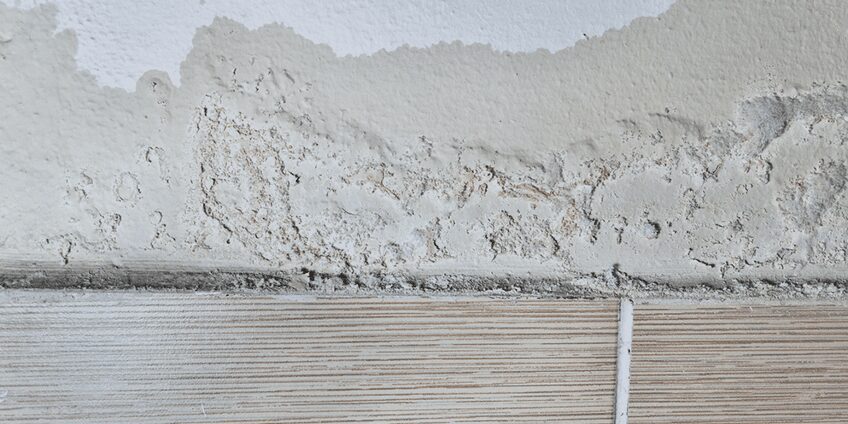
A damp-proof course is a layer of moisture-resistant material, usually integrated into the construction of the wall. It is designed to prevent the passage of water through the wall. Usually it is placed on the first row of bricks, flush with the floor pass, to ensure that moisture cannot enter the house through, for example, the basement walls. In this way, therefore, it is a kind of weapon against moisture problems, preventing damage to the structure or interior of a building.
The importance of a damp-proof course in your wall
It is important that this layer be intact along the entire length of the walls. If it is not, or the water barrier is completely missing, it loses its function. Then:
The infestation goes across the entire width of the wall and can go over a long length.
Fix problems with the damp-proof course in the wall
Do you experience rising damp due to a problem with the water barrier? If so, there are several methods available to address these water barrier problems, depending on the situation. We list them briefly below.
Note: if you notice moisture in the walls notices, it does not automatically mean it is rising damp. It is always advisable to seek the help of an expert. An expert can determine the exact cause of the moisture problem and assess whether it is actually rising damp. Based on this analysis, he or she can then make specific recommendations for the proper control method. You can get a free moisture analysis. applications.
No water barrier is present
When you are dealing with rising damp, the first question you should ask yourself is whether there is a water barrier in your walls. Homes built before the 1980s, for example, often do not have a built-in water barrier. If your home's walls lack a water barrier, it is best to have one installed. There are two ways to do this.
The existing water barrier is not doing its job
If a water barrier is already in place, the reasons why it is not functioning properly should be investigated.
Put an end to your moisture problems
Do you have a moisture problem, and suspect it could be rising damp? Our field engineers are true experts when it comes to rising damp. Contact AquaConsult now for a no-obligation free expertise.
Request more information and brochure
Answer the questions below and get more information and our brochure based on them. Would you like to have the cost calculated? Then indicate this clearly in the text field below and we will do the necessary.
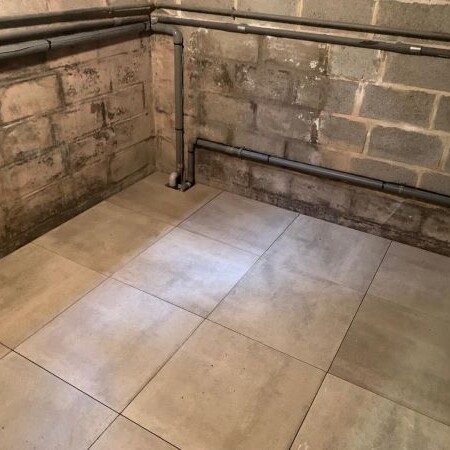
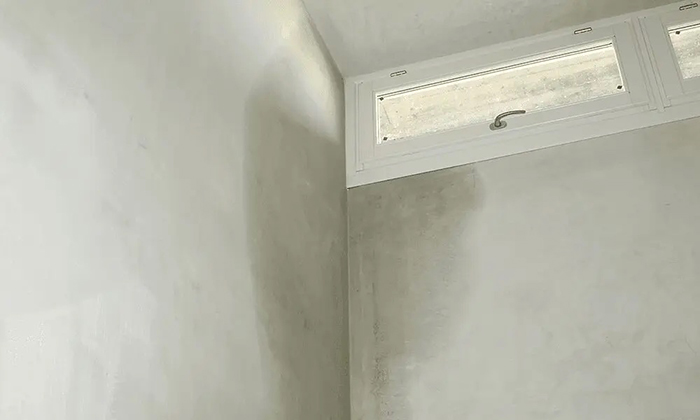
Unique in Flanders: have your basement poured with ceramic tiles
Unique in Flanders: have your basement poured with ceramic tiles
When soil moisture enters your basement, problems such as a damp basement floor, damp basement walls, musty odors and mold. Obviously, you want to avoid this. One possible solution to this is waterproofing the basement. Where basement waterproofing used to be only possible with concrete, AquaConsult offers a unique alternative: waterproofing your basement with ceramic tiles. Read all about it here.
What is basement cupping?
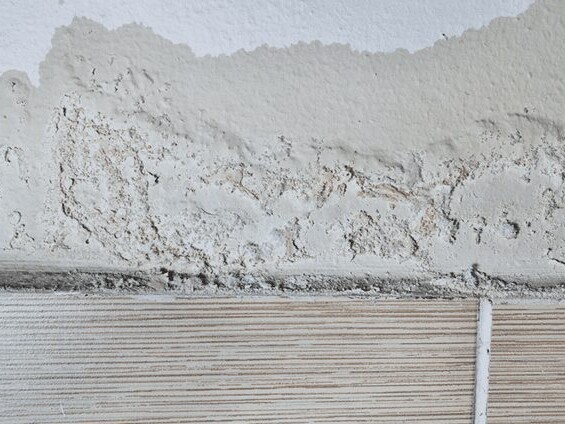
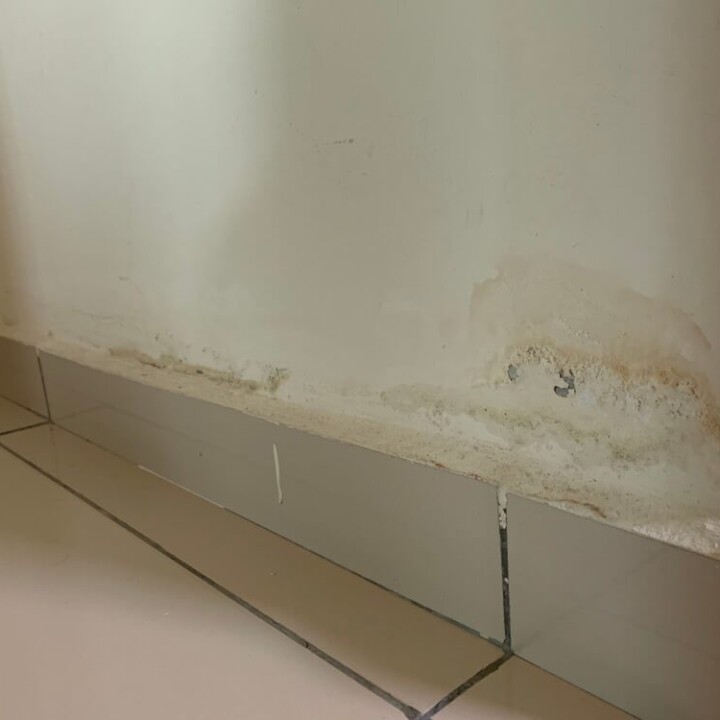
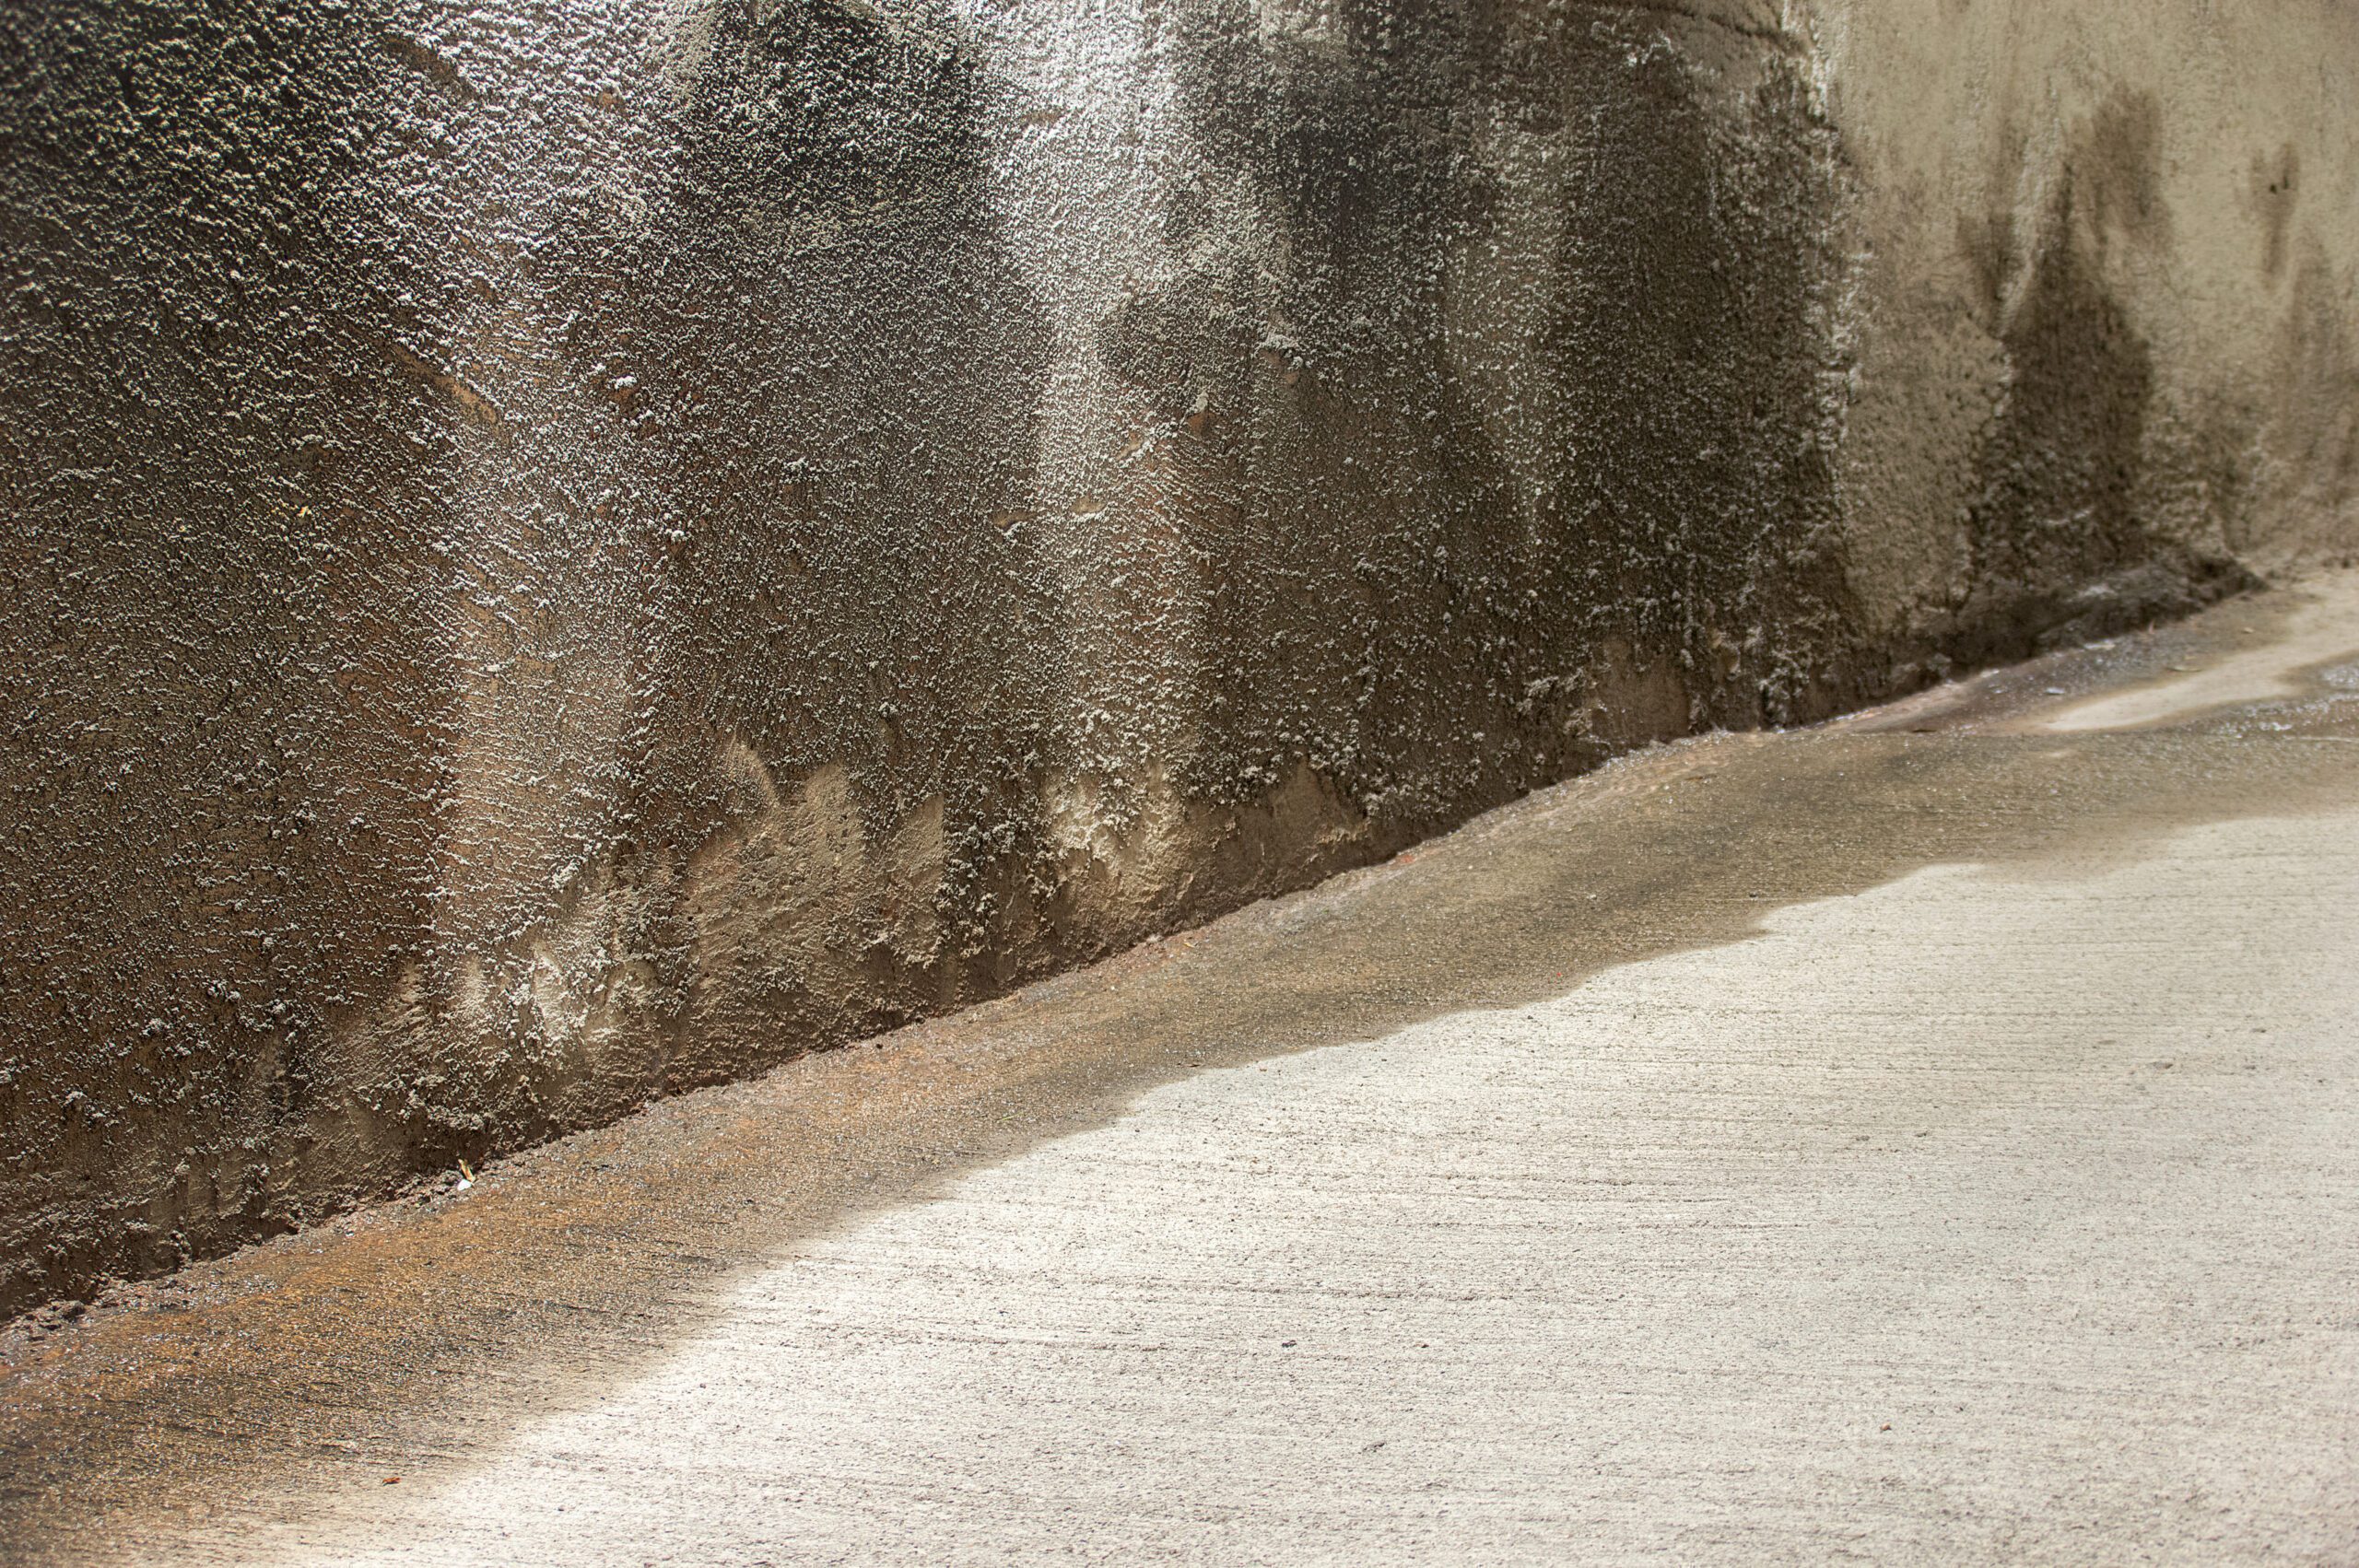
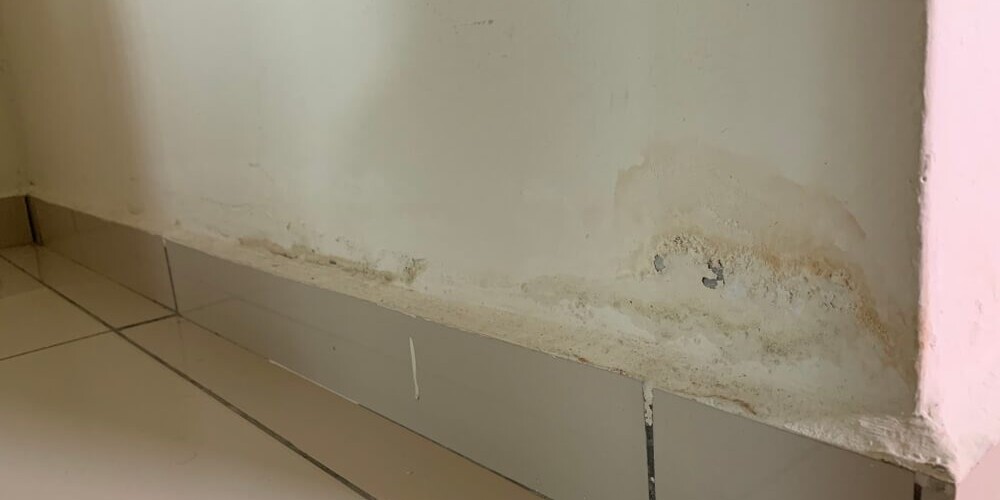
In many basements, the basement walls and floor are not sufficiently resistant to the pressure of groundwater. This causes salts to form in the walls, which then affect the plaster present. In this way, soil moisture can enter your basement through the basement walls and/or floor, which can have negative consequences. To combat this, you can have your basement drained.
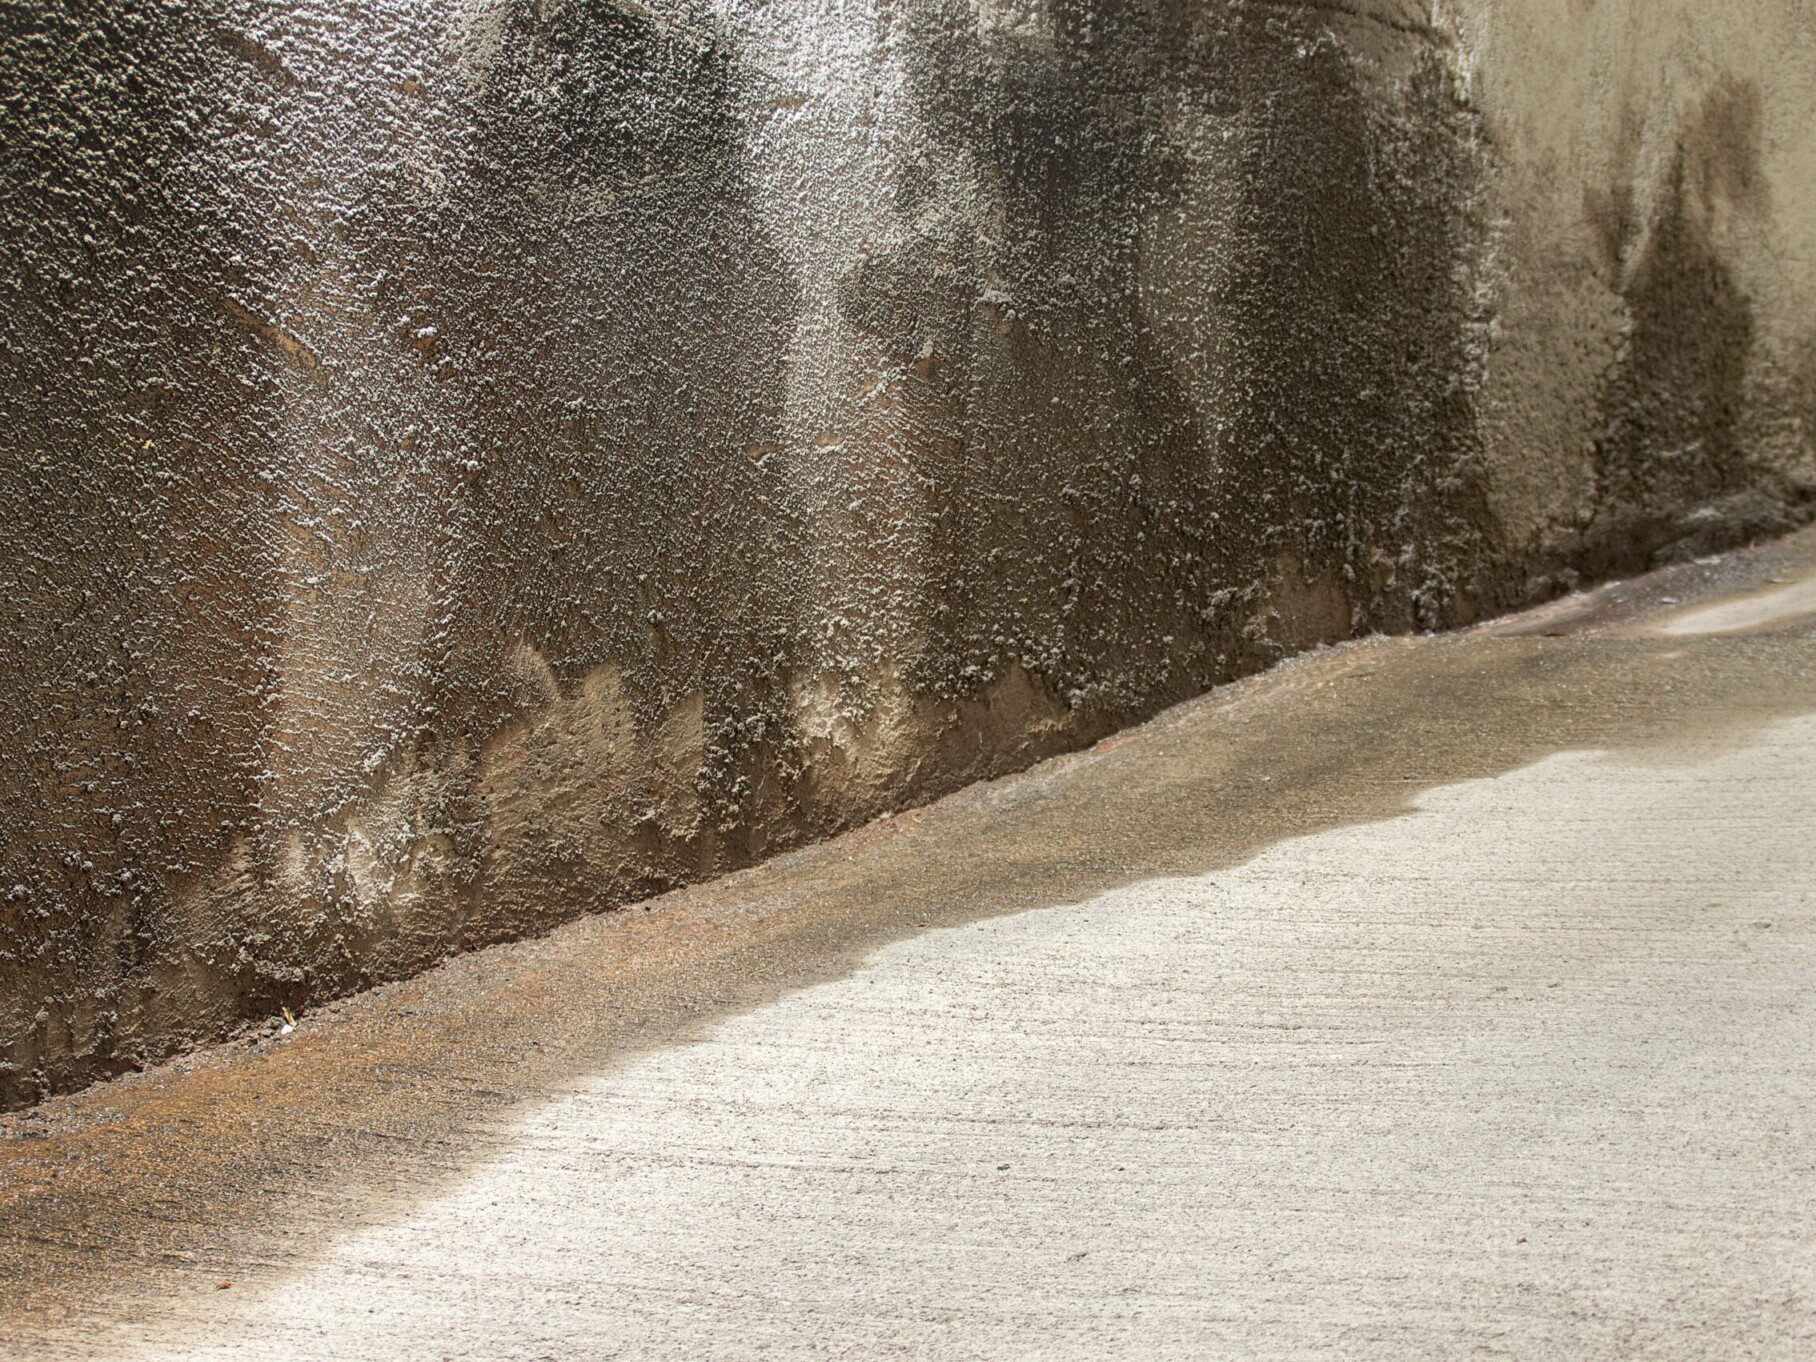
In a basement waterproofing or basement sealing, the basement floor and walls are covered with a thick layer of waterproof cement. This creates a new protective layer, as it were, which ensures that groundwater can no longer pass through. Specifically, such a basement waterproofing works as follows:
After performing (or having performed) these steps, water will no longer enter your basement.
Note: Every situation is unique. In some cases, a basement pit is not sufficient, and a basement drainage or -ventilation needed. Get assistance from AquaConsult and request a free expertise to ensure you make the best choice for your basement.
Pair the practical with the pleasant: have your basement poured with a tile finish
Traditionally, basement waterproofing is done exclusively with a waterproof layer of concrete. But, you can also go a step further and have your basement waterproofed with certified ceramic tiles. AquaConsult is unique in this, and there are several advantages to doing so:
1. Less place loss
A basement casing is always accompanied by some loss of space. Typically, such loss with a traditional casing is about 8 cm, but with a tile finish this loss is reduced to about 5 cm.
2. Complete and beautiful finish
This basement sealing method automatically creates a nicer-looking basement that is also fully finished right away.
3. Cheaper
Basement waterproofing with ceramic tiles also comes with a more interesting price tag than basement waterproofing with concrete. Basement waterproofing actually involves renovating the entire basement, which of course is not cheap. However, with this unique process, the sealed basement is also immediately finished with certified ceramic tiles of 60 cm × 60 cm, which saves you in finishing costs. In addition, fewer materials are also needed to keep your basement dry, which benefits your wallet.


Say goodbye to your damp basement once and for all
Do you have a damp basement and are looking for a suitable solution? Then AquaConsult is the right place for you. Contact us now, or request a free moisture expertise.
Request more information and brochure
Answer the questions below and get more information and our brochure based on them. Would you like to have the cost calculated? Then indicate this clearly in the text field below and we will do the necessary.
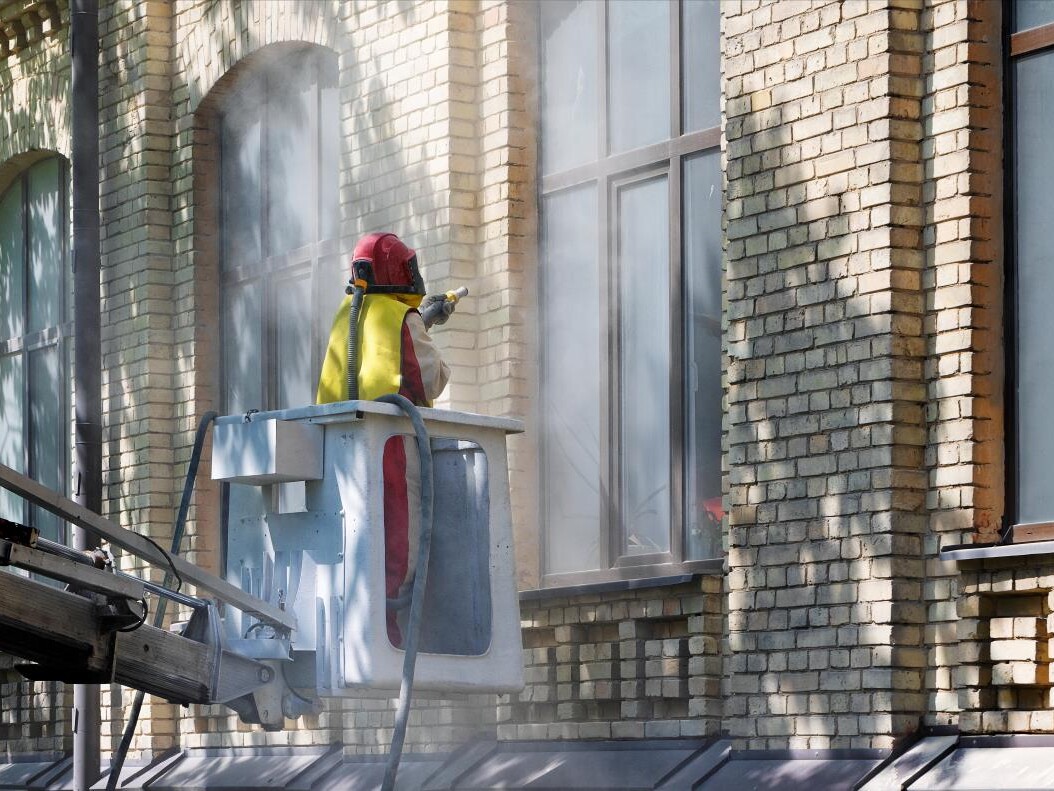
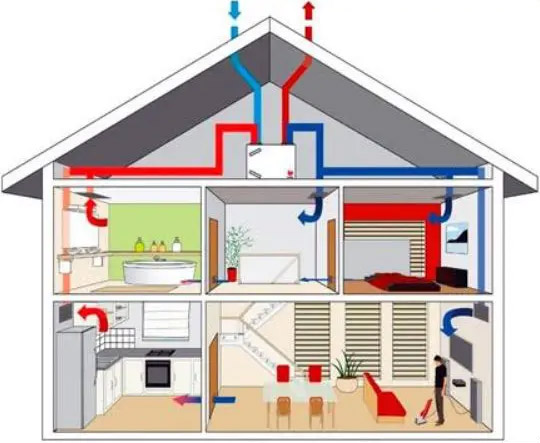
Mechanical ventilation: the solution to your moisture problem?
Mechanical ventilation: the solution to your moisture problem?
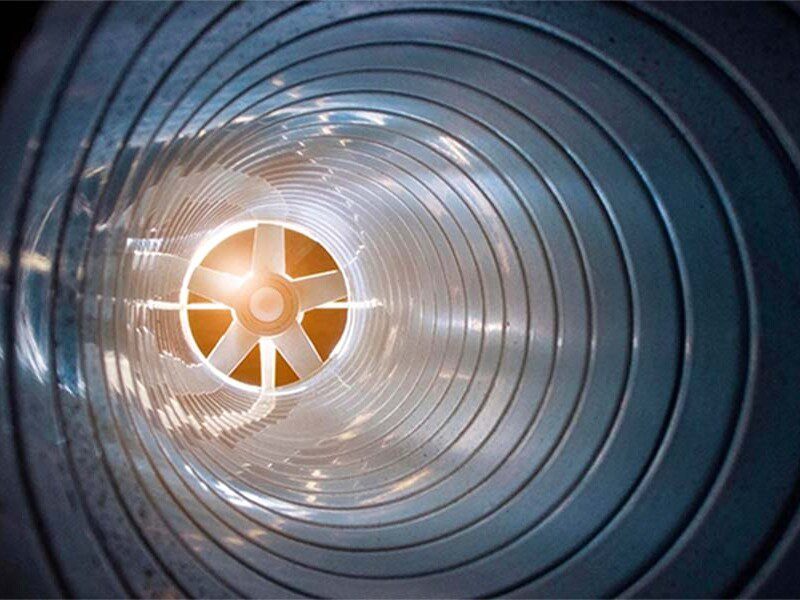
Ventilation is the process of removing polluted air and bringing in fresh, clean air. This is vital to prevent various long-term problems. An effective approach to this is the use of mechanical ventilation. But what exactly does this entail? In what ways does it help combat moisture problems? And how can mechanical ventilation contribute to the fight against corona virus? All your questions are answered in this article.
Why is proper ventilation important?
The average Fleming spends most of his or her time indoors. Despite this, we note that indoor air quality is often considerably less than outdoors. This is often true for basements, where ventilation is generally challenging. This brings with it all kinds of negative consequences:
So thoroughly ventilating your home has only advantages.
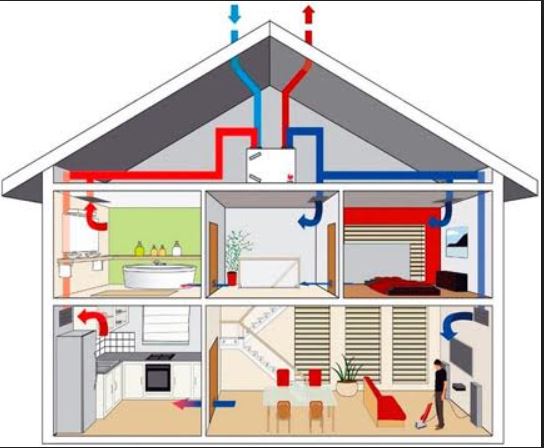
What is the difference between natural and mechanical ventilation?
As already stated, through ventilation you remove polluted air and bring in fresh, clean air. With natural ventilation, this supply and removal occurs naturally. Grids embedded in the walls allow polluted air to go out while fresh air comes in through another grid. Or you open a window. That, too, is ventilation.
Still, natural ventilation is not always a good idea. Especially in well-insulated houses, this can be difficult, because everything was done there to keep the warm air in. Also, many people leave the ventilation closed in winter to keep out the cold air. At that time there is not even ventilation anymore.
There is also a big disadvantage to natural ventilation: you can't (or at least very difficult) control the supply and return of air, in the winter cold air comes in, causing your energy bill to skyrocket.
With mechanical ventilation, these tricky points fall away and you can control the extraction and/or supply of air in a partially or fully mechanical way. Three different combinations are possible.
The different types of mechanical ventilation
Mechanical ventilation systems are divided into types from A to D. Ventilation system type A is natural ventilation, so we won't expand on that. Ventilation system type B is mechanical ventilation, but this form is rarely used in homes. We briefly review the details of ventilation systems type C and D.
Ventilation system type C(+)
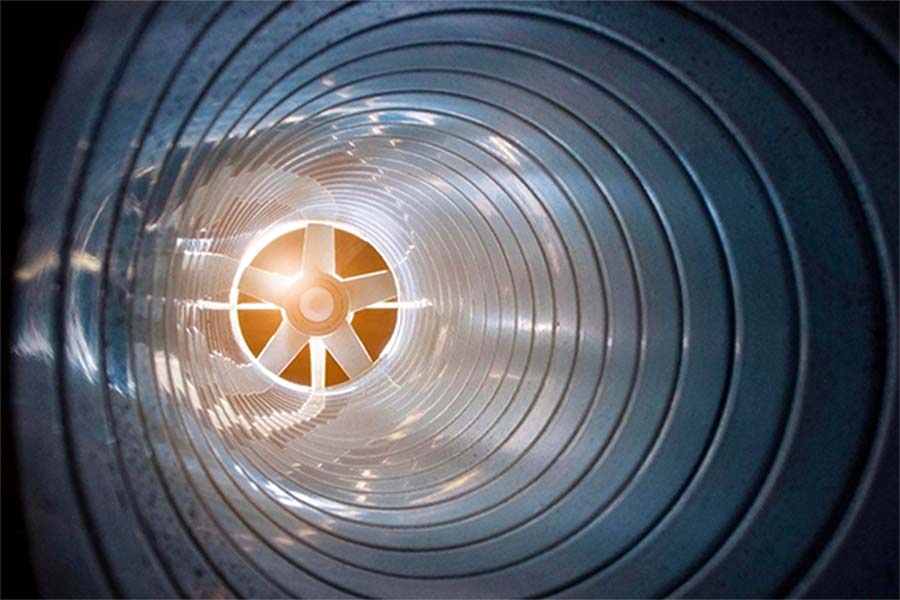
Mechanical ventilation often refers to ventilation system C. This system is partly mechanical: the supply of air is natural, but its removal is mechanical. Two types can be distinguished in this:
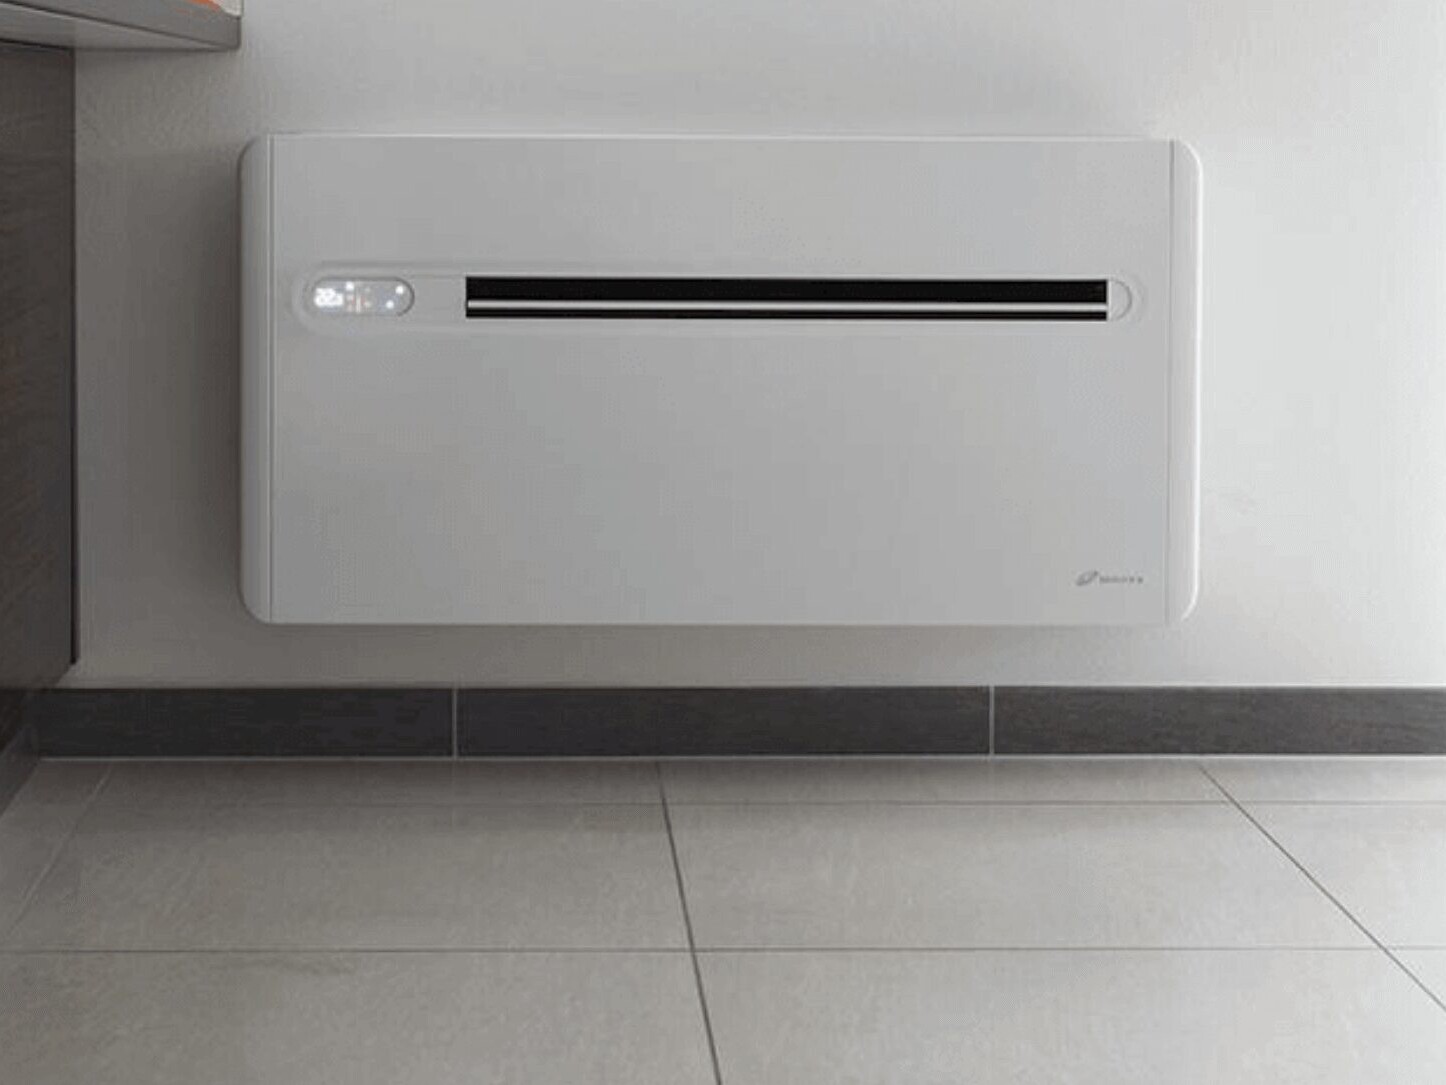
Ventilation system type D
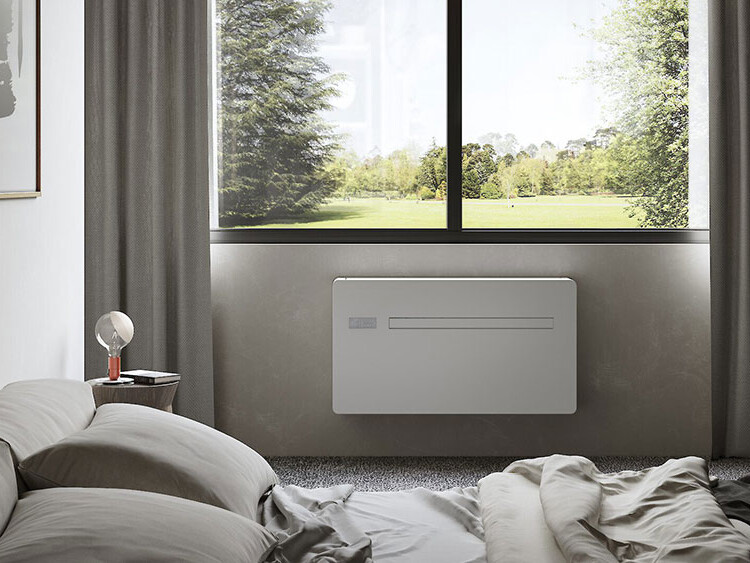
Type D mechanical ventilation goes one step further. Here, both supply and exhaust are fully mechanical. There are several additional options, such as choosing a heat exchanger to save more energy. There is also the option of filtering for pollen and dust, which is especially beneficial for people with allergies.
With this type of mechanical ventilation, also known as balanced ventilation, the supply and return of air remains constantly balanced.
Which mechanical ventilation system is the best choice?
Now that you know the difference between mechanical ventilation type C and type D, let's briefly list the pros and cons.
Both mechanical ventilation systems help against moisture problems anyway. If you ventilate properly, condensation moisture no longer has a chance. It only benefits your health.
We take on viruses
You can also have something else built into the balance ventilation: the GPS-FC24-AC, a ionization system. Such an ionization system sends electrons into the air that cling to particulate matter, pollen, as well as pathogens such as those from coronavirus. After a 60-minute exposure, the number of particles of covid-19 had decreased by as much as 90%.
This is one of the products officially approved by the Federal Public Health Service To be useful in the fight against coronavirus. Is the product not on that list? Then it is forbidden to be sold in Belgium.
Need mechanical ventilation?
Do you suffer from damp walls? Maybe mechanical ventilation could be the solution to your problem. Request a free moisture assessment now and we will help you find the best solution.
Request more information and brochure
Answer the questions below and get more information and our brochure based on them. Would you like to have the cost calculated? Then indicate this clearly in the text field below and we will do the necessary.
Treating rising damp yourself: here's how to do it
Treating rising damp yourself: here's how to do it
Do you suffer from damp walls? You may be dealing with rising damp. It is important to address this problem to prevent further damage. Fortunately, it is often possible to treat rising damp yourself. In this article, we share all the essential information about this.
Rising damp, a moisture problem you'd rather not have
Rising damp is caused by groundwater absorbed by the foundation and walls, this because there are problems with the water barrier in the wall. This leads to moisture spots that are mainly visible close to the ground, but the moisture can also spread further into the wall. Both interior and exterior walls can suffer significant damage as a result.
This moisture problem can occur in both old and new houses, and it brings about all kinds of negative consequences. Some examples are:
So it is very important to treat rising damp at its base. It is often possible to treat the rising damp yourself.
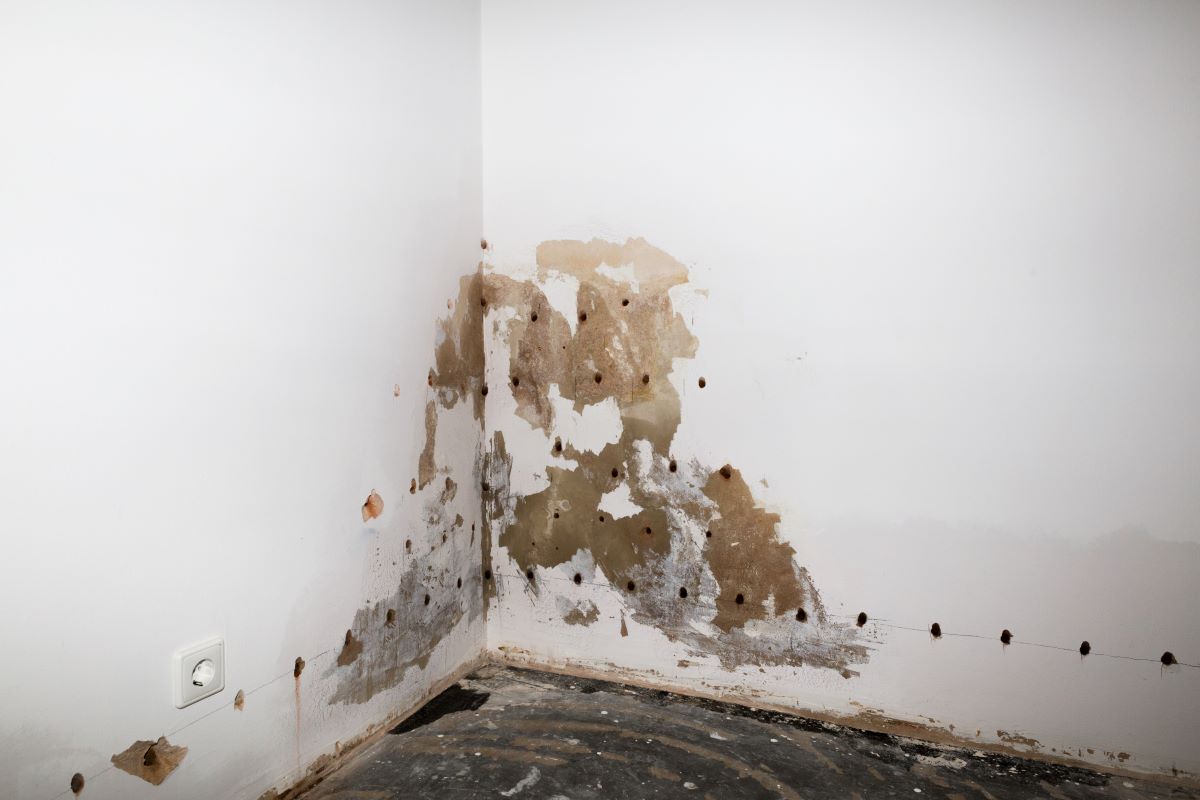
Treating rising damp yourself with wall injections
When you want to treat rising damp yourself, there is usually only one method that is effective: the injection of the wall. This involves drilling holes in your wall and then filling (read: injecting) them with a moisture-resistant gel. That gel then spreads deep into the pores of the wall. The chemical components of the gel react with the elements in the wall, resulting in a water-repellent layer that blocks rising moisture.
Step by step treat rising damp yourself
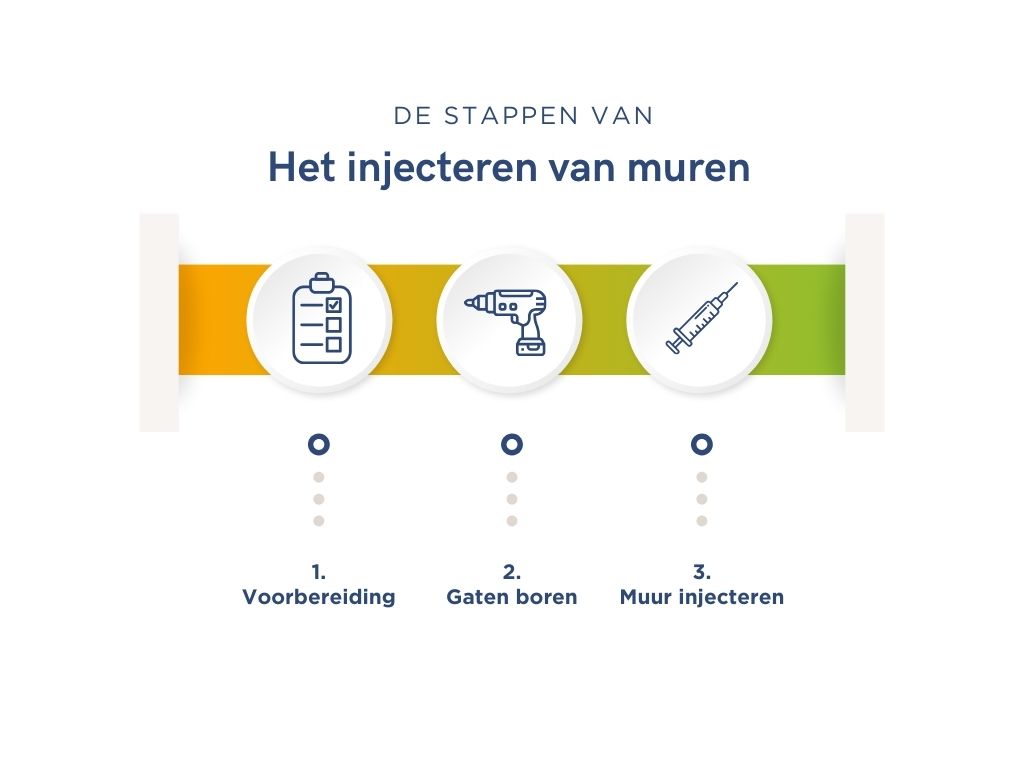
Step 1: the preparation
A prepared man is worth two. It's no different here. These are some preliminary steps it's best to take before treating rising damp yourself:

Step 2: drilling the holes
After the preparation, it's time for the real work: drilling the holes in the wall. Holes should be drilled along the full length of the floor. The holes should be spaced 10 centimeters apart each time, and they should come just above the floor pass. It is recommended that you mark off the holes first.
After determining the locations of the drill holes, measure the thickness of the wall to be treated. The drilling depth should be about 90% of the wall thickness, often this amounts to 2 inches less than the thickness of the wall. To actually drill the holes, it is recommended to use a long 12-milimeter stone drill bit. After drilling, the holes should be carefully cleaned with a vacuum cleaner to remove drill cuttings.

Step 3: injecting the wall
After drilling the holes, you can inject the walls. You fill the holes with the damp-proofing agent, and you do this using a caulking gun or spray gun. Do this as follows:
A handy tip to remember: if emulsion gel is spilled, it is advisable to clean the spill immediately with warm soapy water. By doing this quickly, you prevent the emulsion gel from drying up and becoming more difficult to remove.

The pros and cons of treating rising damp yourself
There are some advantages to injecting your wall yourself. For one, you can cut costs, and you can completely control when you inject your wall. You also have more control over the entire process and can closely monitor your wall and notice any problems in a timely manner.
However, performing wall injections yourself also does not come without dangers:
Treating rising damp yourself: the conclusion
Although fighting dampness yourself is possible, it requires patience and precision. Nevertheless, we recommend hiring professional help, as it guarantees a correct execution and final solution. Due to favorable prices and a reduced VAT rate, professional moisture control is often not much more expensive.
Addressing rising damp once and for all
Do you have a moisture problem, and suspect it could be rising damp? Our field engineers are true experts when it comes to this moisture problem. Contact AquaConsult now for a no-obligation free expertise.
Request more information and brochure
Answer the questions below and get more information and our brochure based on them. Would you like to have the cost calculated? Then indicate this clearly in the text field below and we will do the necessary.
Am I entitled to the Flemish renovation premium for moisture control?
Am I entitled to the Flemish renovation premium for moisture control?
If you are planning to renovate your home in Flanders, the Flemish renovation premium is an interesting possibility to receive financial support. This premium can be used for various renovation works, such as moisture control and basement waterproofing. In this article, we offer detailed information about the conditions, the application process and the amount of the premium.
What is the Flemish renovation premium?
Anyone renovating or converting a house in Flanders can apply for various grants and subsidies. The umbrella Flemish renovation premium is one of them. This Flemish renovation premium can also be used for works of AquaConsult.
Who is eligible for the Flemish renovation premium?
There are two different possibilities: you can apply for a Flemish renovation premium as a resident, or as a landlord.
For applications from Jan. 1, 2022, you must not have earned more in 2020 than

How is your income calculated?
This is the income from two years before the application. Are you making your application in 2022? Then it's about 2020 income.
To calculate the income, they take into account the income of the resident as well as the income of all adult persons with whom he or she is living at the time of the application. So if you have adult children who are still living at home while already working, that income is also taken into account.
Income consists of a sum of various incomes:
What exactly can you use the Flemish renovation premium for at AquaConsult?
At AquaConsult, you can use the Flemish renovation premium for works such as waterproofing your basement, or at injecting walls to rising damp treat.
For balanced ventilations you have a chance to win another premium: the total renovation bonus. Also known as the BENO pass. Again, there are some conditions attached:
How old can invoices be to apply for a Flemish renovation premium?
As with the BENO pass, invoices may be no more than two years old on the date of application. Only invoices apply here, so not quotations, order forms, shipping notes or receipts.
Both invoices of materials purchased and work performed by a contractor are eligible. Invoices must be at least 2,500 euros cost to calculate and award a renovation bonus.
How much will the Flemish Renovation Premium be in 2024?
The renovation bonus is 30% for both landlords and owners.
Those premiums are by category. There are four categories and moisture control is under category 1: the structural elements of the home. The premium is paid within 12 months of your application.
How can I apply for the renovation grant?
Once the works are finished, you can apply for the Flemish renovation premium online via the site https://formulieren-wonen.vlaanderen.be/. You can also apply for the premium on paper. You can find the form 'Application for a housing renovation premium' at https://www.wonenvlaanderen.be/.
Need more information about the Flemish renovation premium?
Do you have more questions about the Flemish renovation premium? Or would you like our field engineers to stop by for a free moisture expertise? Contact AquaConsult now and we will be happy to help you.
Request more information and brochure
Answer the questions below and get more information and our brochure based on them. Would you like to have the cost calculated? Then indicate this clearly in the text field below and we will do the necessary.
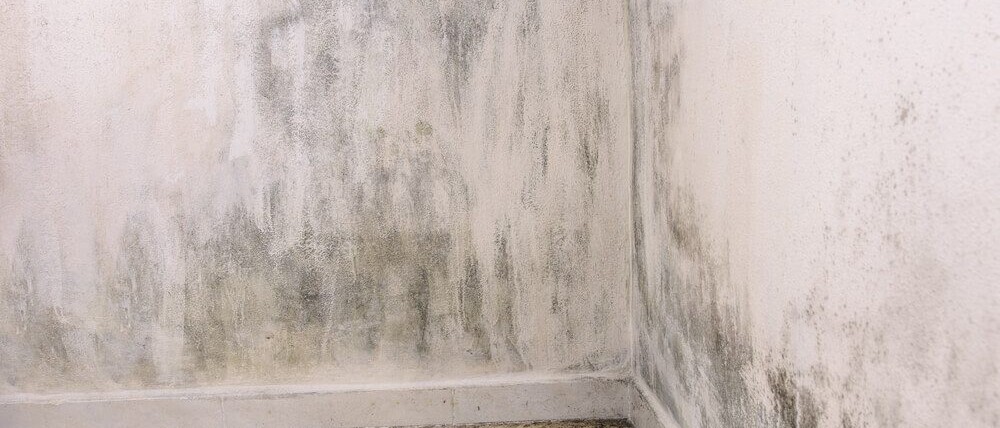
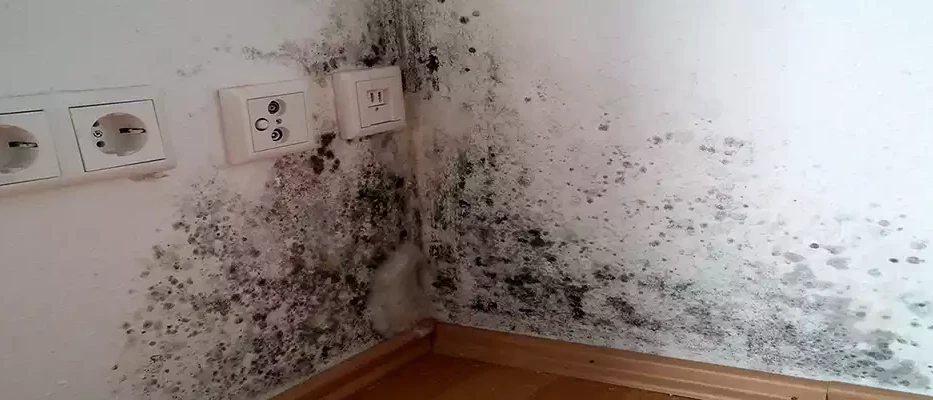
Four ways to prevent mold in your home
Four ways to prevent mold in your home
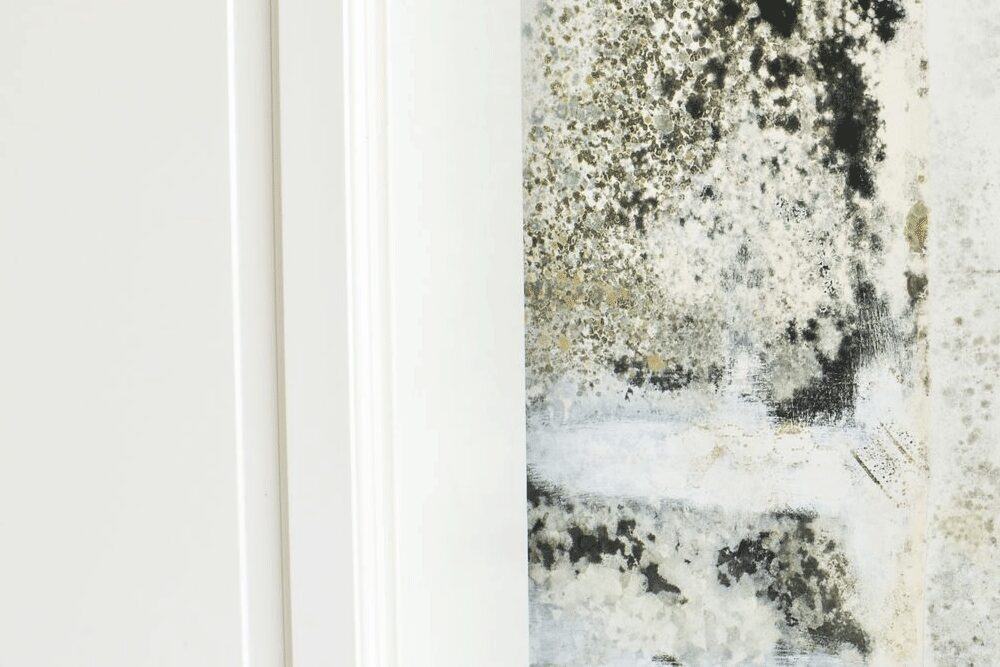
Mold on the wall is a big problem. It is the cause of problems to your home as well as to your health. There are ways to make your home mold free. AquaConsult is happy to help you.
How do molds arise?
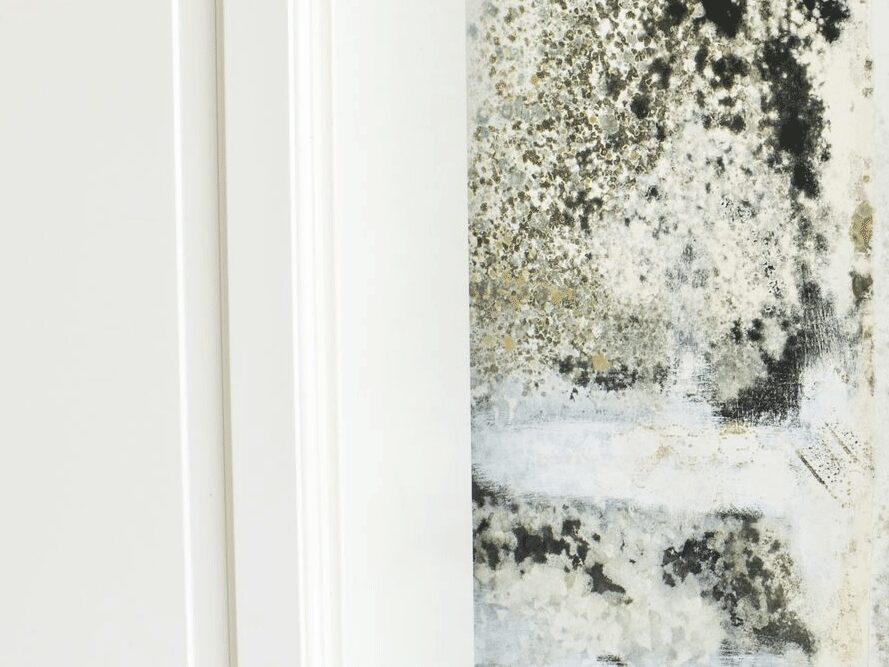
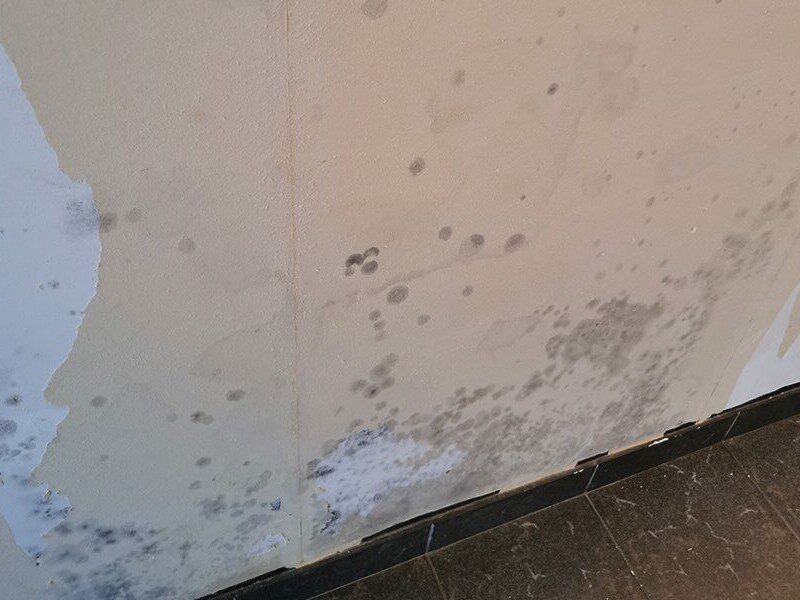
Molds need moisture to grow and survive. Therefore, they arise in places in the home where there is a higher humidity prevails. For example, the basement, kitchen and bathroom are the main places in the house for the development of mold, and this is initiated primarily by human activities that lead to condensation:
Also underlying moisture problems such as rising damp or penetrating damp can eventually lead to mold. Leaks or broken downspouts can also be the culprit. That way, moisture from outside can also wend its way into your home. Do you notice mold in your home? Then be sure to contact a moisture expert To find out what is at the origin.
Why do I need to prevent mold in my home?
First of all, it is important to know why you should prevent mold. After all, mold is associated with all sorts of negative consequences, on the one hand for your home and on the other for the health of you and your family members.
Removing mold on the wall is not an easy task either. So it is better to prevent than to cure.
How do I prevent mold in my home?
There are several ways to prevent mold in the home. We list the most important ones here.
1. Adjust your habits
As mentioned earlier, mold occurs in the most humid places in the house, such as the kitchen or bathroom. By adjusting your habits a bit, you can easily prevent mold:
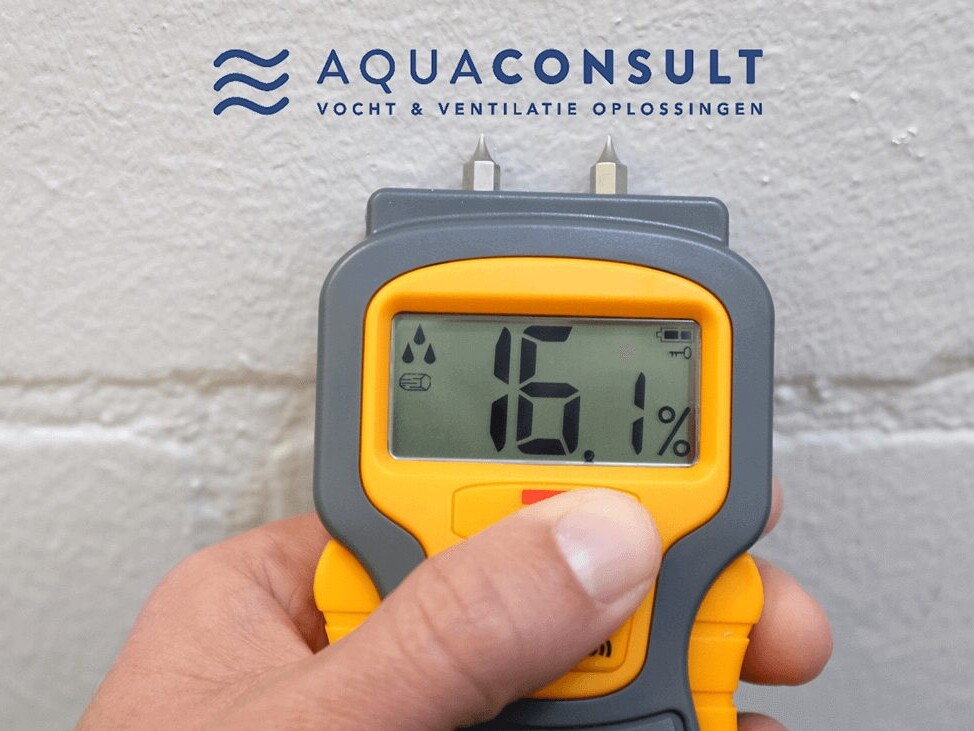
2. Pay attention to the humidity in your home
Does the humidity in the house above the 60%? Then the humidity in the house is too high, so moisture does not have a chance to dry out. So it is much more likely that moisture will soak into the walls, giving mold free rein.
You can easily keep an eye on your home by using a hygrometer. This measuring instrument is designed to keep track of the humidity in your home. A thermometer can also be a help, as a room that is too humid is often harder to heat. Do you notice it's harder to get your home to the desired temperature during a cold fall or winter day? If so, this could be due to increased humidity.
3. Address moisture problems in time
As briefly outlined above, mold in the home is one of the many symptoms of a moisture problem. It is important to address moisture problems as soon as possible so that mold does not have a chance to develop.
Think you are suffering from a moisture problem? Then please contact AquaConsult and we will help you as soon as possible.
4. Ventilate the room
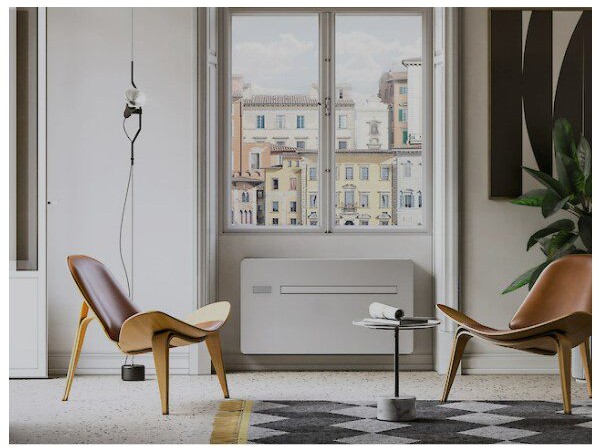
The biggest and easiest way to prevent mold is ventilation. On one hand, this can be done simply by opening your windows for about 15 minutes every day, but on the other hand, a mechanical ventilation system a help. This system is then installed in the rooms most likely to cause moisture problems; such as the bathroom and kitchen. With balanced ventilation, you regulate the air in your home yourself.
Too late... How to remove mold?
Did you find this article just too late, and you still notice mold spots on your walls or ceilings? If so, it is obviously important to remove the mold in your home.
You yourself can remove mold from the wall if they are small, scattered spots. Use baking soda and water or buy a fungicide. Always provide protection with a mouth mask and gloves when doing this. For large mold spots on the walls, it is advisable to call in a professional such as AquaConsult because they not only remove the mold but also address the underlying cause.
What if the mold is extensive?
Black mold, as mentioned earlier, can be dangerous to both your health and your home. It is often not wise to tackle this problem yourself, especially with large and stubborn areas of mold. Moreover, removing them yourself is not always a permanent solution. A moisture expert will address the cause of the problem, improving the air quality in your home and preventing black mold from threatening the health of you and your family members.
Are you suffering from black mold? Request a free moisture assessment from AquaConsult now.
Request more information and brochure
Answer the questions below and get more information and our brochure based on them. Would you like to have the cost calculated? Then indicate this clearly in the text field below and we will do the necessary.
How can I waterproof my basement again?
How can I waterproof my basement again?
The basement is often the most humid place in the entire house. This space is usually located completely underground so this room is surrounded by soil moisture, and in addition, it is not obvious to properly ventilate a basement. As a result, all sorts of moisture problems occur. If the problem persists for a long time, it can cause permanent damage to the building elements of your home. Obviously, this is something you want to avoid.
It is therefore of great importance that you waterproof your basement. By doing so, you will not only create an additional more pleasant living space in your home, but also significantly increase the value of your home.
What are the symptoms of a damp basement?
First, it is important to determine if you are suffering from a damp basement. Several indications can point to basement moisture problems:
A damp basement is not only unpleasant, it's also anything but healthy. But there is a solution: have your basement waterproofed!
The causes of a damp basement
It is very important to have a specialist look at your basement. This is because there are two different diagnoses, each requiring a specific solution to waterproof your basement. Without expertise, it is difficult to determine which diagnosis is applicable.
1. A damp basement due to reasons other than infiltration
Is there no infiltrating moisture from outside, but you still have a moisture problem? Then condensation due to the lack of ventilation probably the major culprit. With a ventilation system and special basement paint, this is quickly resolved. A leak in the pipes can also cause you to struggle with a wet basement.
2. A damp basement due to infiltration
If the cause of your wet basement is infiltrating moisture, then you will likely receive one of the following three common diagnoses:
Only a specialist can say with certainty whether it is infiltrating moisture. Usually the solution here is to waterproof your basement. But how does such basement waterproofing work? There are two options for that.

Waterproofing your basement: the methods
Depending on the cause and situation, there are several methods to waterproof your basement.
Want to get rid of your damp basement for good? Then consult a specialist in the field of moisture control. This professional is able to identify the exact cause of the problem and can recommend and implement the most appropriate solution.
1. Waterproofing the basement with the classic lining
In the moisture control world, the classic method of waterproofing basement walls is known as 'basement framing'. In this approach, basement walls are waterproofed by cementing. The basement waterproofing process involves several steps, including the application of fixing layers, quick cement and hydraulic waterproofing mortars. We summarize:
2. Waterproofing the basement with basement drainage
In the case of a conventional basement drainage procedure according to the traditional method, a pump housing is embedded in the floor to collect water, followed by the application of bubble wrap. This proceeds as follows:
3. Waterproofing the basement with AquaConsult's unique process.
Finally, it offers AquaConsult a unique method to waterproof a basement. We again place a pump house in the floor where the water is collected, and after several measurements we fit the floor with a laser. Then we place certified ceramic tiles that are 60 x 60 x 2 inches in size. What's nice? You can choose the color of the tiles yourself.
There are three major advantages to this method of basement waterproofing:
Do you suffer from a damp basement?
Are you struggling with moisture in your basement, and want to re-waterproof it? Contact the experts at Aquaconsult now for a free moisture assessment and we will be happy to help you.
Request more information and brochure
Answer the questions below and get more information and our brochure based on them. Would you like to have the cost calculated? Then indicate this clearly in the text field below and we will do the necessary.

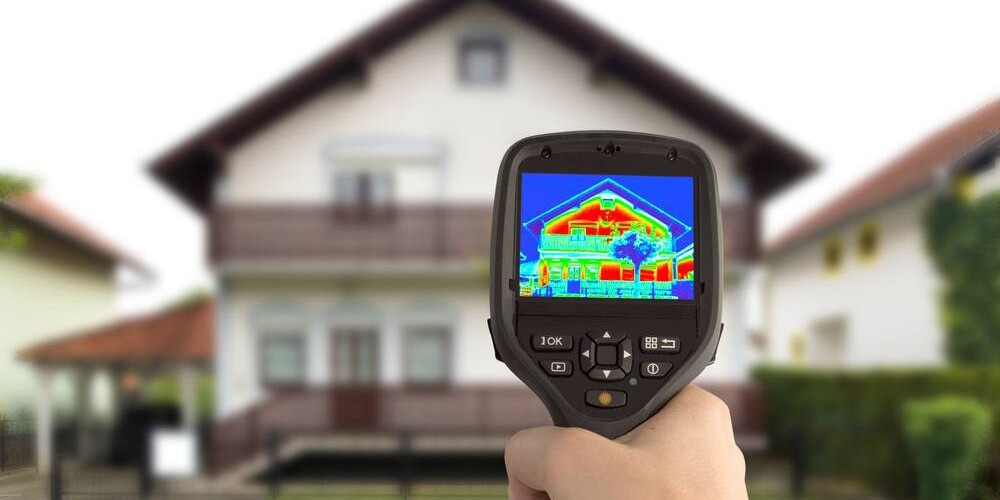
Thermal bridges: cause of moisture problems and condensation
Thermal bridges: cause of moisture problems and condensation
Find out everything you need to know about cold bridges.
What are thermal bridges?
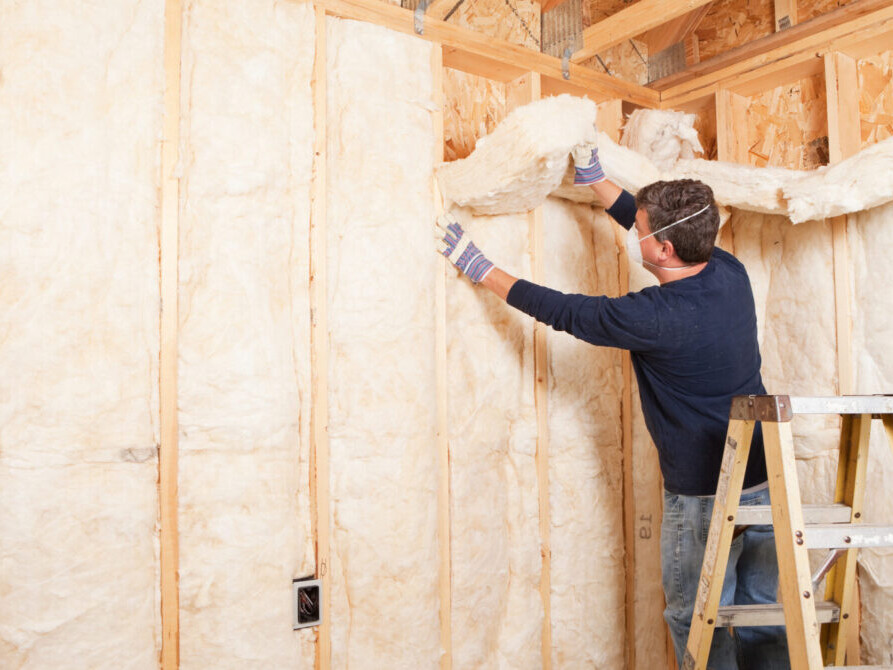
A thermal bridge is a weak link in the insulation of your home. Cold bridges occur where insulation is absent or poor. It is literally a place in a home where the "cold" is conducted from outside to inside. They are also called thermal bridges, thermal bridges or building knots.
The insulation envelope is missing or interrupted, causing heat loss. This lowers the indoor temperature and increases the need for heat. In addition, thermal bridges can also indirectly cause moisture problems. Moisture and thermal bridges are always the biggest problems in all renovation projects.
And that's not all: thermal bridges can also cause problems in the summer. For example, thermal bridges allow warm air to enter, making it difficult to keep your home pleasantly cool.
The causes of thermal bridges
Thermal bridges can have a variety of causes.
Where are the thermal bridges located in a house?
A thermal bridge often occurs in all places where insulation does not connect properly. You can therefore sometimes detect a thermal bridge very clearly around exterior doors and windows, where the insulation is not optimally connected to floors or the door and window openings themselves. A few millimeters of opening is enough to allow a cold bridge during a cold winter period. Of course, a few millimeters of insulation loss will not cause serious moisture problems, but it will slightly increase energy bills.
Some examples of places where thermal bridges can occur:
How do you recognize thermal bridges?
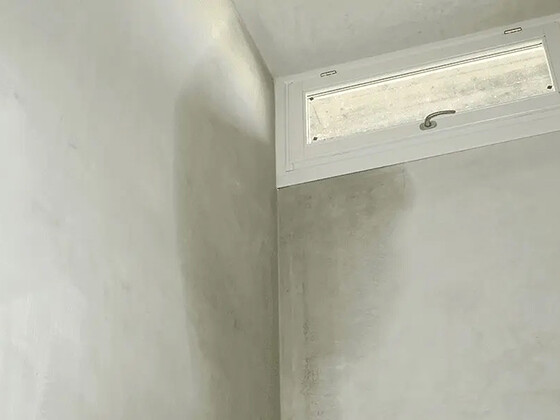
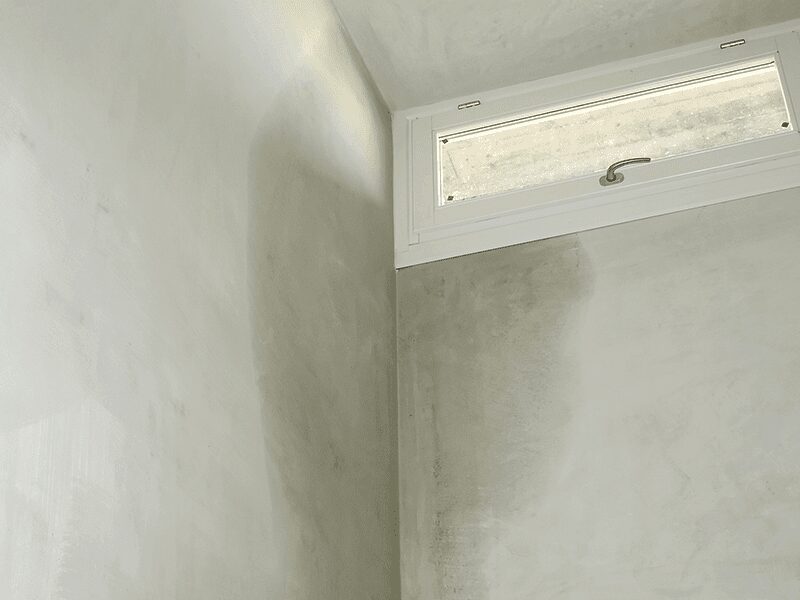
You can't always see a thermal bridge, but you can feel it. If you rub your hand over a piece of wall or floor and notice a difference in temperature, you are dealing with a thermal bridge. If you see black mold or condensation on concrete slabs or windows, that can also be an indication of a thermal bridge.
What (moisture) problems cause thermal bridges?
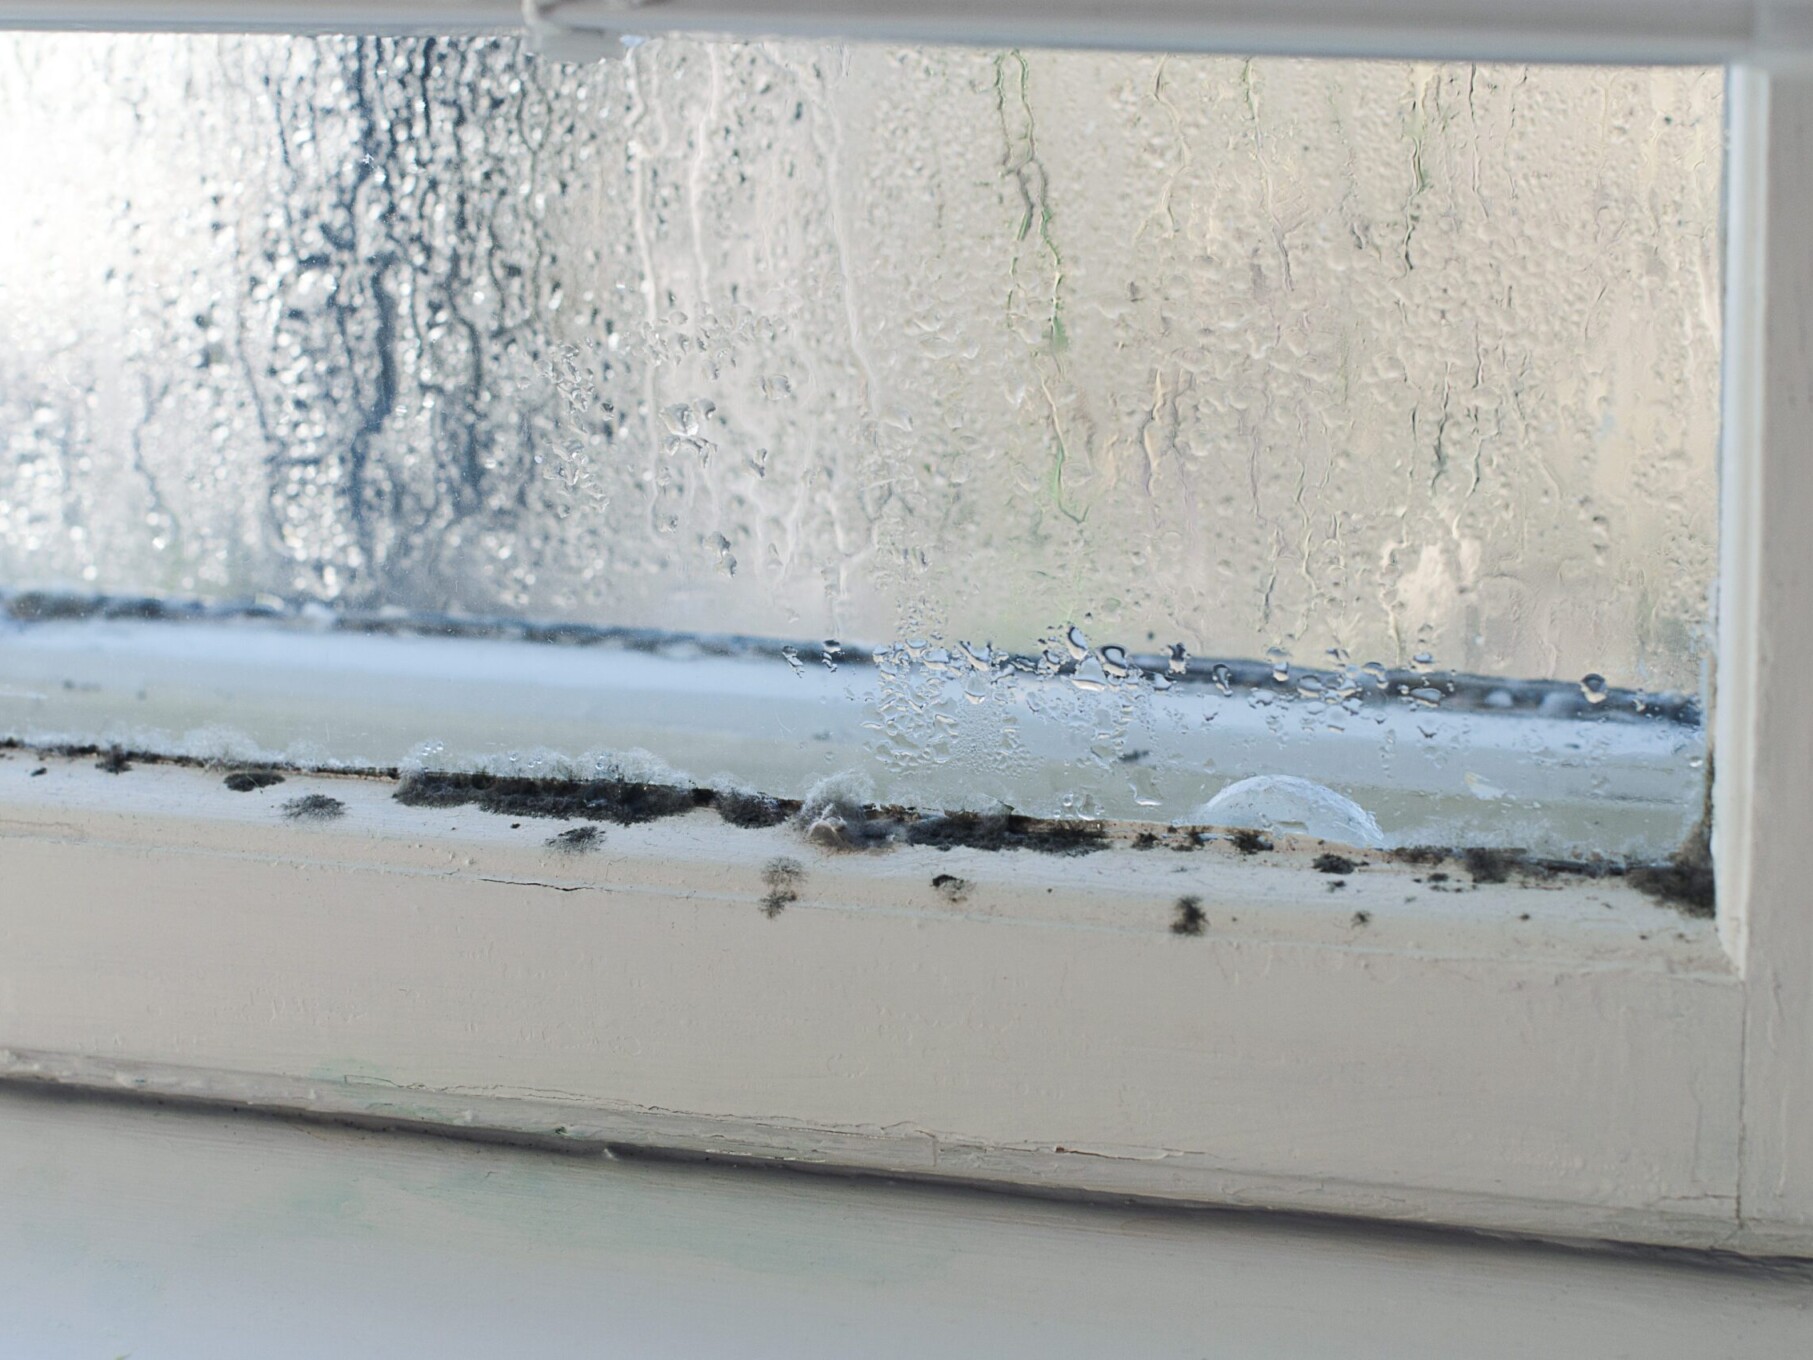
Cold bridges are the cause of a lot of moisture problems in the home. Especially alarming is the structural moisture damage it can cause on the cold wall. A cold bridge weak enough to cause the wall temperature to drop below 14°C works moisture problems such as condensation in hand.
Where indoor moisture (naturally present in warm indoor air) can condense against walls, get mold a chance to form and moisture spots also develop. Houses with condensation and mold are additionally just not good for the health. In addition, it is bad for plaster, wallpaper and/or painting. With wood structures, it can in turn cause the wood to rot, resulting in instability. It is a real domino effect.
Because the walls at the level of a thermal bridge cool sharply, the natural moisture in the air will condense in these places.
Not only do cold bridges create moisture problems, but they also create another major problem: energy and heat loss. As mentioned earlier, thermal bridges create a temperature difference between the wall where there is a thermal bridge and the rest of the house. So in the winter, you will need more energy to heat your home, resulting in higher energy bills. With today's high energy prices, you obviously want to get that out of the way.
Influence of thermal bridges on the K-level and E-level
The Flemish government encourages homeowners to better insulate and airtight renovate homes (think cavity wall insulation or crepi / exterior wall insulation). A renovation aimed at eliminating cold bridges has several benefits for property value:
How do you solve thermal bridges?
Good ventilate, insulation and heating are three key rules to prevent thermal bridges.
In older homes, it is not always simple to address thermal bridges; this is immediately a major renovation. Fortunately, you are entitled to grants or subsidies If you are doing an energy renovation.
During such a renovation to solve thermal bridges, all the insulation is connected together properly so that the insulation envelopes the entire house and there are no more energy leaks. If the insulation is completely continuous and not defective anywhere, thermal bridges do not stand a chance.
So is it even worth addressing thermal bridges, since it is such a major renovation? Yes. Without thermal bridges, a lot of moisture problems solved and reduces energy bills.
First aid for moisture problems
Are you suffering from moisture problems? Contact AquaConsult now and we will be happy to help you.
Request more information and brochure
Answer the questions below and get more information and our brochure based on them. Would you like to have the cost calculated? Then indicate this clearly in the text field below and we will do the necessary.
[null]
How do you remove moisture stains from the wall?
How do you remove moisture stains from the wall?
There is nothing more annoying than being faced with the facts and seeing that you have moisture spots in your wall. Above all, don't worry, because there is a solution for everything. Only it is important to find out the cause of the damp spots before you can start removing them. Find out how to get rid of damp spots in this article.
Types of moisture spots on the wall
Typically, there are two different types of moisture stains that can affect your walls.
Consequences of damp spots on the wall
Failure to address the cause of wall dampness will lead to a variety of negative consequences. Consider:
Causes and corresponding solutions of dampness in the wall
The word says it all. Damp spots are caused by moisture. Moisture, in turn, can get you from a variety of causes:
Each cause requires its own solution. Often, determining the cause and determining the necessary cause is not obvious, so it is best to leave this to an expert. In addition, moisture stains disappear by themselves after a professional has done what is necessary to solve the moisture problem. So do not hesitate to seek the help of an expert.
1. Facade exposed to rainwater for too long
Did you get moisture problems due to rainwater coming into contact with the facade over a long period of time? Then chances are that the moisture spots on your wall are due to penetrating damp. In this, the moisture spots occur in all sorts of random places, and not only on the ground floor.
The ideal solution to this moisture problem is to have your facade impregnate or hydrophobizing. This involves applying a transparent and waterproof layer to the facade using a transparent product. Hydrofuge is a product that makes your exterior walls water repellent. As a result, you will no longer get moisture spots on the interior wall either.
2. Gutter clogged or leaking
A gutter allows water to leave through the downspout when it rains. If you don't have a gutter, water flows down your facade and you risk exposing your facade to rainwater for too long. Moisture problems can therefore also be the result of a clogged gutter or a leak in the pipes. Unfortunately, this does not resolve itself; on the contrary, it only gets worse. By the way, a clogged gutter is worse than having no gutter at all, because with a clog, a large amount of water accumulates in one place.
Solving this problem can be done as follows:
3. Rising damp
Rising damp is caused by direct contact between a brick wall and a moisture-containing wall. In problems of rising damp, groundwater is the main cause. The foundation and walls absorb this water, resulting in the most severe dampness close to the ground, but it can also spread further into the wall. This can cause significant damage to both interior and exterior walls.
The solution? Waterproofing the exterior wall by using a chemical product to inject into the wall. A professional injects a moisture-resistant coating into the wall through drilled holes. This coating acts as an artificial barrier against water. After this step, the professional seals the drilled holes with waterproof mortar.
4. Condensation moisture
Somewhere where the air is too humid (think a bathroom), it creates condensation. And this, too, can eventually cause moisture spots on walls. In such places is enough ventilation the solution. You know what to do in the bathroom!
What can you do yourself to remove moisture stains on a wall?
As we mentioned, the first thing to do is definitely contact a professional to fix your moisture problem. Only after that can you repair your wall yourself. If you do want to get started yourself, here are a few helpful tips:
Note! The above instructions help to remove moisture stains from your wall and not to magic away mold. Mold is best killed with chlorine-based bleach. After the mold disappears, rinse away the chlorine with warm water.
Do you suffer from moisture spots on your walls?
You prefer to avoid moisture problems rather, but if they are there, they just have to go. Period. Unfortunately, solving and removing moisture problems is not exactly a job that can be done in a flash. That's why AquaConsult offers you support that's second to none. Looking for more information on moisture control? Then be sure to read our blog About moisture problems and solutions.
Request more information and brochure
Answer the questions below and get more information and our brochure based on them. Would you like to have the cost calculated? Then indicate this clearly in the text field below and we will do the necessary.